
There’s something deeply satisfying about bringing a fireplace back to life. For many, installing a wood burning stove wasn’t just about warmth and efficiency — it’s about restoring a focal point to the room and adding character back into the heart of the home.
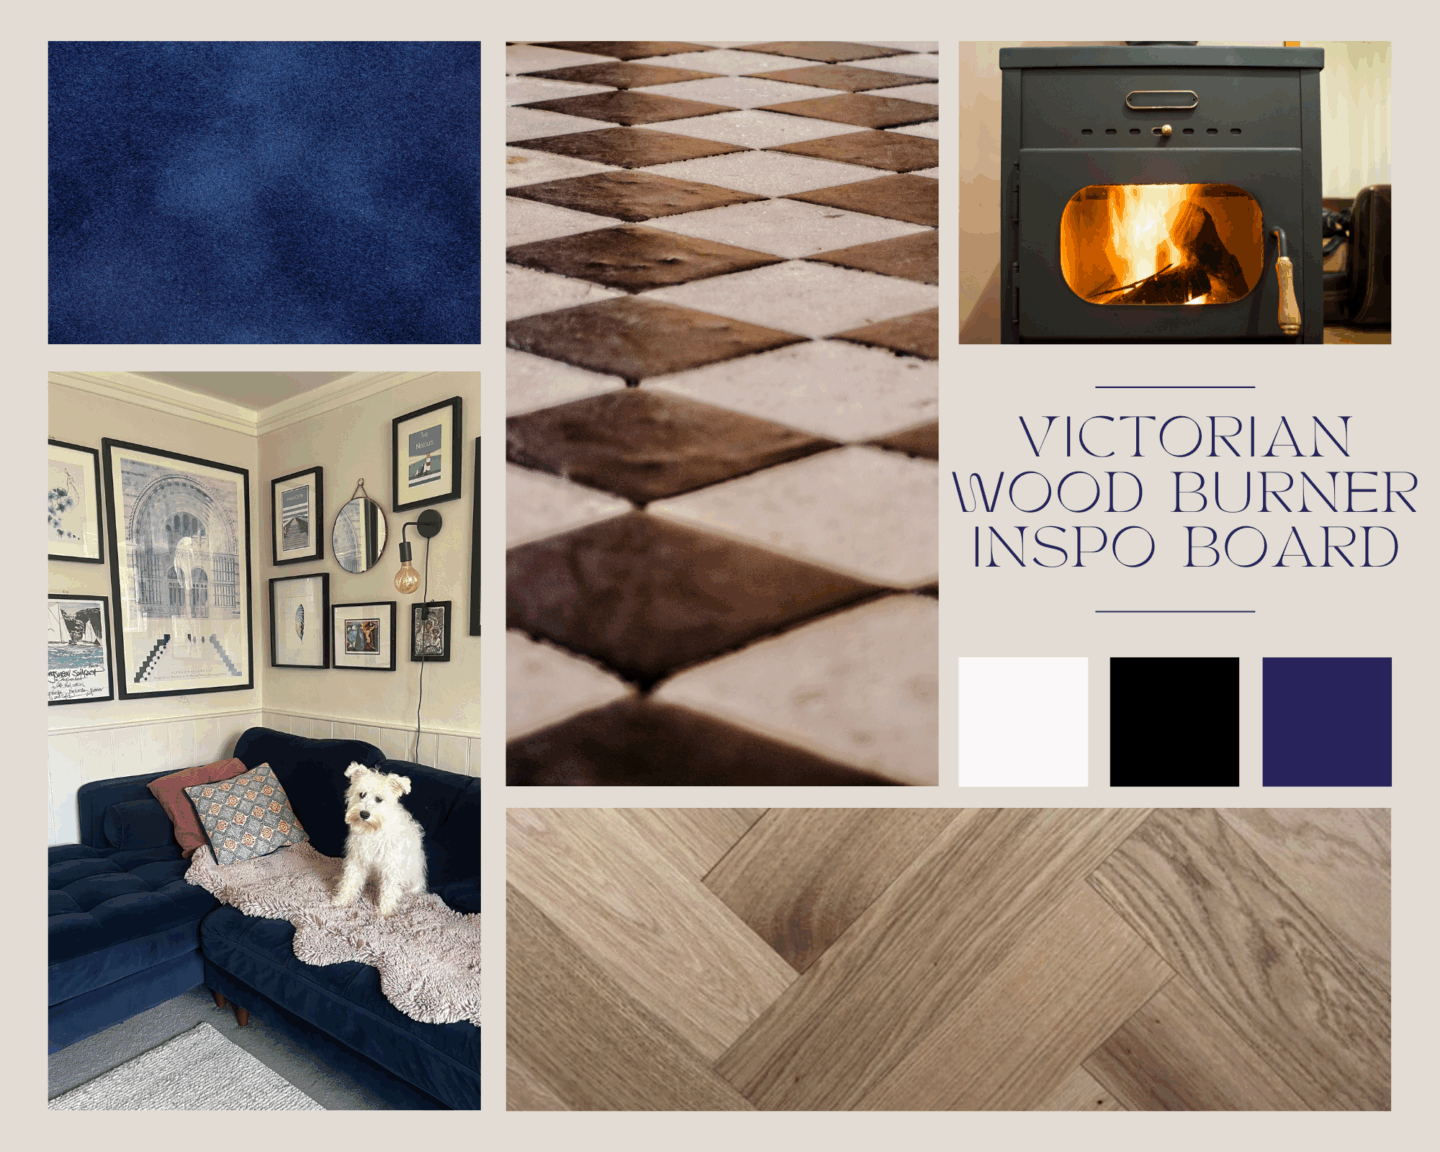
When renovating a house on a budget, the lack of funds can be a blessing in disguise as it buys you time to really think about what’s important. From the outset, a wood burning stove was top of the ‘essential non-essentials’ after the kitchen and bathroom. This was one of those projects that I could see in my head whilst we saved up for it. I wanted a contemporary nod to a traditional Victorian style and a statement centrepiece for the living room.
To comply with Building Regulations in England and Wales, a wood burning stove must either be installed by a Competent Person Scheme installer (such as HETAS), who can self-certify and notify Building Control, or be inspected and signed off by your local authority Building Control if you choose to DIY it.
We chose the simpler route and brought in a certified installer. That gave us peace of mind on safety and compliance, while still allowing us to source the stove and tiles ourselves. It kept costs sensible without cutting corners.
Opening Up the Fireplace
Like many period properties, our fireplace had been plastered over and altered in the past. The first stage was to remove the old gas stove and see what we’re working with. Do not be tempted to do this bit yourself – even if the survey shows the gas is capped like ours did. You will end up giving your husband a heart-attack and calling someone out in an emergency!
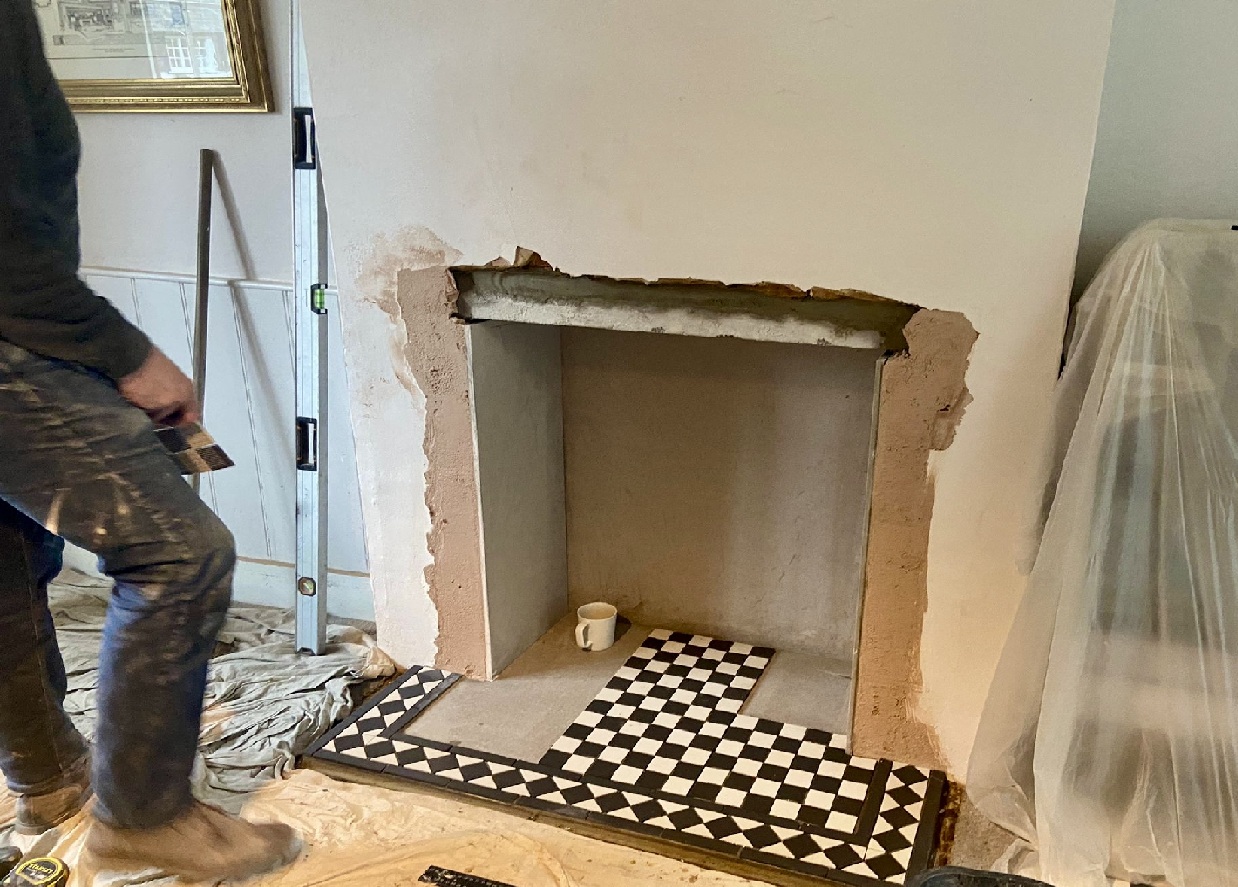
The opening needed to be tall and wide enough for the stove, with enough clearance for airflow. The hearth had to project into the room by regulation distance, and the depth was adjusted to ensure the flue could be connected cleanly. Wood burning stove manuals will tell you the clearance needed as each on will be different.
Choosing Victorian Tiles
Tiles can completely change the feel of a fireplace. For ours, we wanted something classic, timeless, and in keeping with the age of the house. Victorian-style tiles were the obvious choice.
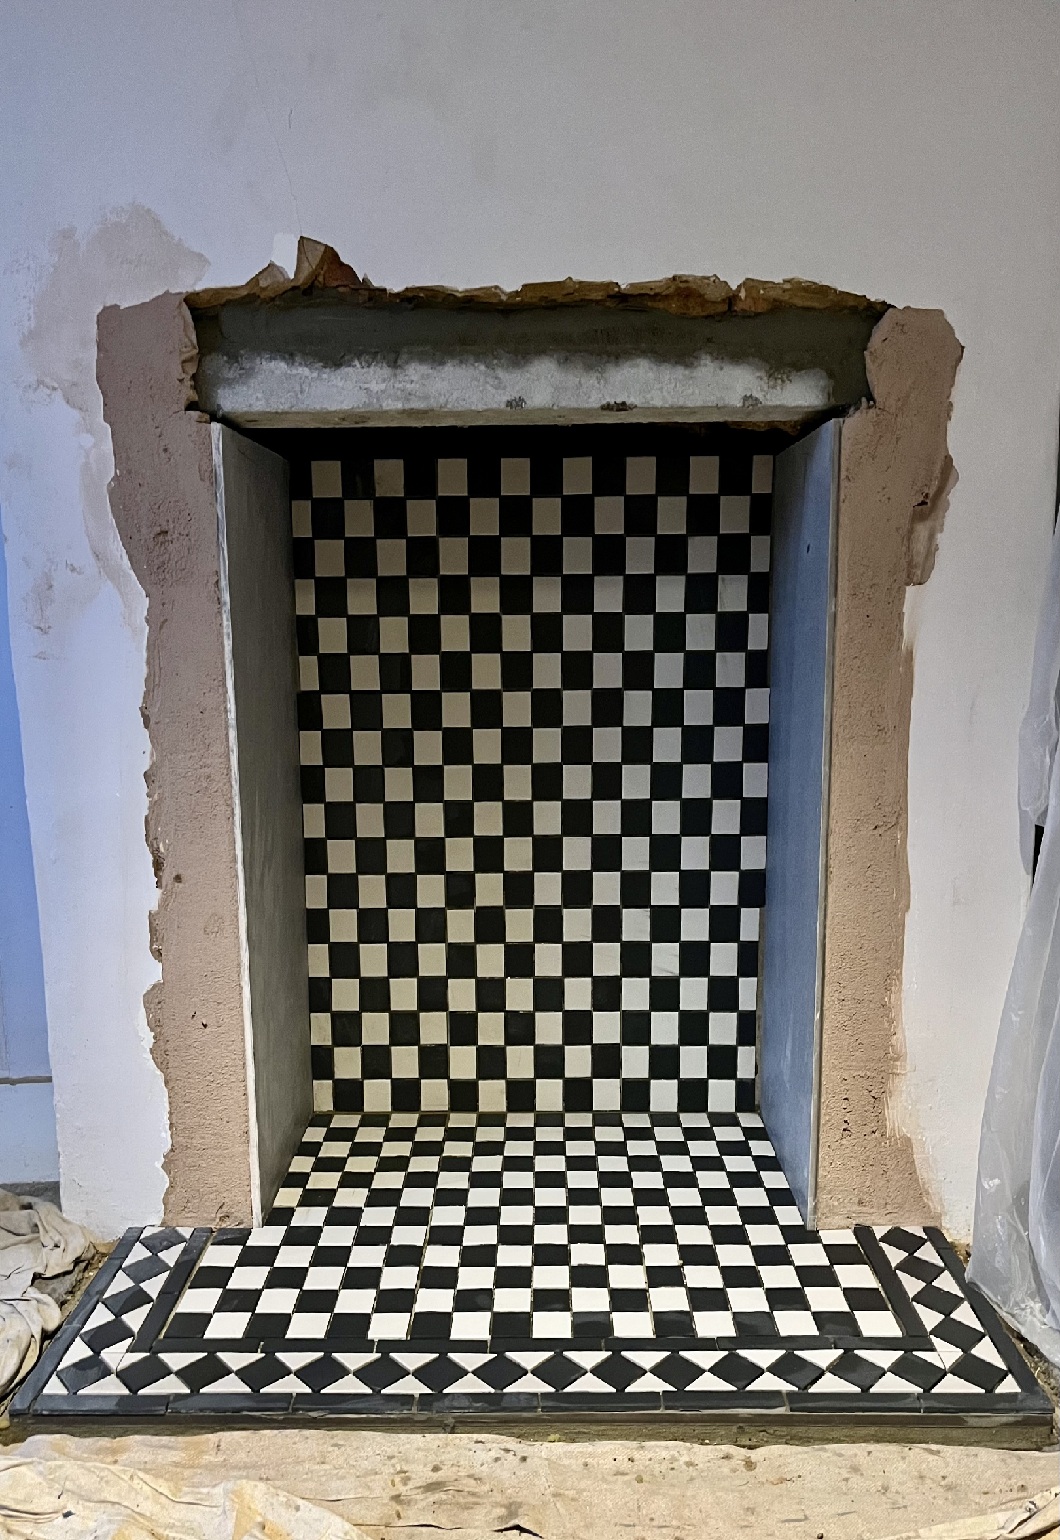
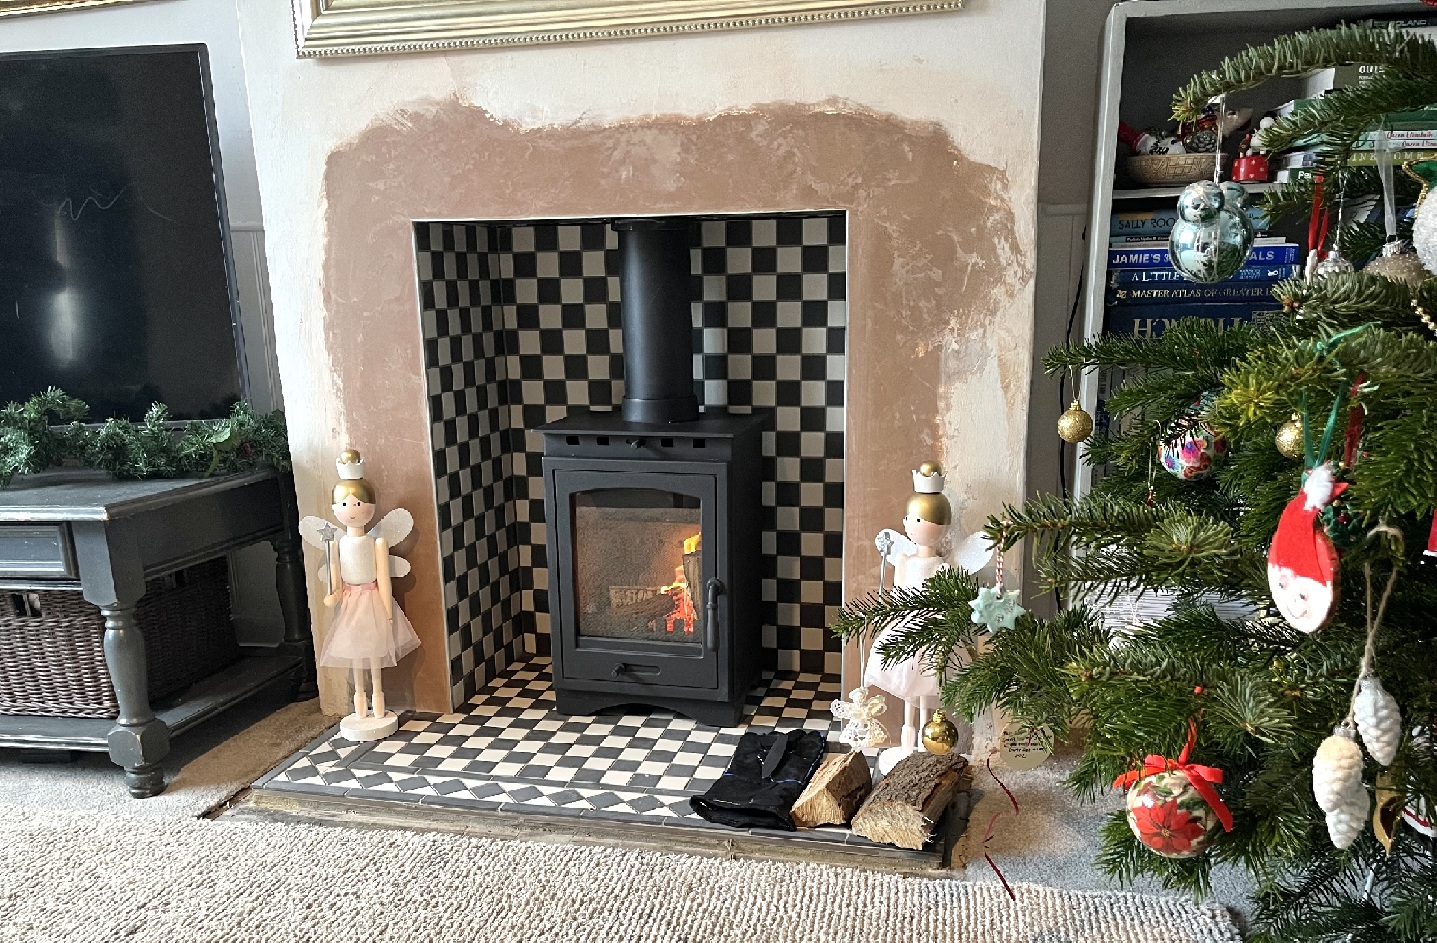
We chose a black and white checkerboard pattern for the main hearth, framed by a decorative diamond border. The bold geometry instantly makes the hearth a feature rather than just a functional base.
Before fixing them down, we laid the tiles out dry to check spacing. That step took time, but it meant the finished result looked balanced and deliberate. Tiles are practical as well as beautiful — easy to clean, durable, and perfectly suited to the heat of a stove.
Bringing It All Together
With the lintel in, plastering and tiling complete, our installer came back in to fit the stove. The flue lining was already in place as we’d had some roofing works done a few months earlier and took advantage of the scaffolding being up. This was the moment where everything clicked: the crisp checkerboard hearth against the deep black of the stove, framed neatly by the plastered opening.
After doing considerable research, we chose a wood burning stove from Direct Stoves in the end. We were slightly restricted by depth as our fireplace is quite narrow and I had other criteria such as wanting a multi-fuel, sleek design and eco-friendly and DEFRA approved. We went for the Helios 5 Compact Eco Wood Burning / Multifuel Ecodesign Stove and couldn’t be happier with it!
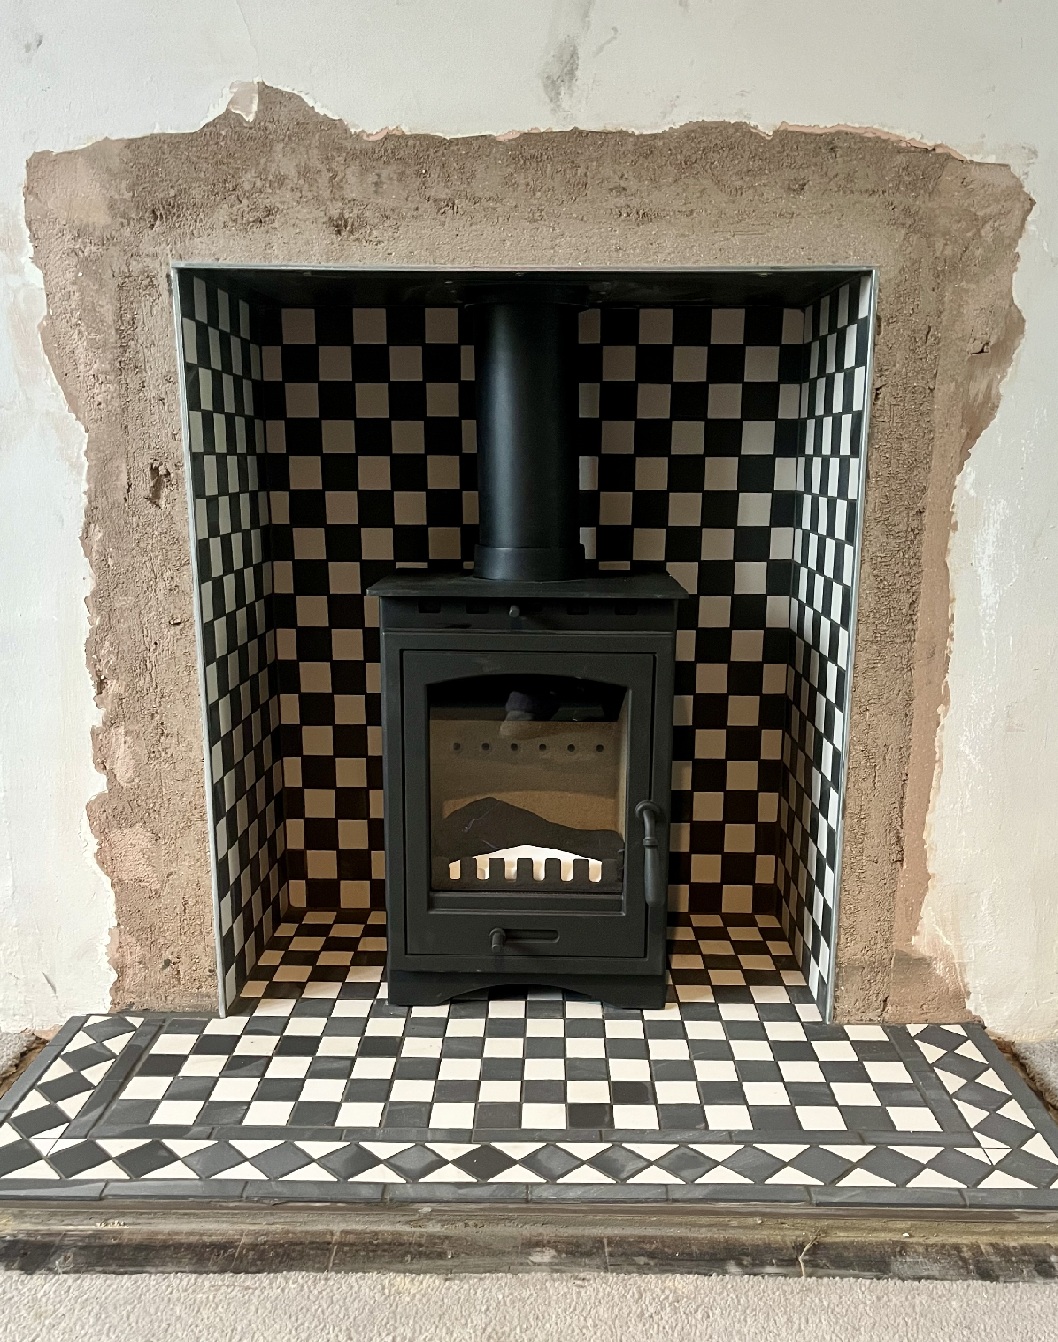
What began as an unusable gas fire – and then for a while, a hole in the wall – soon became a striking centrepiece, a blend of heritage style and modern function.
Reflections
Looking back, the project felt like the perfect partnership: we took control of the design and materials, while relying on a certified expert for the installation itself. It kept costs down without compromising on safety.
The Victorian tiles make the hearth feel like it has always belonged here, and the stove adds not only warmth but also a sense of permanence and tradition. It’s more than a functional addition — it’s a restoration of character.
