Painting a wooden door can breathe new life into an original feature of your home, preserving its charm and character. Original wooden doors often have intricate details, high-quality wood, and a style that matches the era of your property, making them well worth the effort to restore. Often, you can paint a wooden door without needing to remove it. If a door needs new hardware and substantial sanding and renovating, it’s far easier to take the door off! Here’s a step-by-step guide on how we renovated and painted our original kitchen timber door to restore it back to its former glory.
Jumping back to when we first purchased our home and started to painstakingly renovate it room-by-room. As a property built pre-1860 and with a wealth of history, we wanted to create a balance between preserving its charming character and making it a functional contemporary family home.

Before the conservatory was built, our kitchen door was once an external door (with a cat flap). It’s a traditional Victorian cottage door that simply needed some love and attention to give it a new lease of life. Over 150 years if paint, knocks and family living has taken its toll and the wooden door really needed a good strip back. This included the frame too!
Remove the Door Safely
To start, carefully remove the door from its frame.
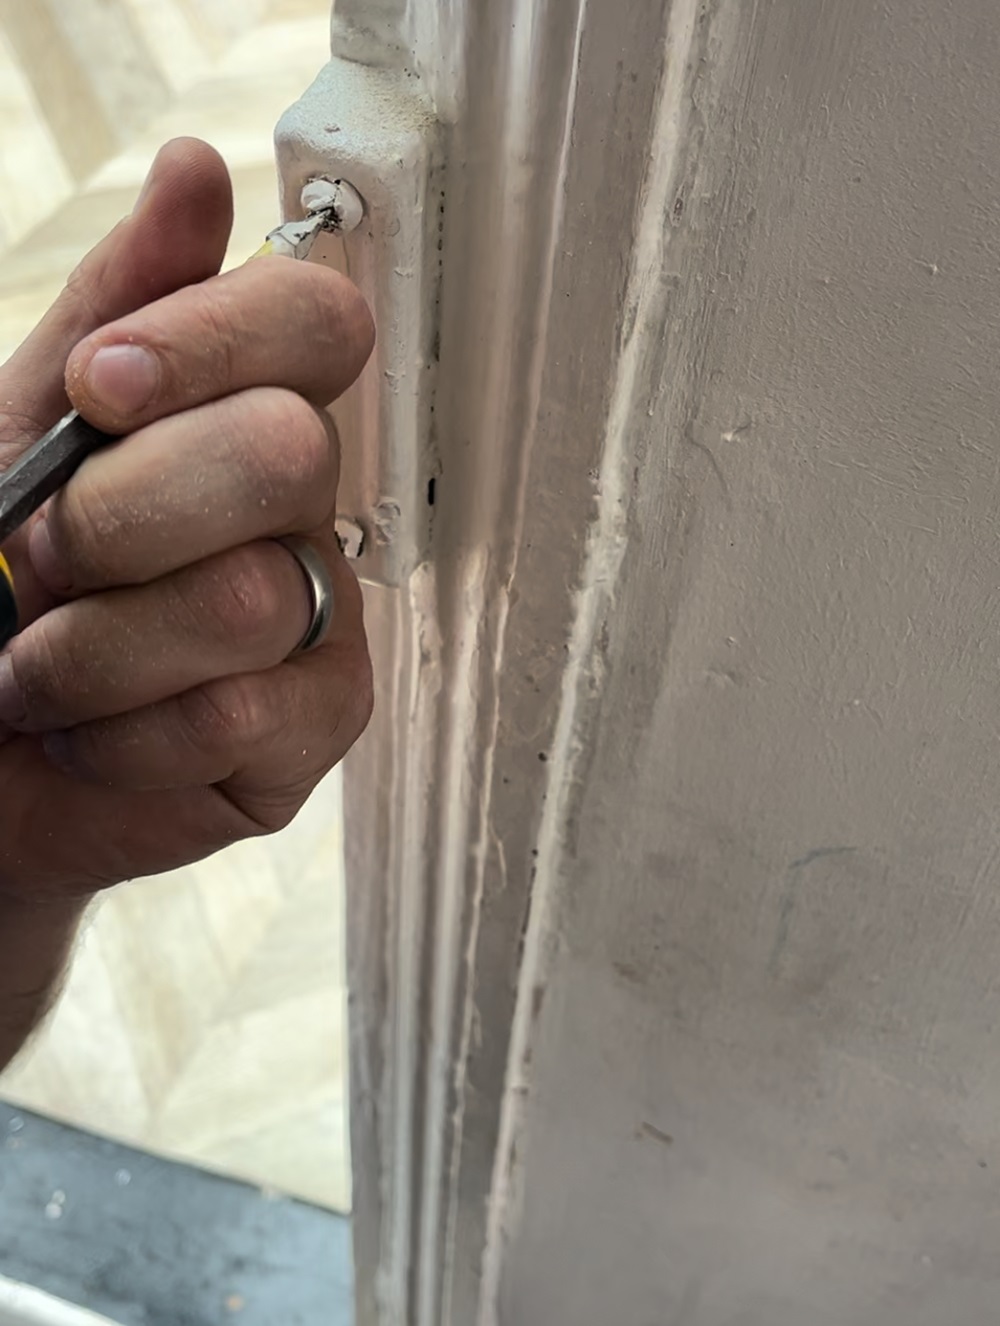
- Unscrew the Hinges: Using a screwdriver, unscrew the hinges, as shown in the first image. For stubborn screws covered in paint, gently scrape away the paint with a utility knife or small chisel. This will help you access the screw heads without damaging the wood around them.
- Handle with Care: Period doors are often heavy. Make sure to have someone to help lift the door once the hinges are detached.
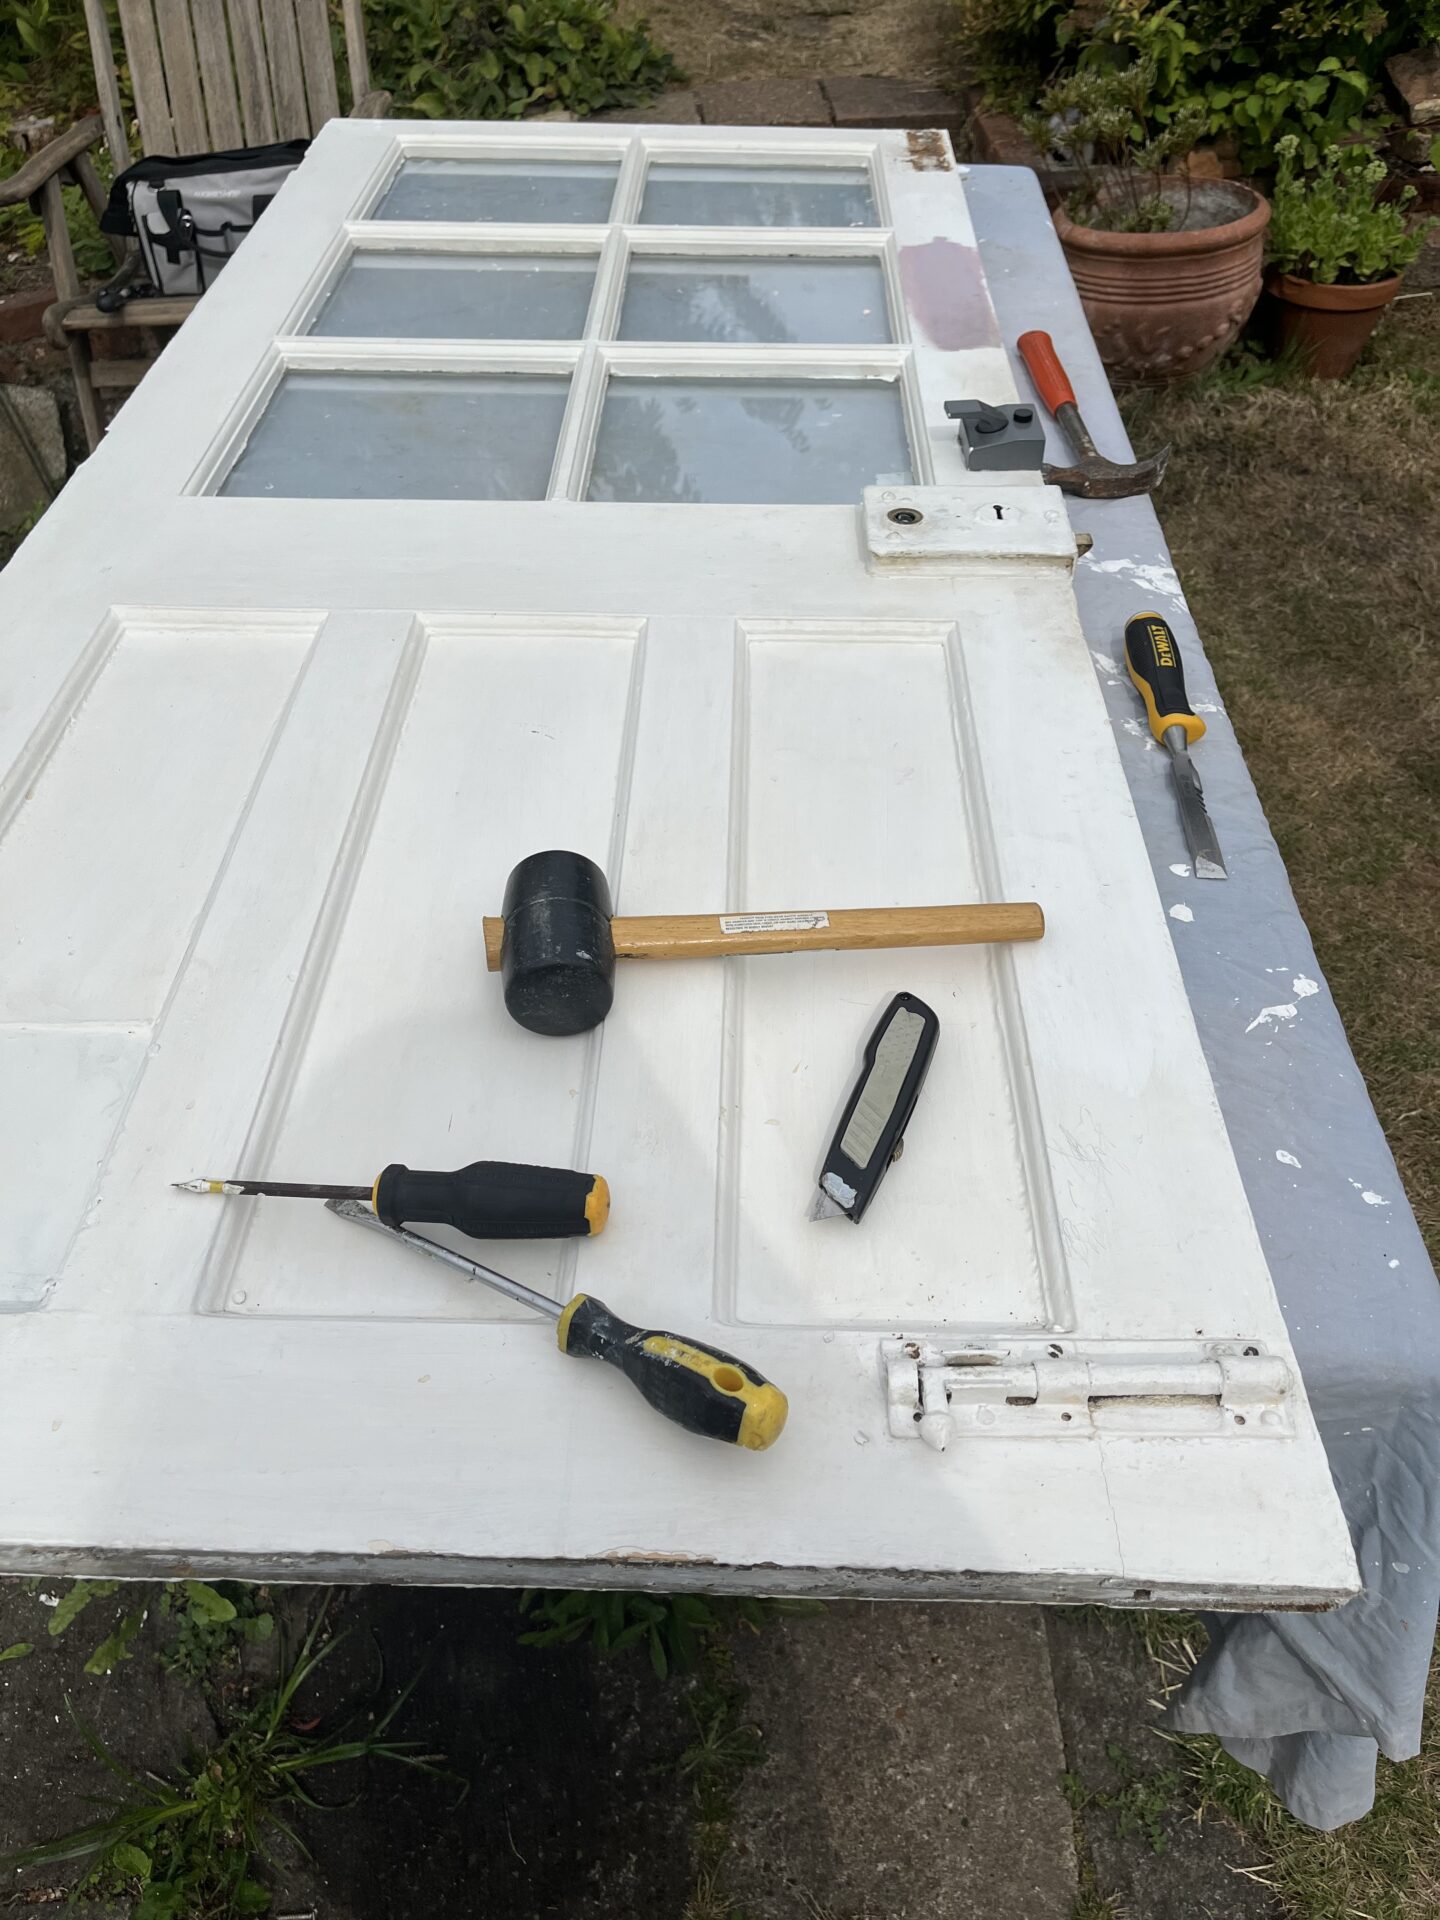
- Lay the Door on a Stable Surface: Place the door on a workbench or sturdy table outdoors, as seen in the third image, so you can work on it more comfortably.
Repair and Replace Damaged Parts
With the old paint removed, examine the door for any damage. Period doors may have cracks, dents, or broken moulding that need attention.
- Fill Cracks and Holes: Use a high-quality wood filler for small cracks and holes. Allow the filler to dry fully before sanding it smooth.
- Replace Damaged Hardware: In many period properties, the original locks, handles, and hinges may be worn out or rusted. Replacing these with period-style replicas can enhance the look of the door while maintaining authenticity.
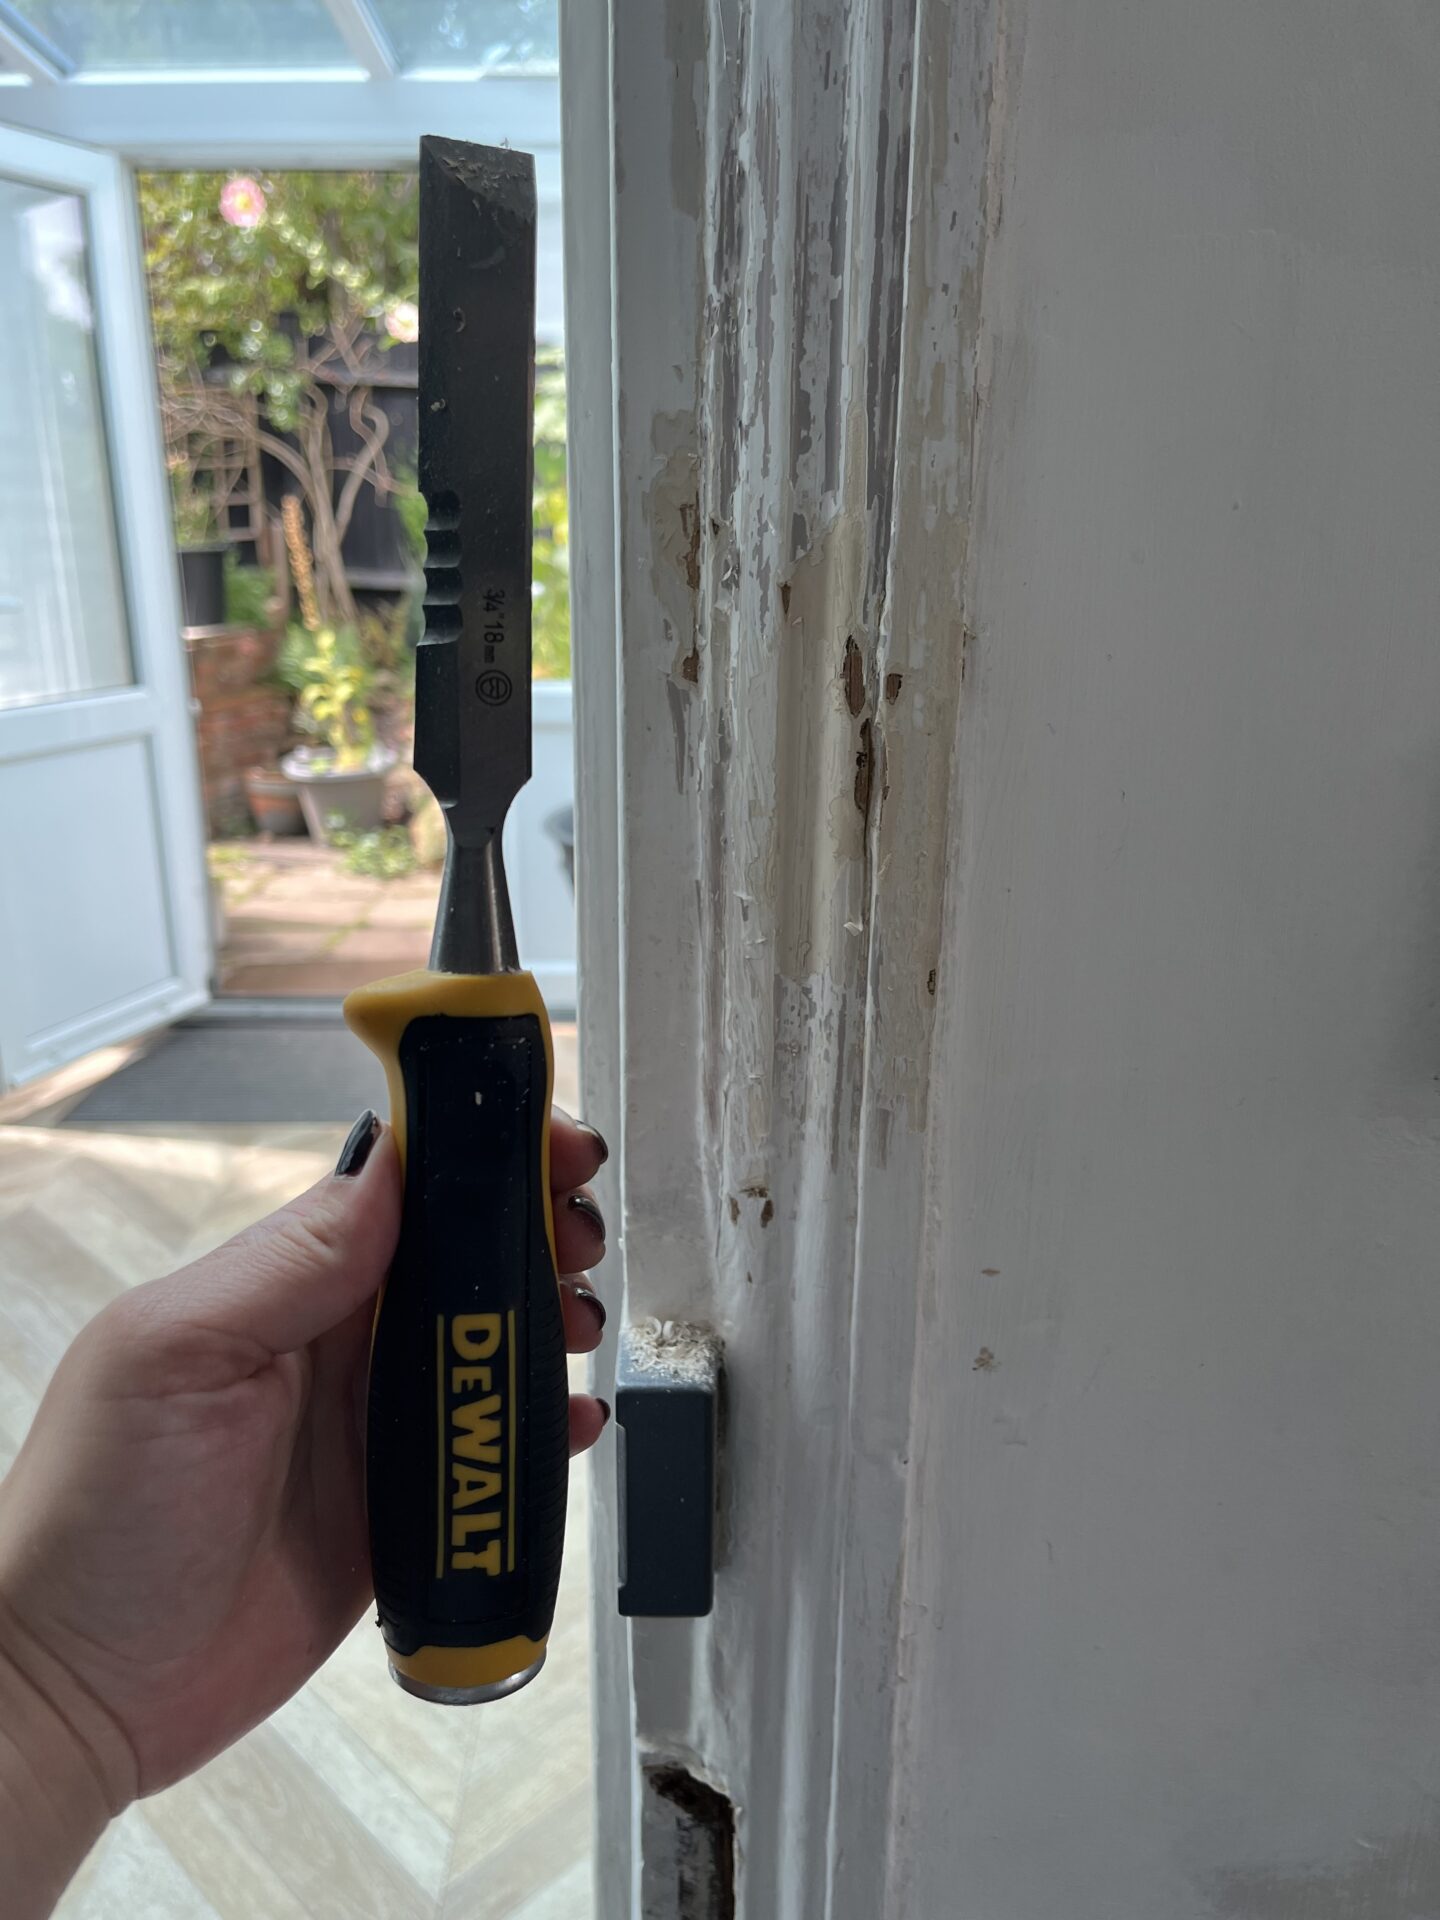
- Re-define original features: A chisel can be used, very gently, to re-define original features in the wooden door and frame. Ours was in such poor condition, that we did consider replacing the frame – but in the end, the imperfections are part of the charm and character.
- Check the Door’s Structure: Wooden doors ‘breathe’ and will swell over time. It’s a good to plane the door so that it’ll fit snugly when it’s fitted back in.
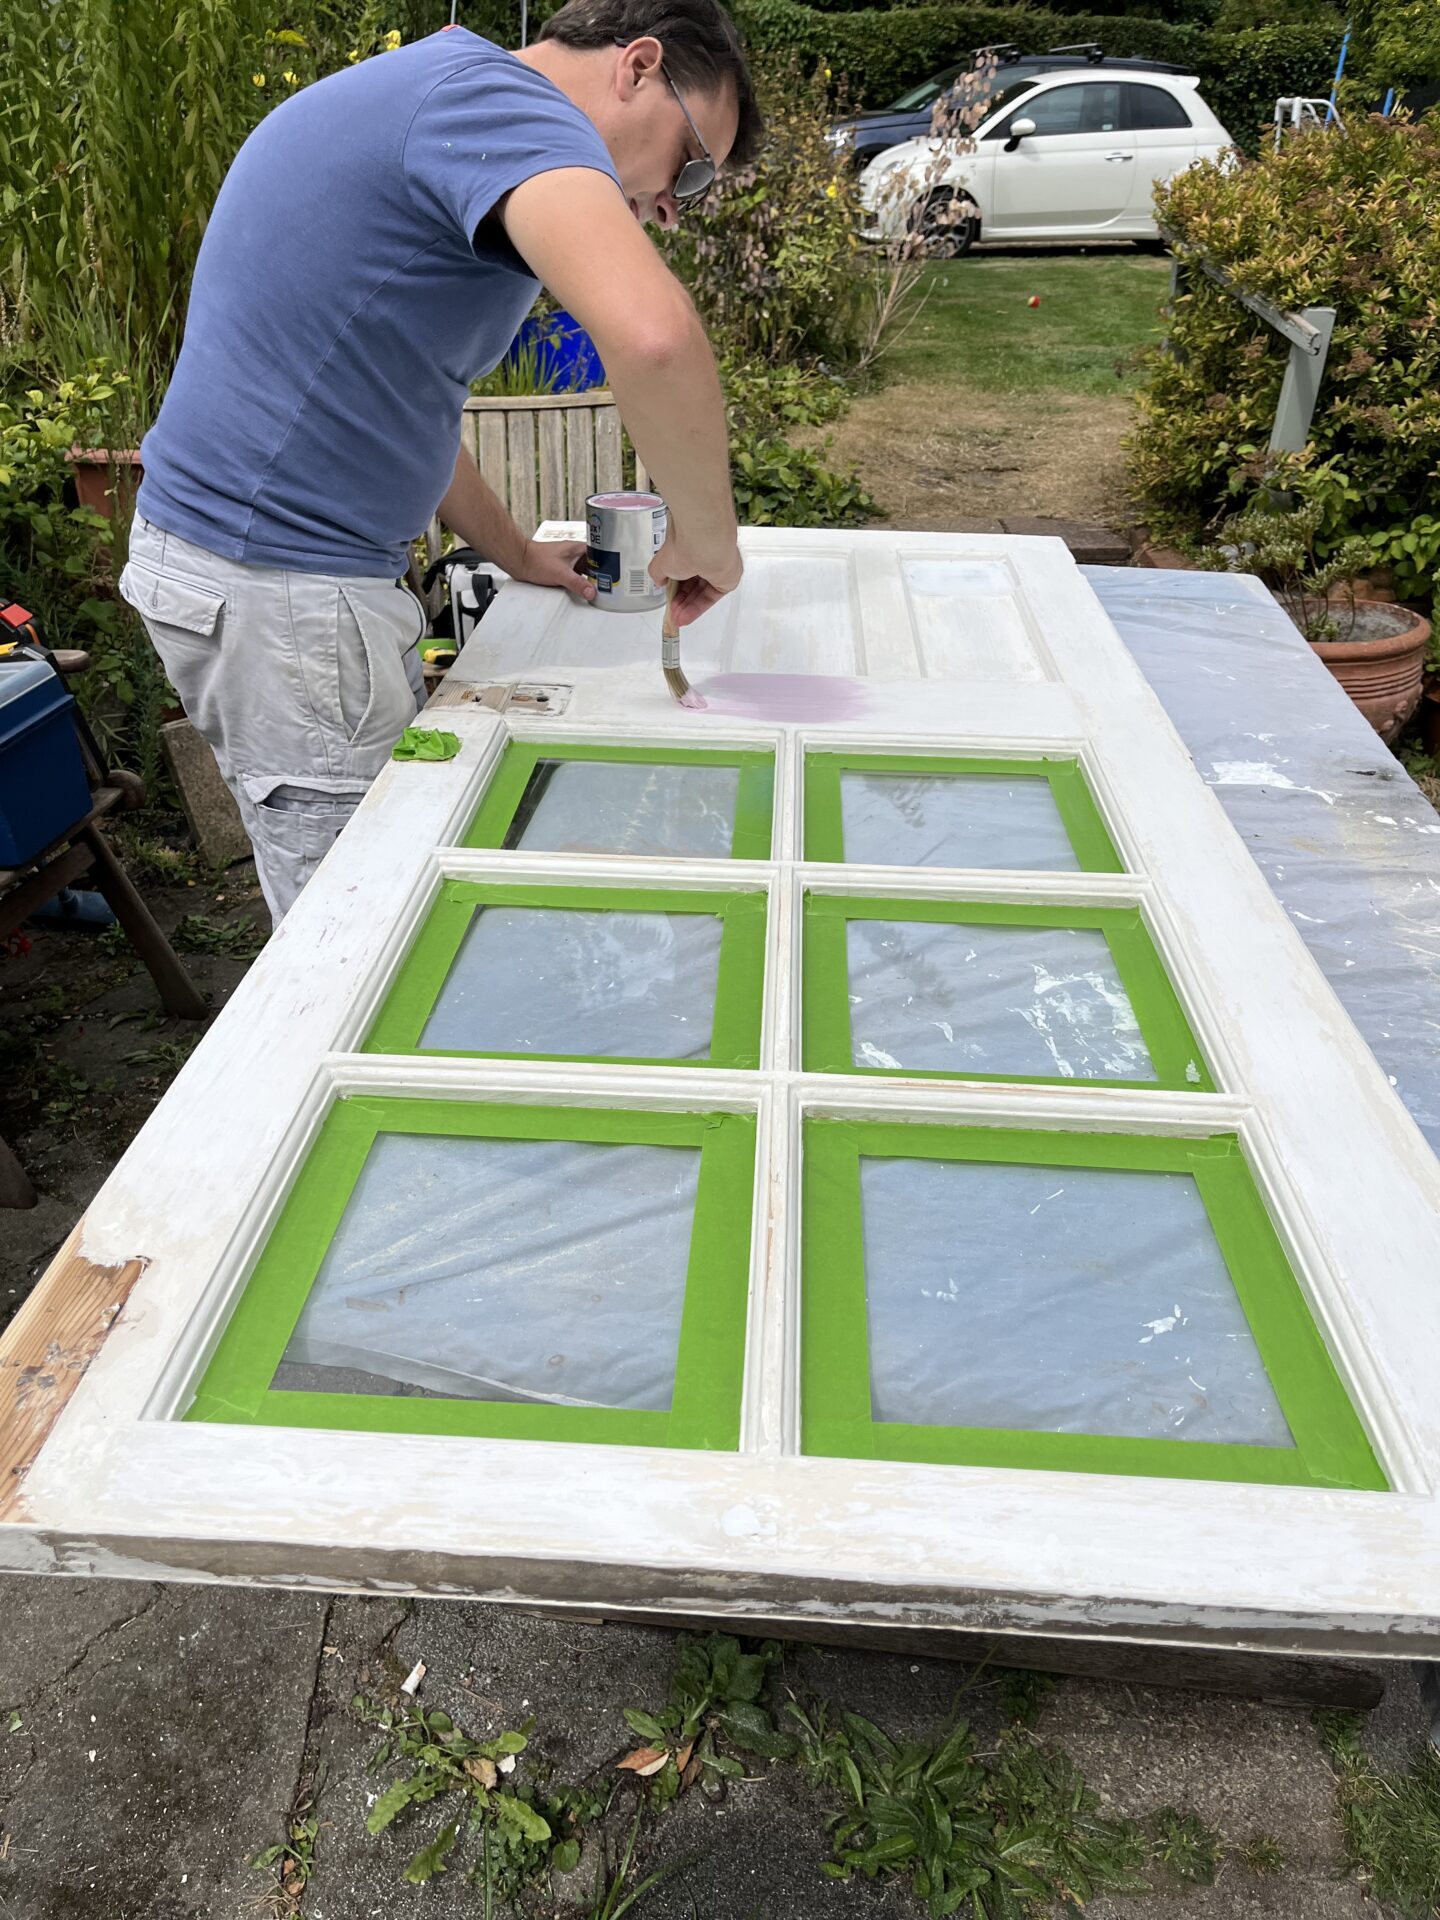
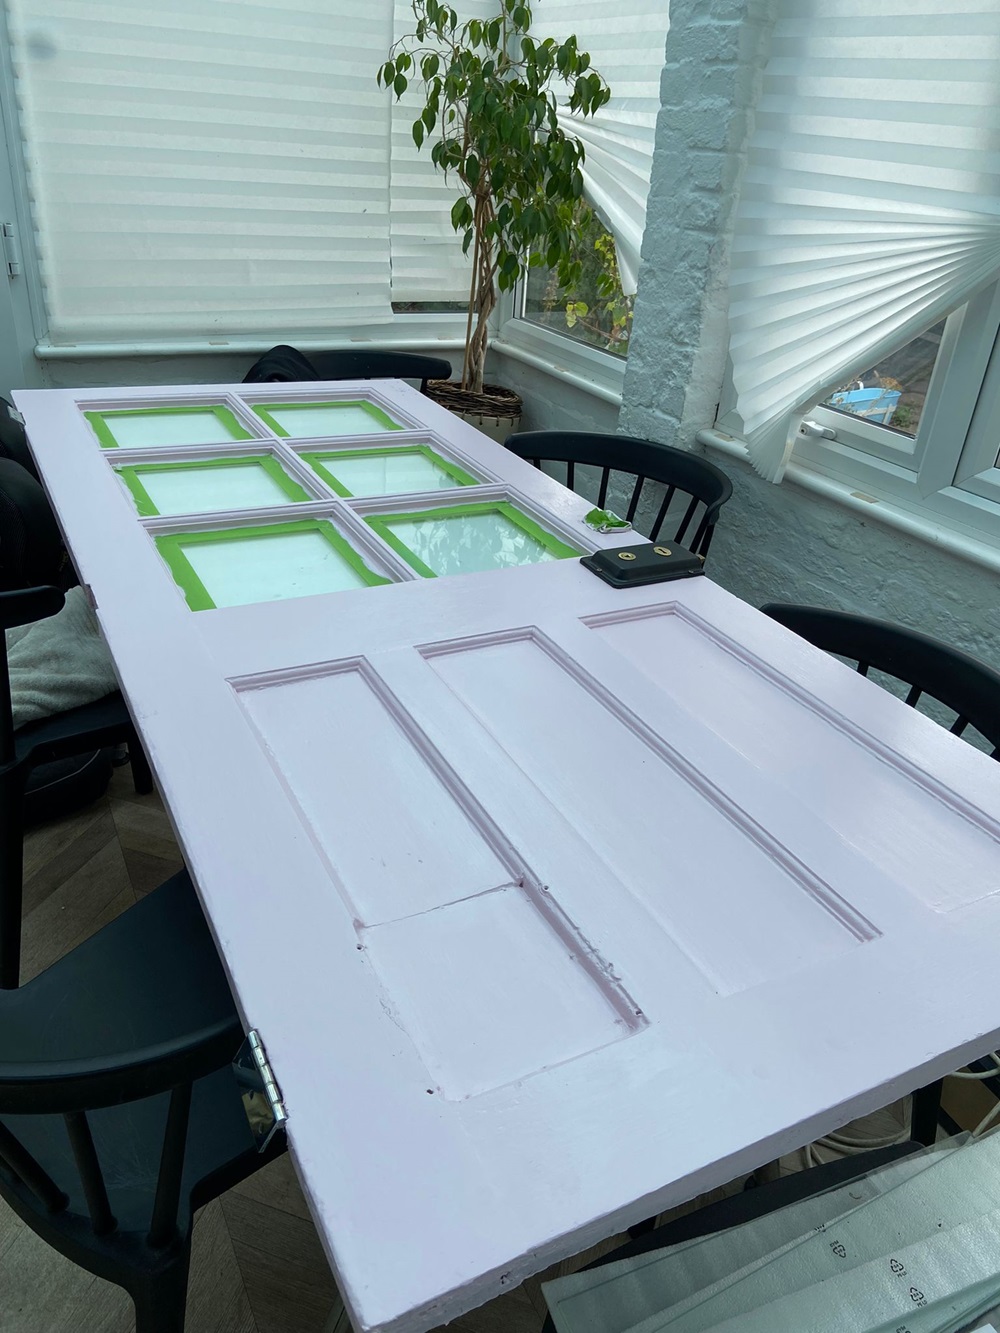
You can use chemicals or heat tools to totally strip the paint away and many people do this, however, I do feel that you only need to go that far if you are looking to have exposed wooden doors without repainting. A good sanding on the wooden door and frame will strip back enough and give a good foundation to apply your eggshell paint. This way you can also skip the primer!
Eggshell is a very forgiving paint and it takes a lot to not end up with a fantastic finish. I went to my local DIY store which has a Dulux mixing machine and they made me up a tin of Dulux Sweet Pink eggshell paint. Two coats later, and we were good to re-hang!

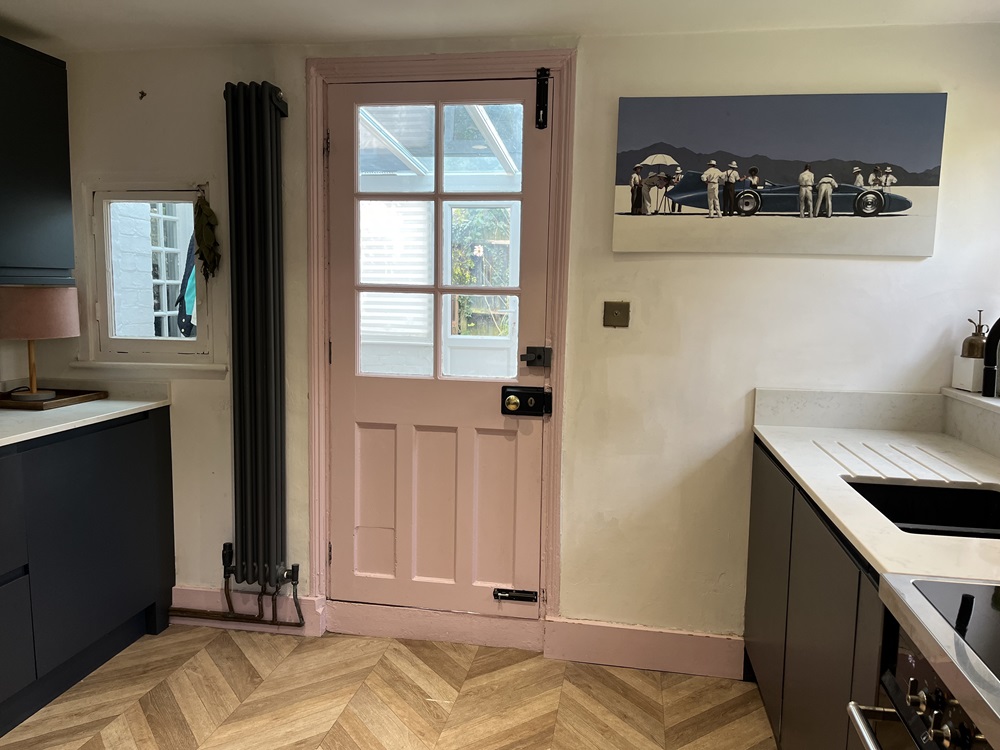
With our matt midnight blue kitchen and carrara stone worktops, our new kitchen was functional and contemporary, but lacked much character. Creating a feature of the kitchen door, and painting the door frame and skirting in the same bubblegum pink colour – it really injects some much-needed colour into the space.
I’m thrilled with the end result! it was an entire weekend’s job, but well worth it in the end. This door has so much history and I was relieved to be able to keep hold of it – you can even see where there used to be a cat flap! We still have a lot to do in this house, but one DIY job at a time…
Natalia xo
