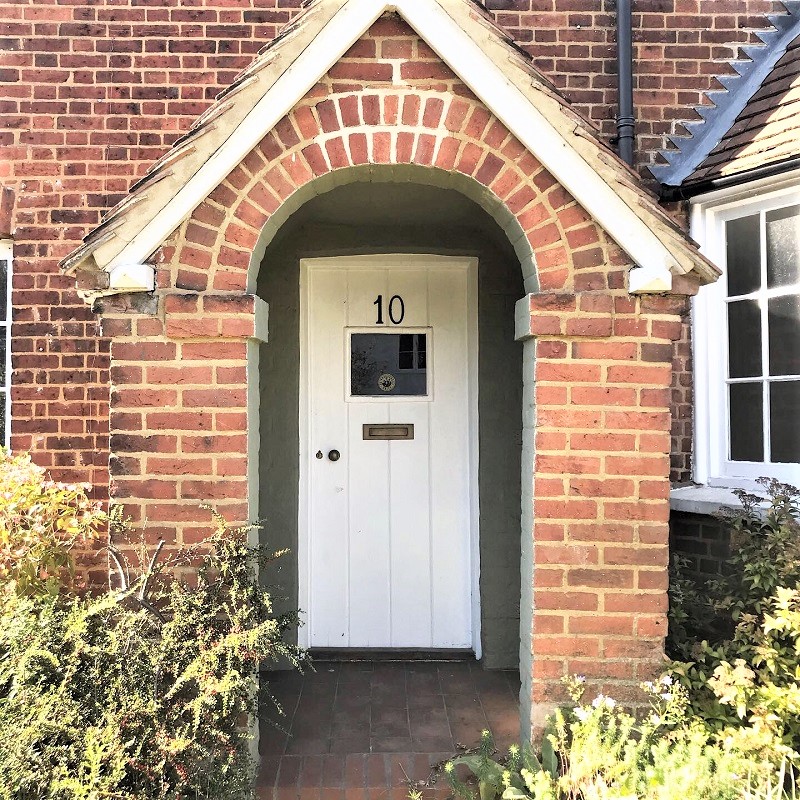
For those of you who haven’t been following my house reno series; we bought a pair of Victorian houses that were merged into one home for nearly 40 years. We split them into two properties again – one as our forever home, and the other as a rental property. You can see all the blog posts in the series here. Even though the properties are very similar – they each had their own set of challenges when it came to renovations.
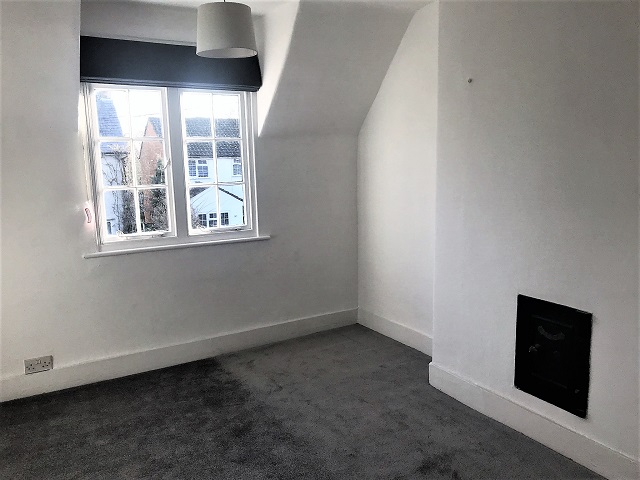
The rental house reno side was actually in much better shape than our side. Other than a new damp proofing course and replacing the joists and floorboards in the bay – everything else was purely cosmetic. Saying that, the rental took 6 months to renovate, whereas our side was ready in 3 months. This is partly because there was as much to do outside as there was inside – but also because we’d run out of steam!
I must note that unfortunately most of my ‘before’ photos got corrupted and so they’re not as clear as I’d like them to be.
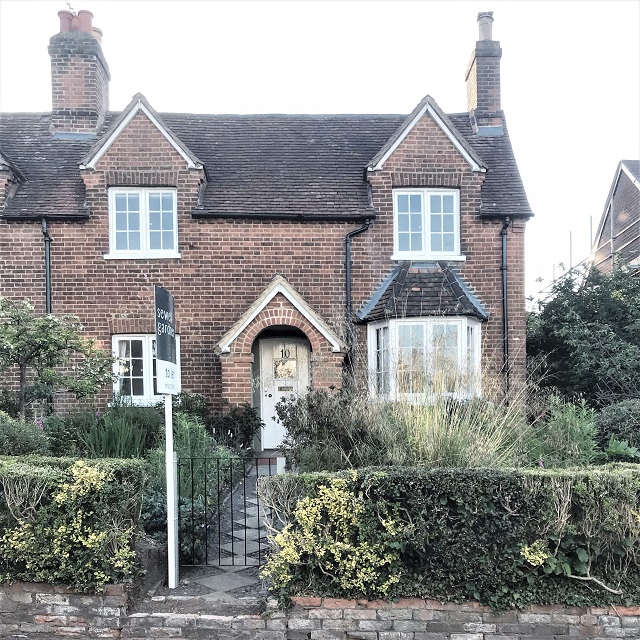
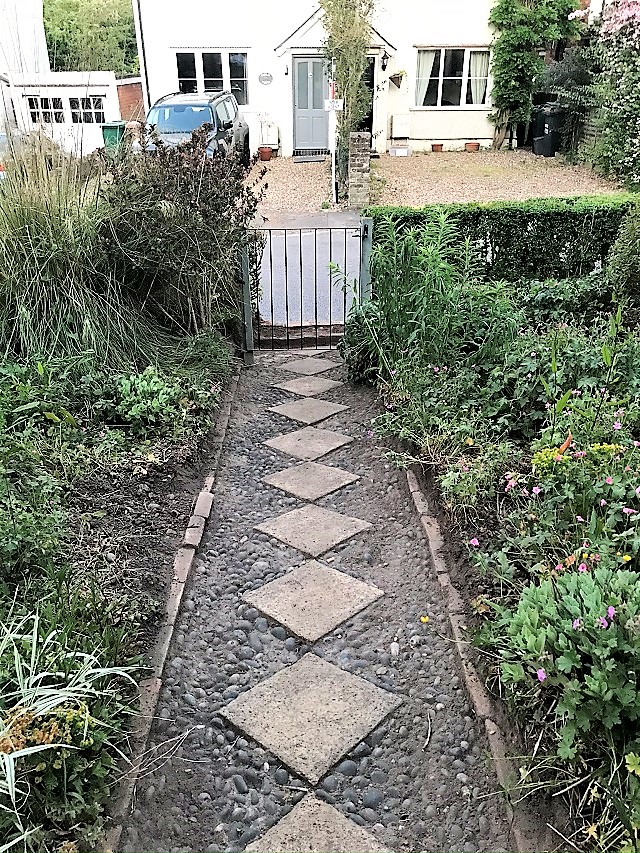
As the houses had been a single property for nearly four decades – the previous owners used ‘our’ path and front door. We started digging and found that the original Victorian pathway had been carefully covered over with lining before planting the garden over it.
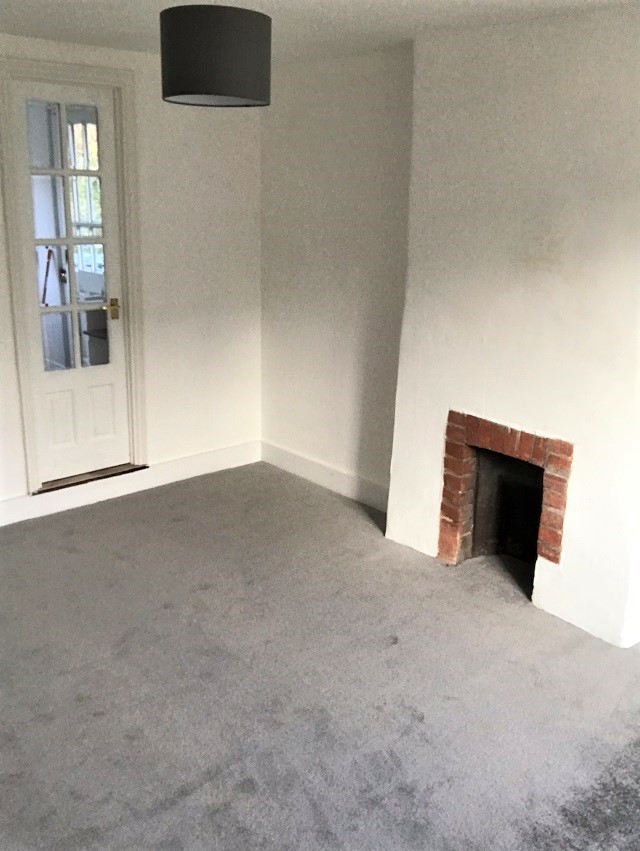
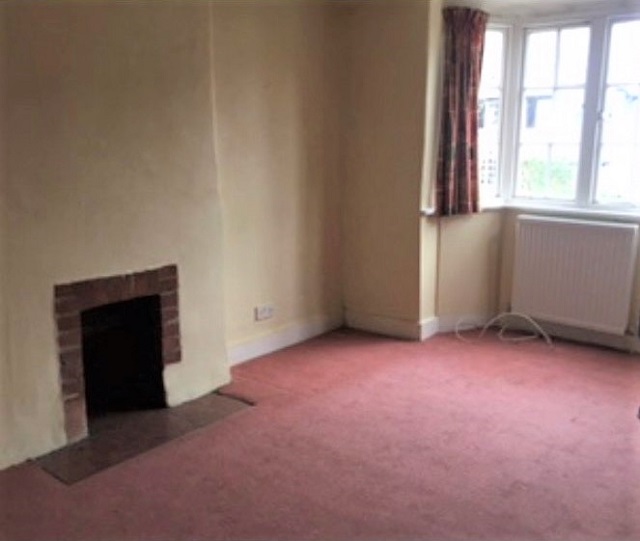
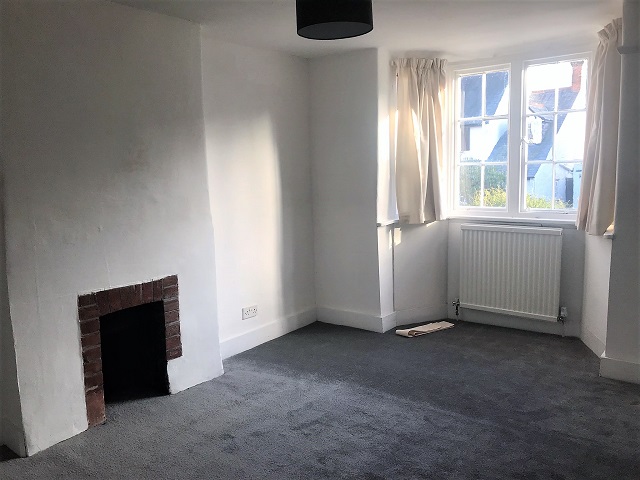
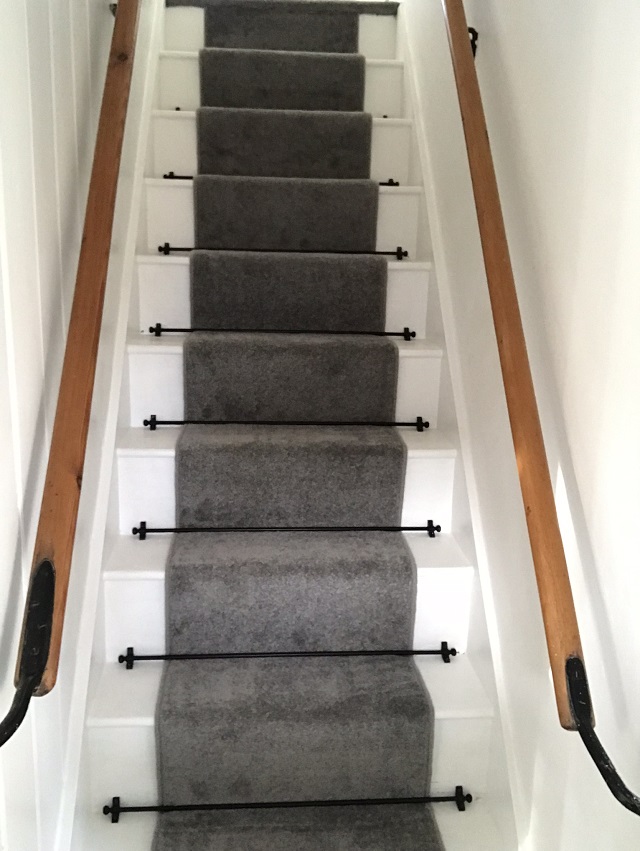
As the house used to be the home of the village blacksmiths – we wanted a contemporary nod to its heritage. We kept the original banisters and put in these simple black iron stair rods. It really helps to give a narrow staircase that sense of light and space doesn’t it?
With the kitchen below, we took out the old boiler and water tank and replaced it with a combi. It took a big chunk of our budget out, but we had to improve the energy performance of the property in line with government guidance for Landlords. This was actually one of the big challenges with the Victorian house reno – balancing budget with EPC and also making it a welcoming home for someone.
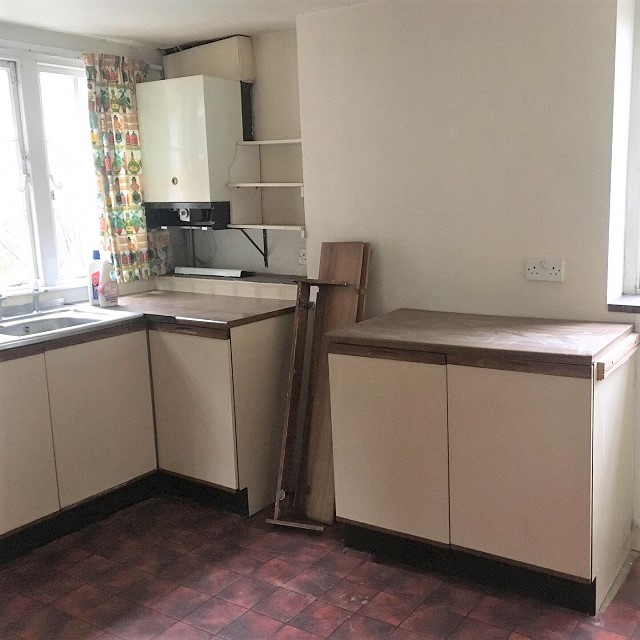
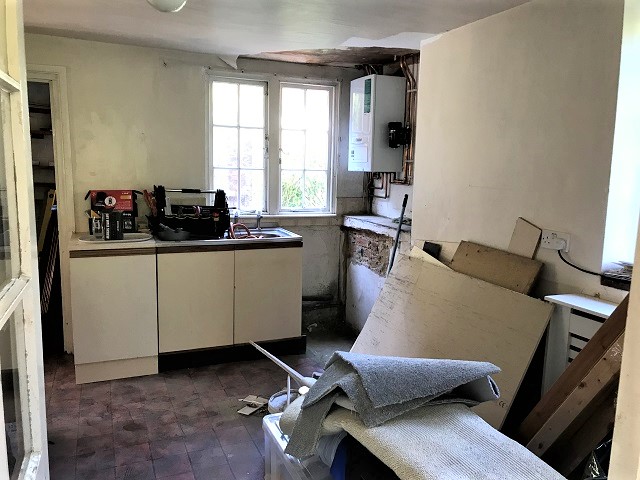
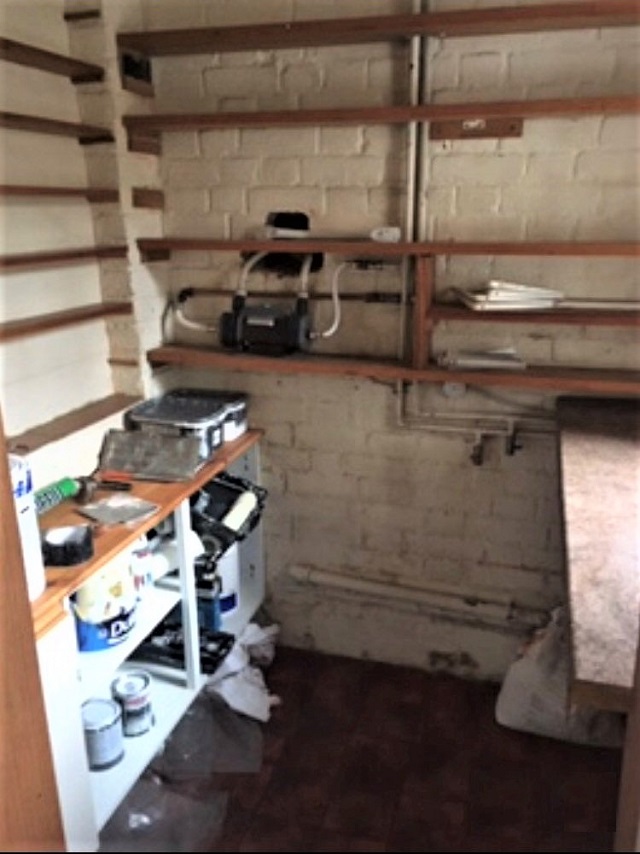
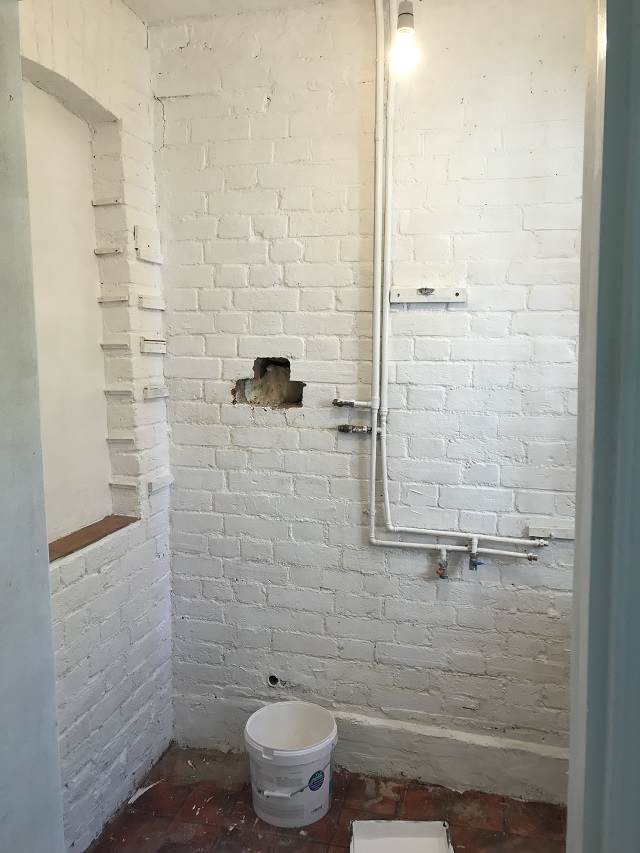
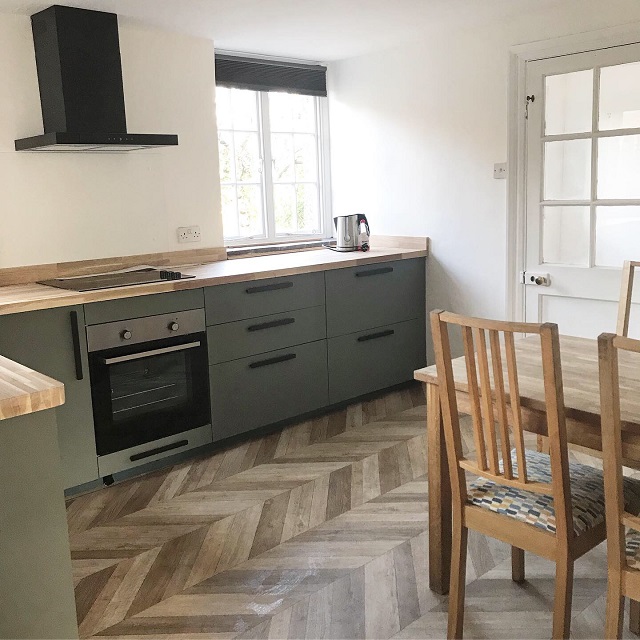
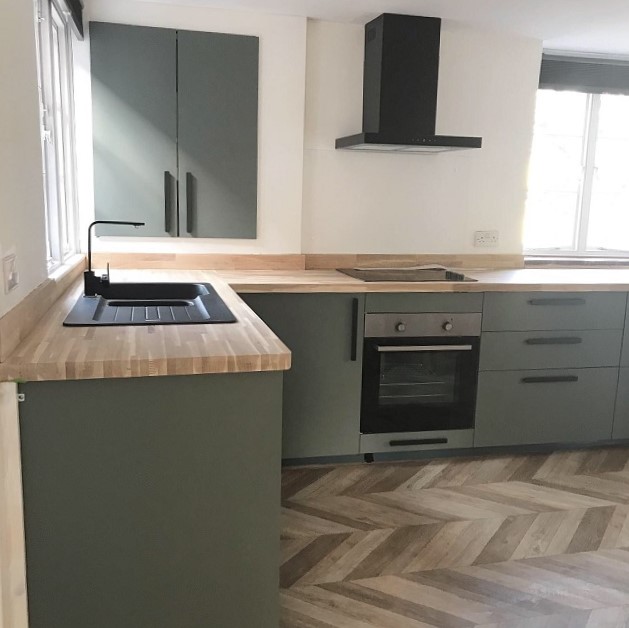
I so love this IKEA Bodarp kitchen and following on from this, I’ll do a dedicated blog post on the kitchen reno with all the info and plenty more photos!
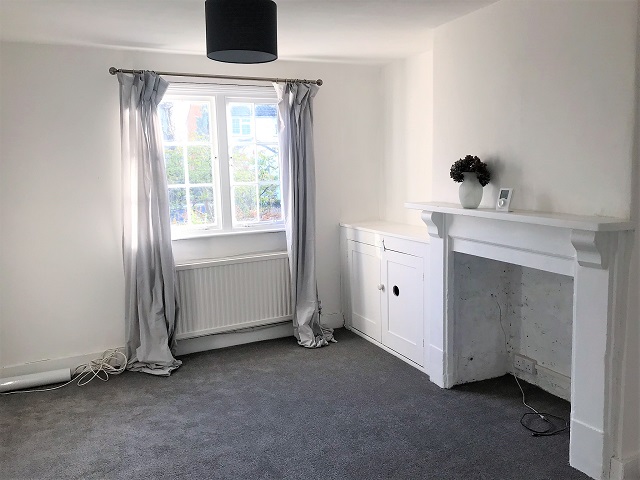
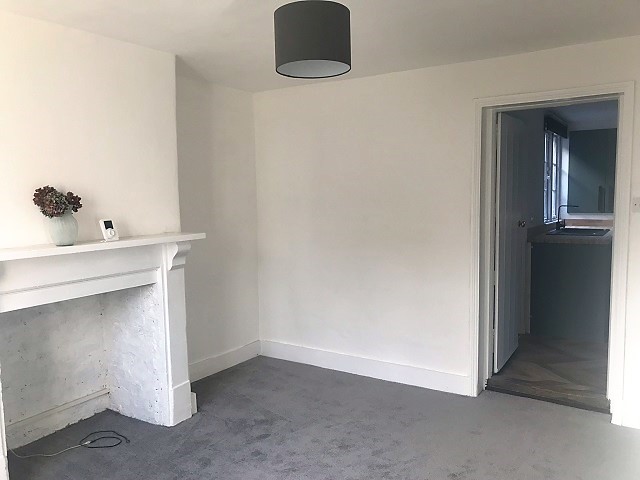
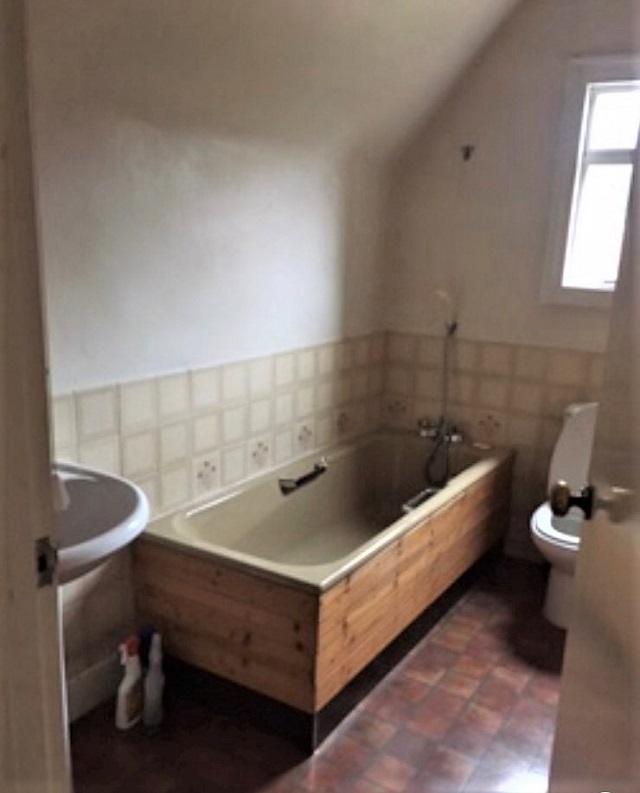
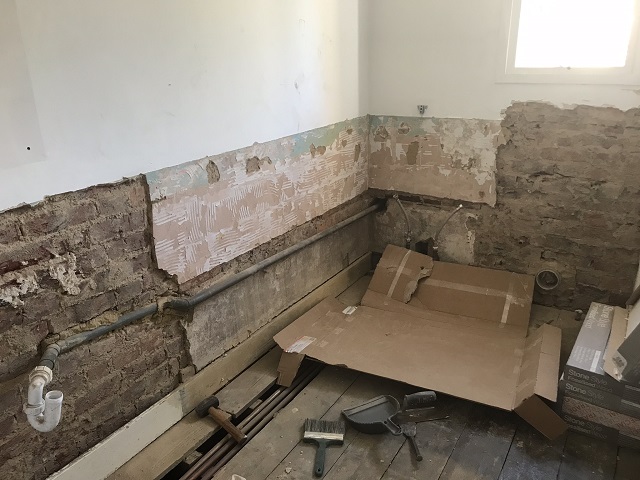
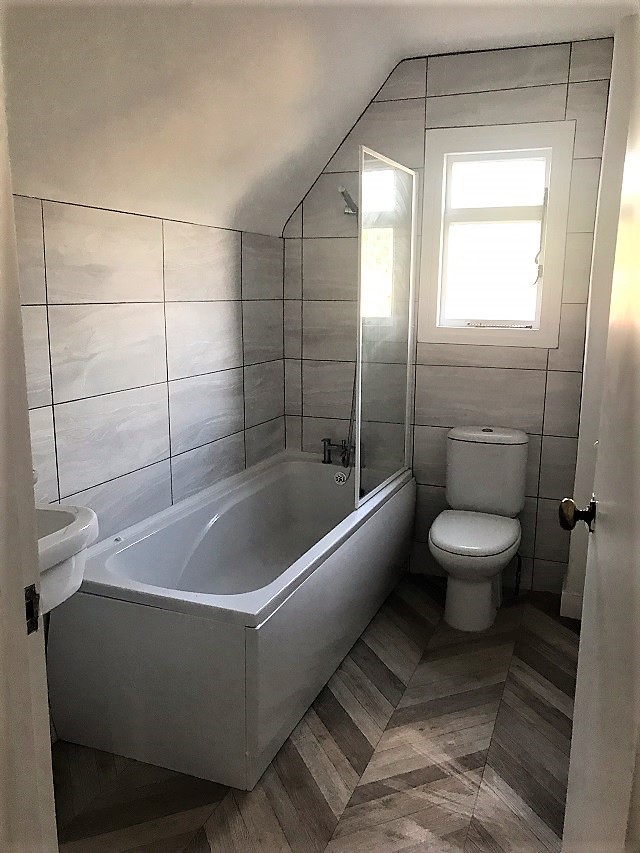
The biggest challenge with the bathroom reno was actually getting the cast iron bath out! It weighed an absolute tonne and in the end we had to break it into pieces to get it out. The tiler also did a brilliant job as none of the walls are straight – to get the tiles to line up was quite a challenge.
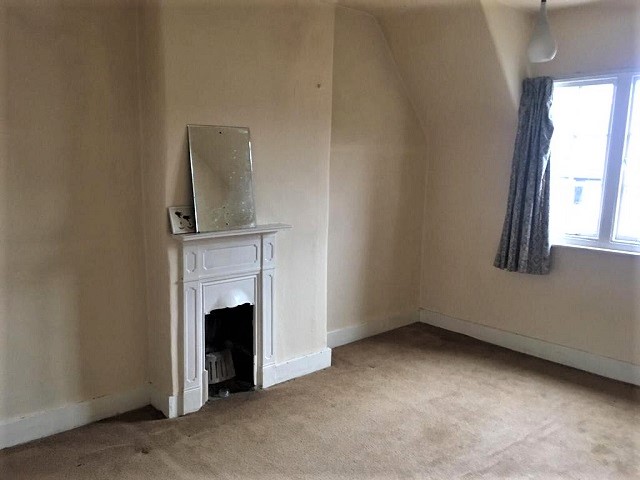
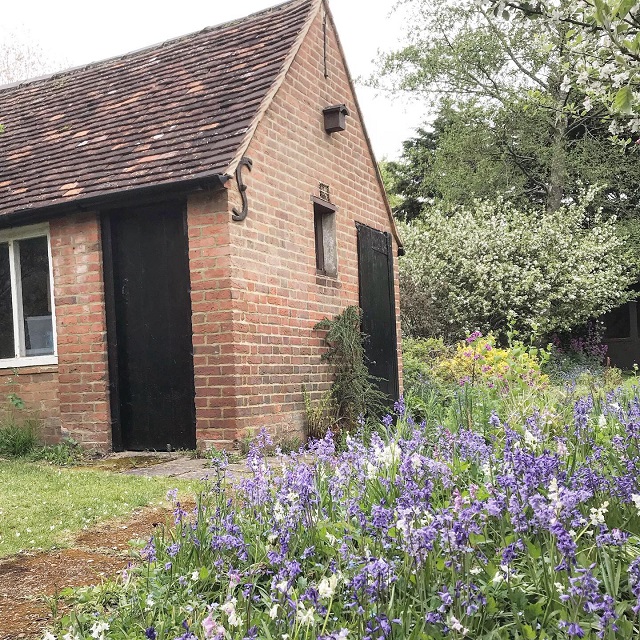
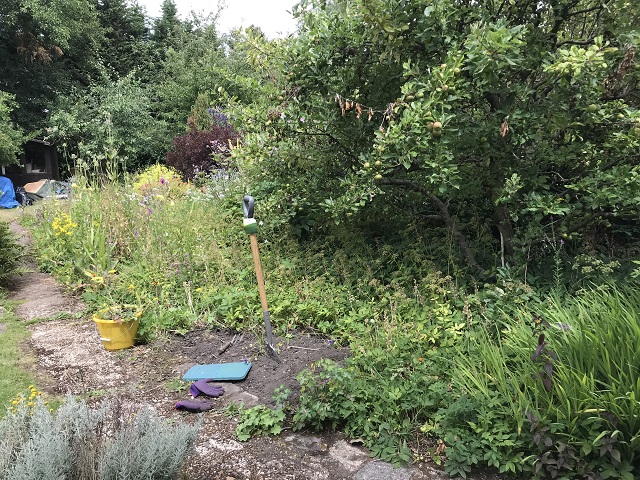
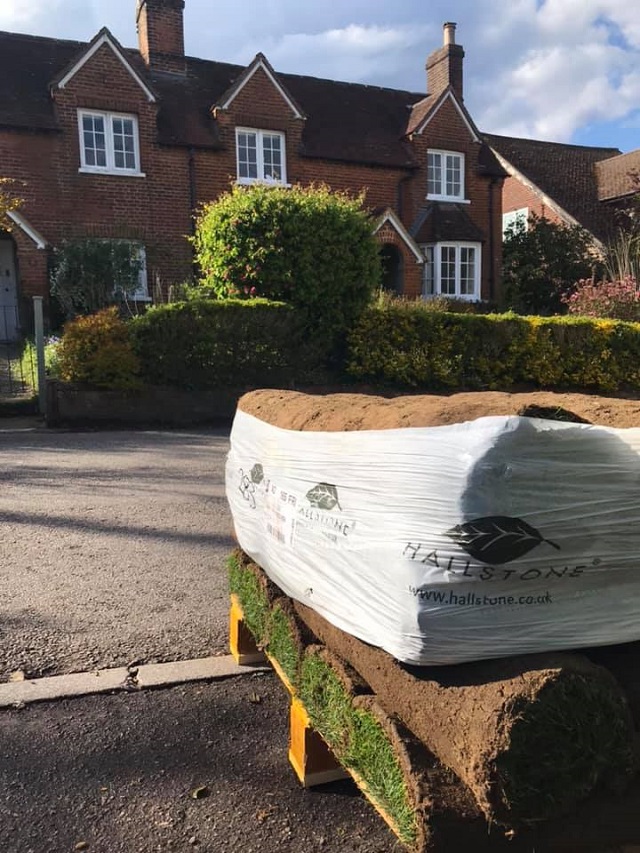
You can probably already see why the landscaping took as much time to complete as the internal works! There were thousands and thousands of bulbs as well as quite a few plants. I refused to let anything get damaged and dug and replanted every single one (I hope!). But we knew that the house reno needed a lawn and so we worked tirelessly and created a little haven. We got our turf delivered from Hallstone and couldn’t recommend them more highly!
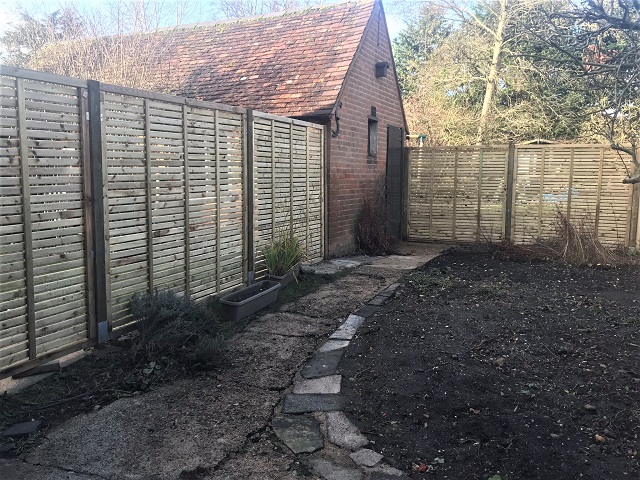
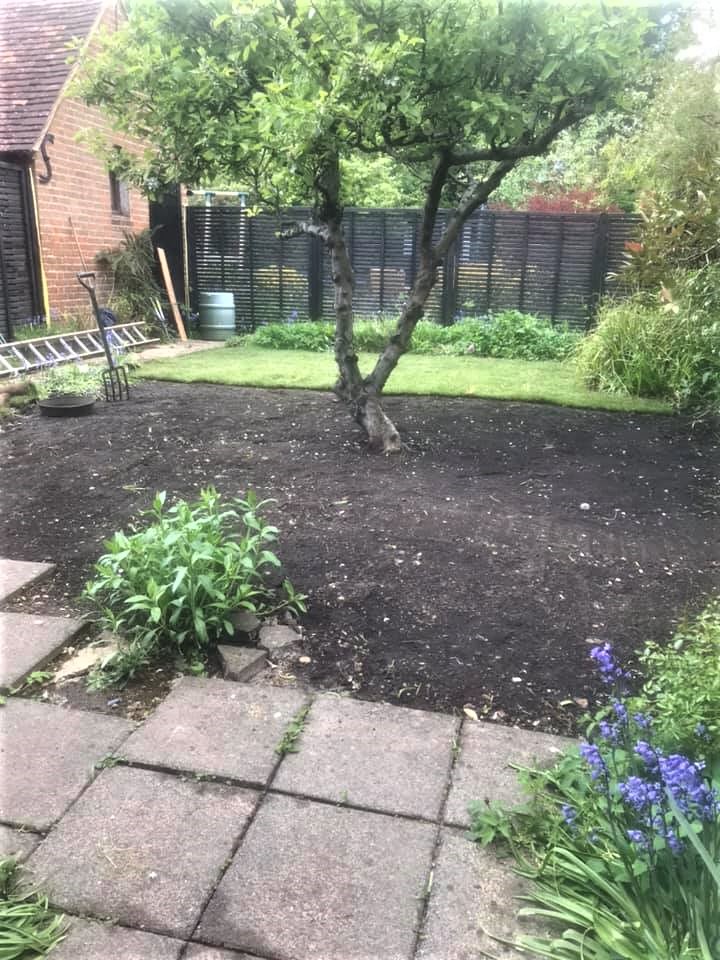
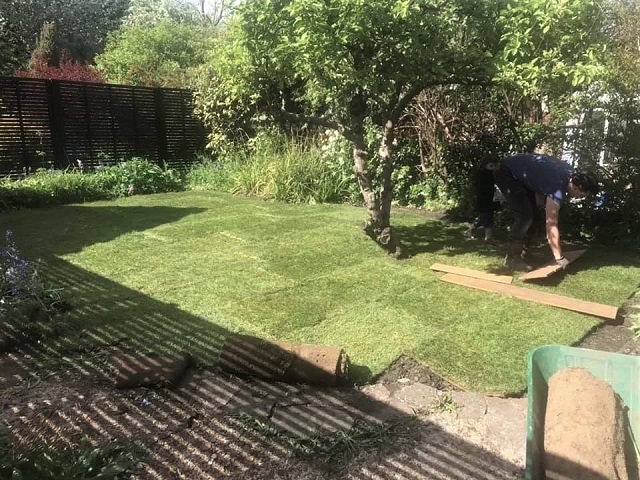
The slatted fence panels are more expensive than standard ones – but we wanted that balance between contemporary and period features. Painted black, the slatted fence complements the features on the outbuilding but also gives a real sense of space with the light shining through the slats. We planted climbers and hedges along both sides of the fence and so our tenants will have some additional privacy once they establish.
It actually feels really good to give a house like this a new lease of life and create a home for a new family. There’s just something about old houses, isn’t there?
Natalia xo
