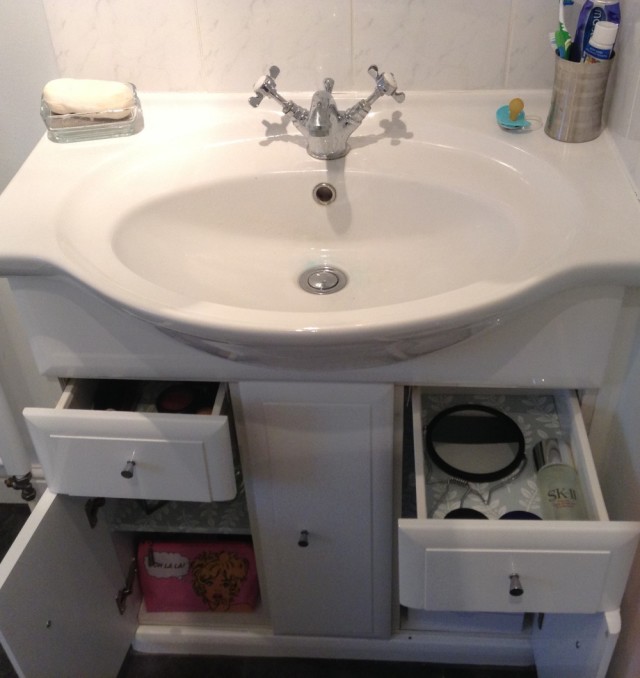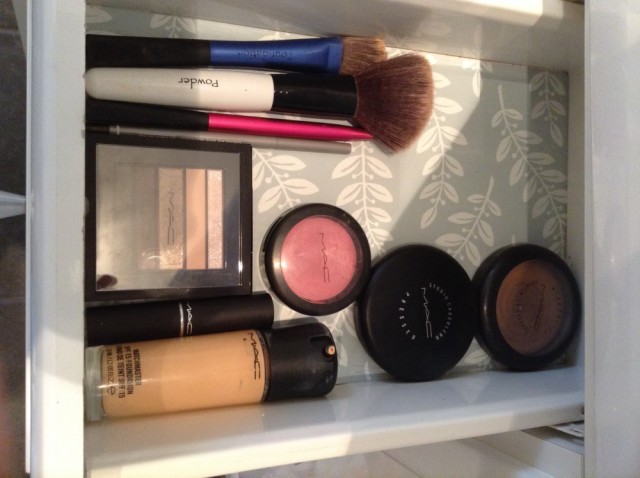
Those wallpaper samples and offcuts that you have lying around are perfect for lining bathroom drawers! If you’ve been wondering what to do with those left over bits of paper, I have a really quick and easy solution for you to spruce up your drawers. I personalised my bathroom drawers last night whilst watching X Factor and it probably took an hour or so (I kept having a break to sip some wine!).
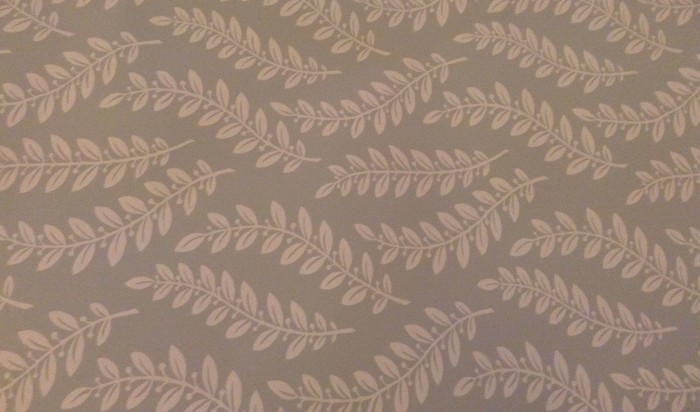
I had this beautiful Laura Ashley wallpaper sample in the cupboard which was too lovely to throw away. This is the Laura Ashley Fenton duck-egg wallpaper available from Homebase for around £20 per roll.
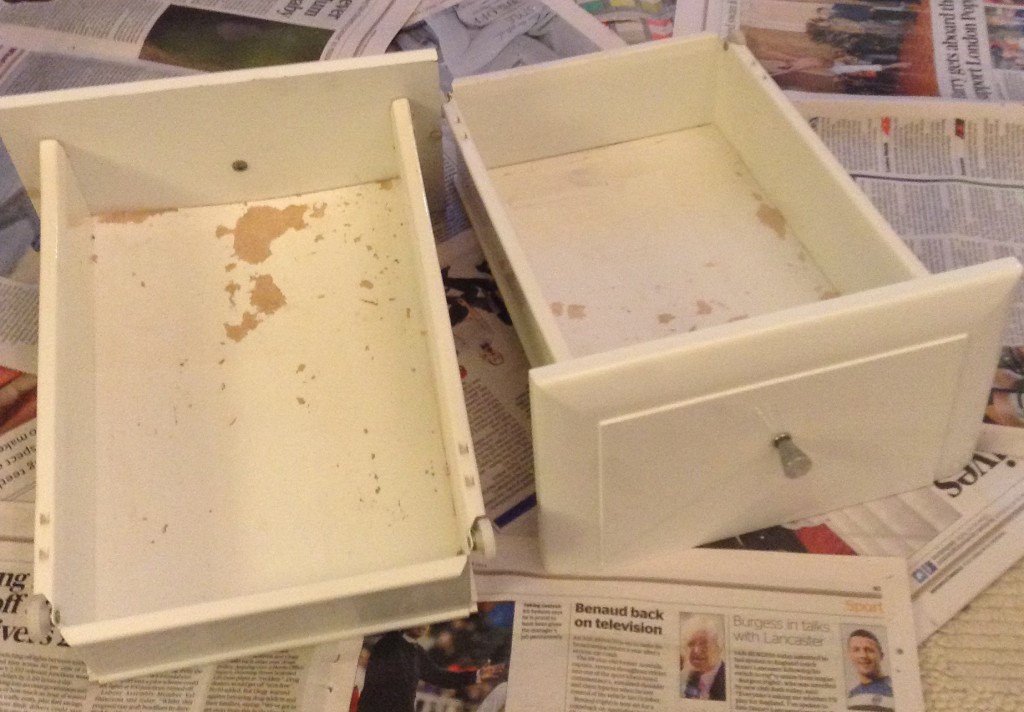
My bathroom drawers were looking tired to say the least, the bottom of the drawers had started flaking off. A mixture of dealing with moisture in a bathroom and being scrubbed clean periodically can cause flimsy drawer bottoms to ware. Using wallpaper is a very simple and cost-effective way for lining bathroom drawers.
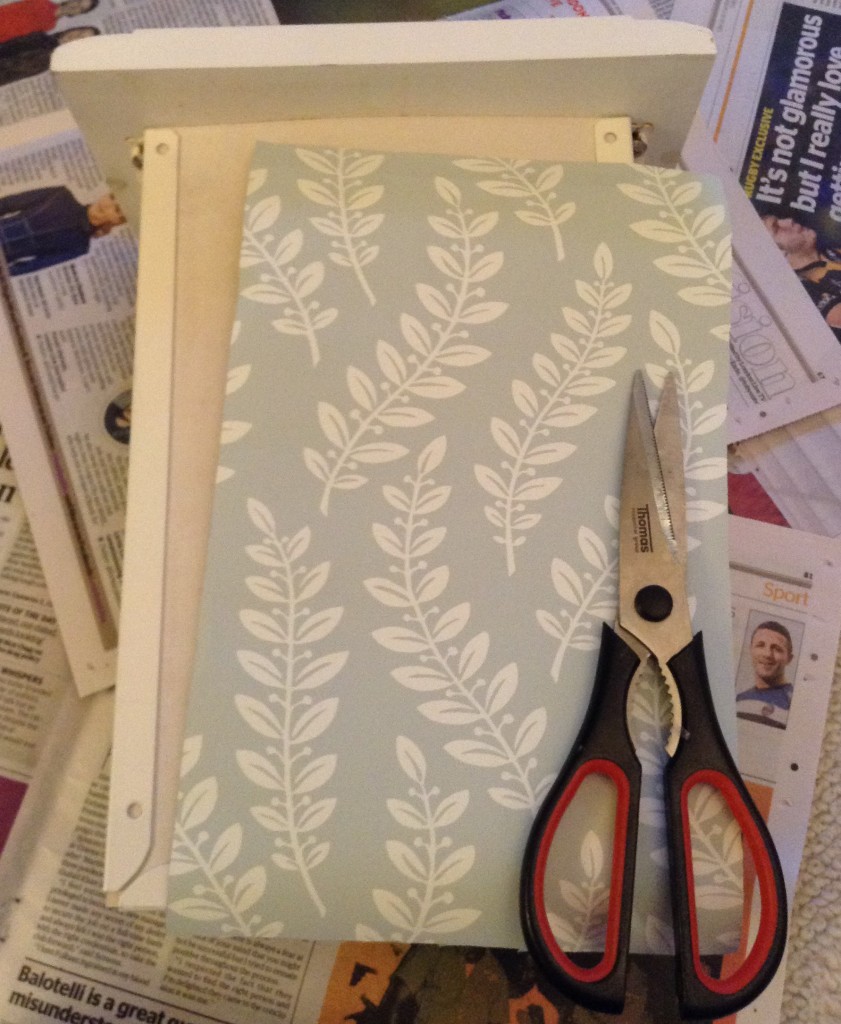
Firstly, turn the drawer upside down and measure out the wallpaper and cut out your template. It’s better to leave a little extra wallpaper than it be too small so if in doubt – add a couple of inches.
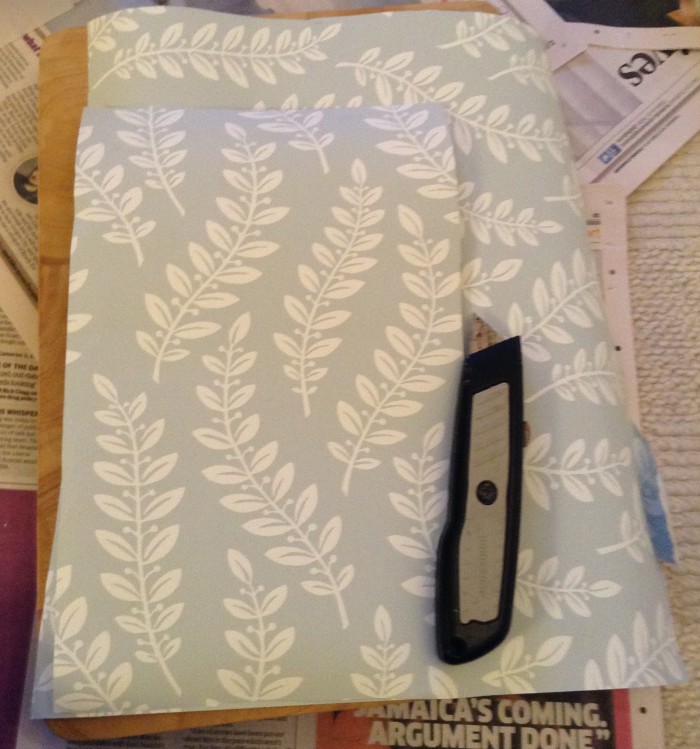
If you have more than one drawer, use your template to cut other sheets the same size. I always use a chopping board if I’m using a stanley knife and measure a straight line using a ruler or something with a solid edge (I used a place mat from the kitchen).
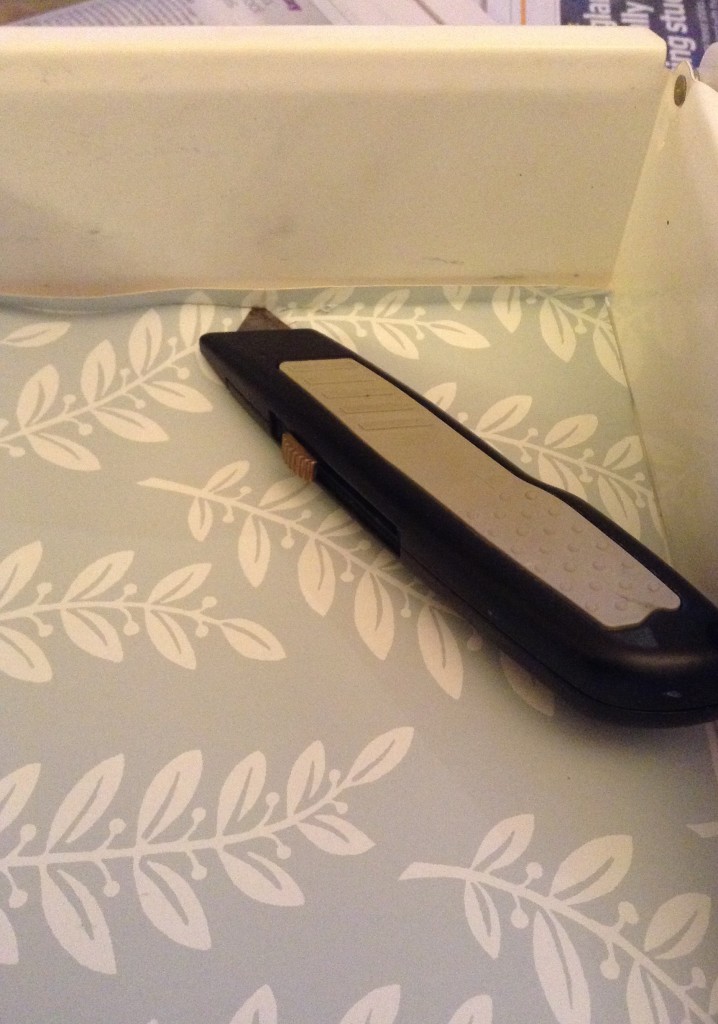
Flip the drawer back over and place the wallpaper cut-out inside. If you have a little extra, you can use the stanley knife to cut it out – a sharp crease will stop the wallpaper from snagging as you cut.
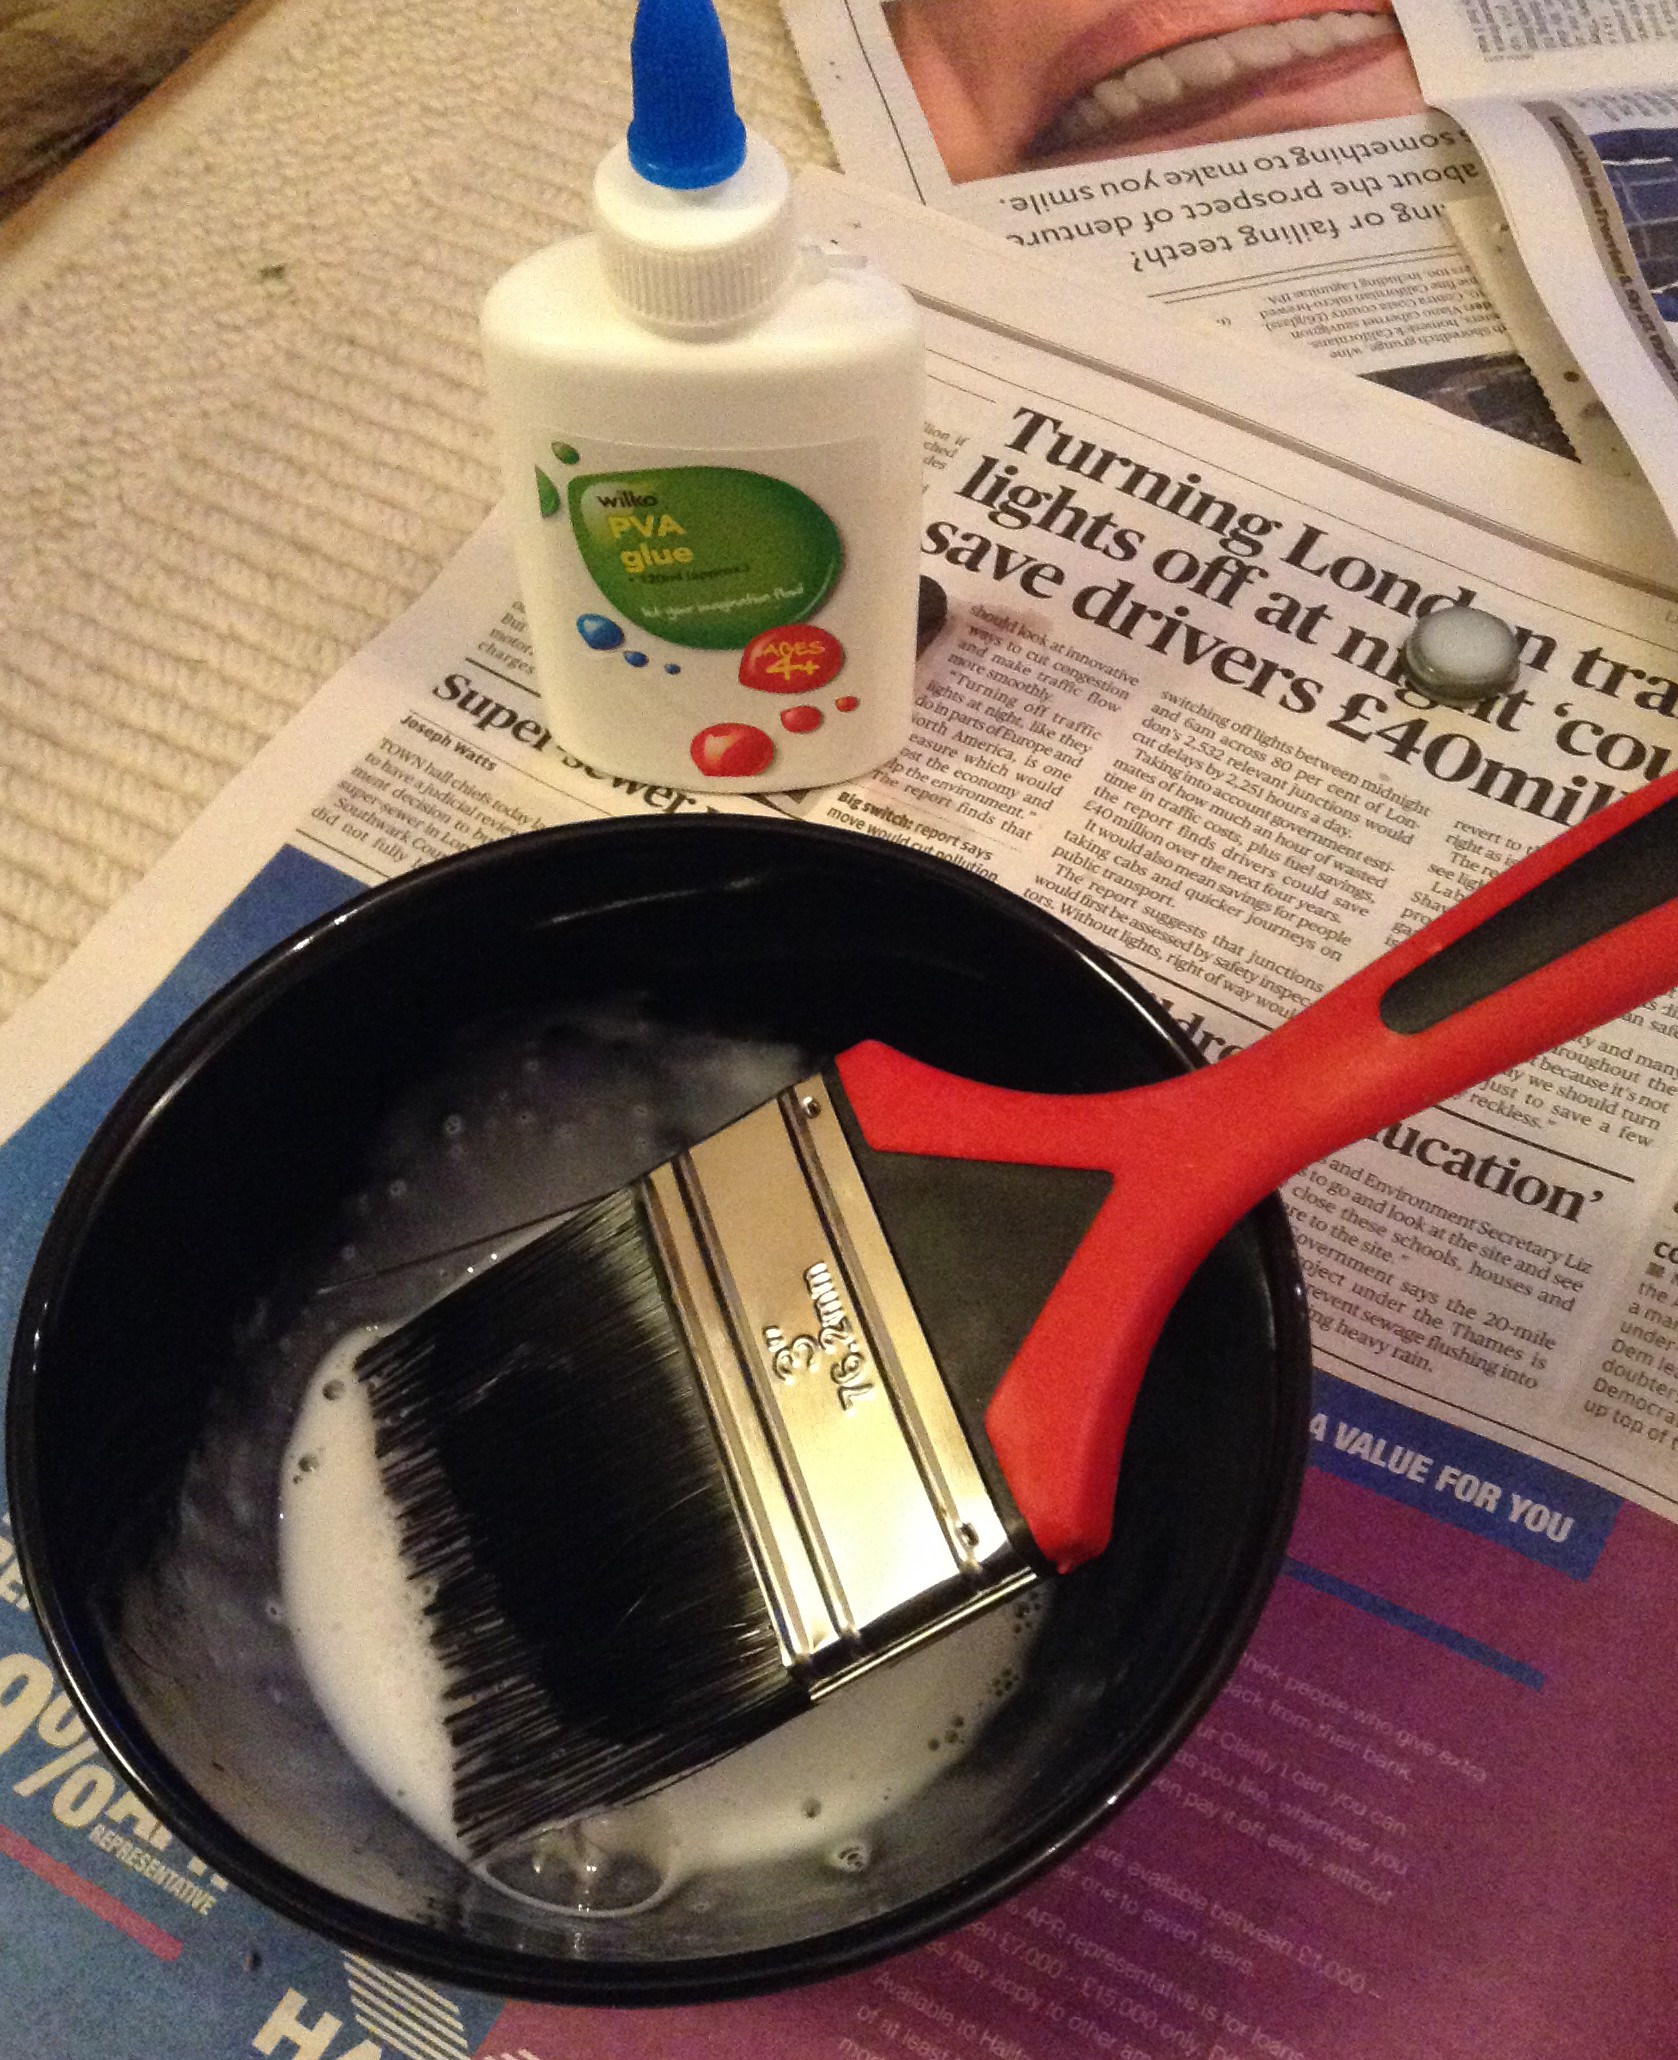
I used PVA glue from my toddler’s art box – it was what I had in the house and does an adequate job. I also use PVA glue later so keep it to hand! Press the wallpaper down into the drawer and smooth any lumps or bubbles out.
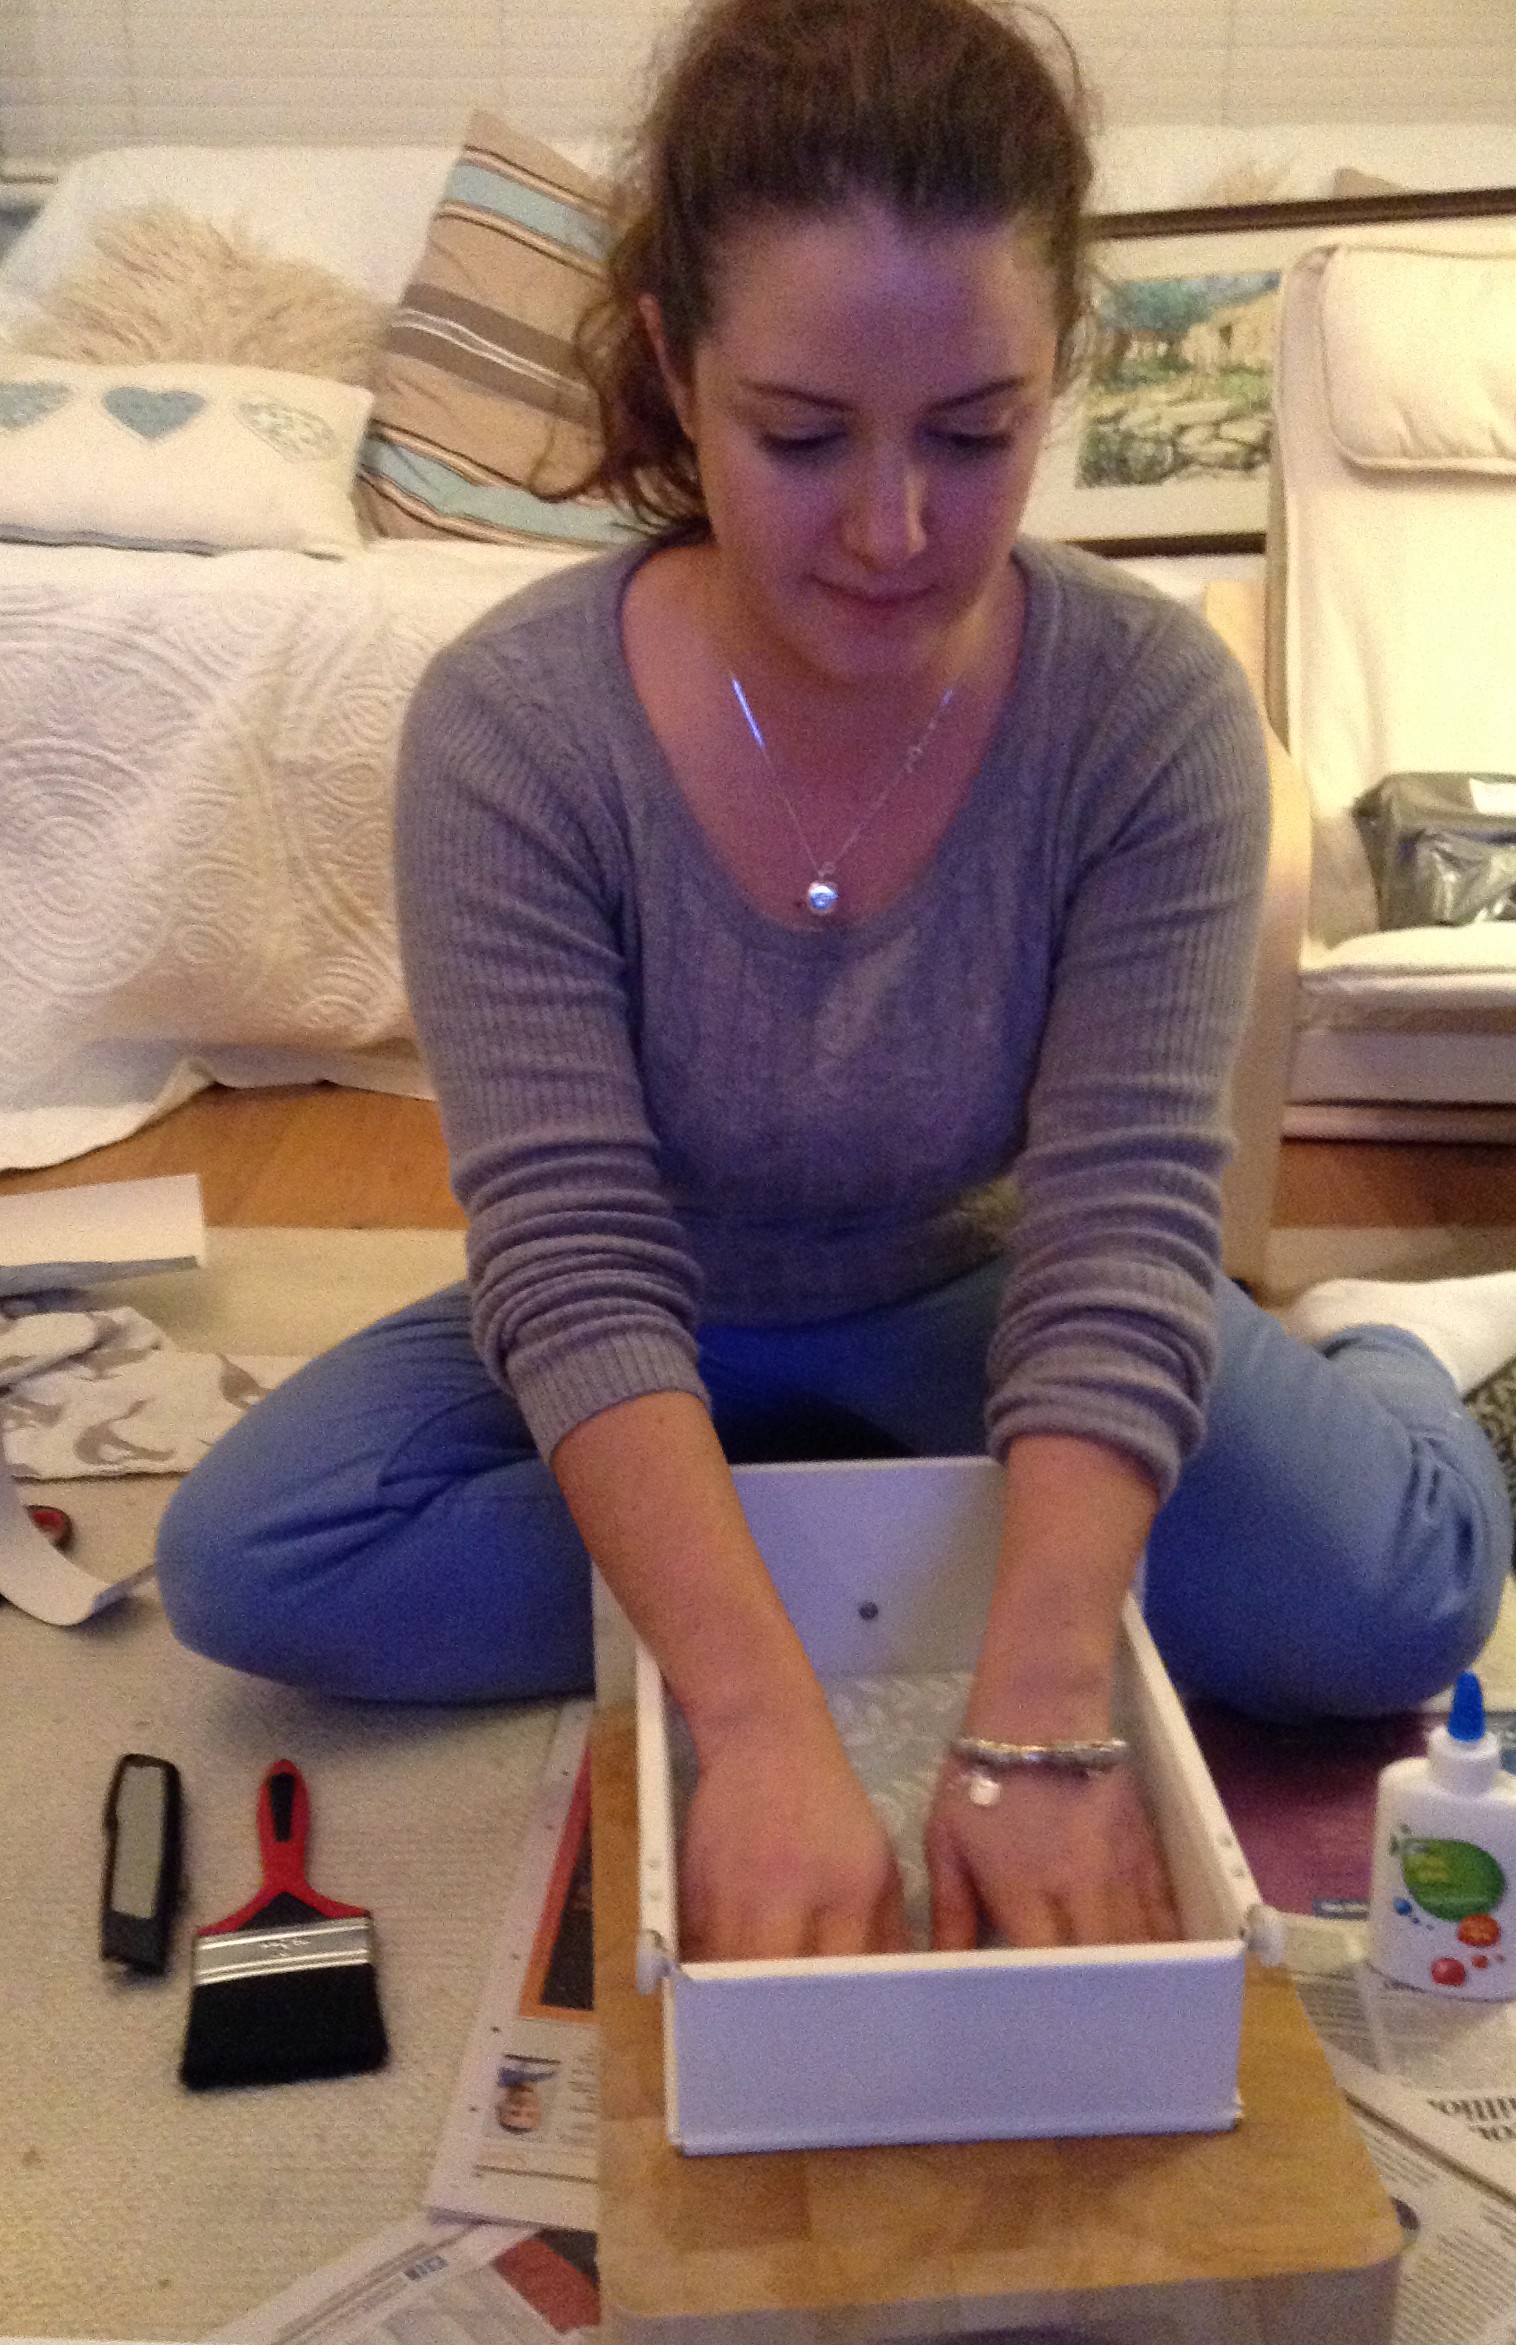
Next, mix two third’s PVA glue with one third water and grab a paint brush. Mix the solution to form a glaze and paste over the wallpaper. It’s better to add the PVA solution thinly and adding layers if necessary rather than gloop it all on!
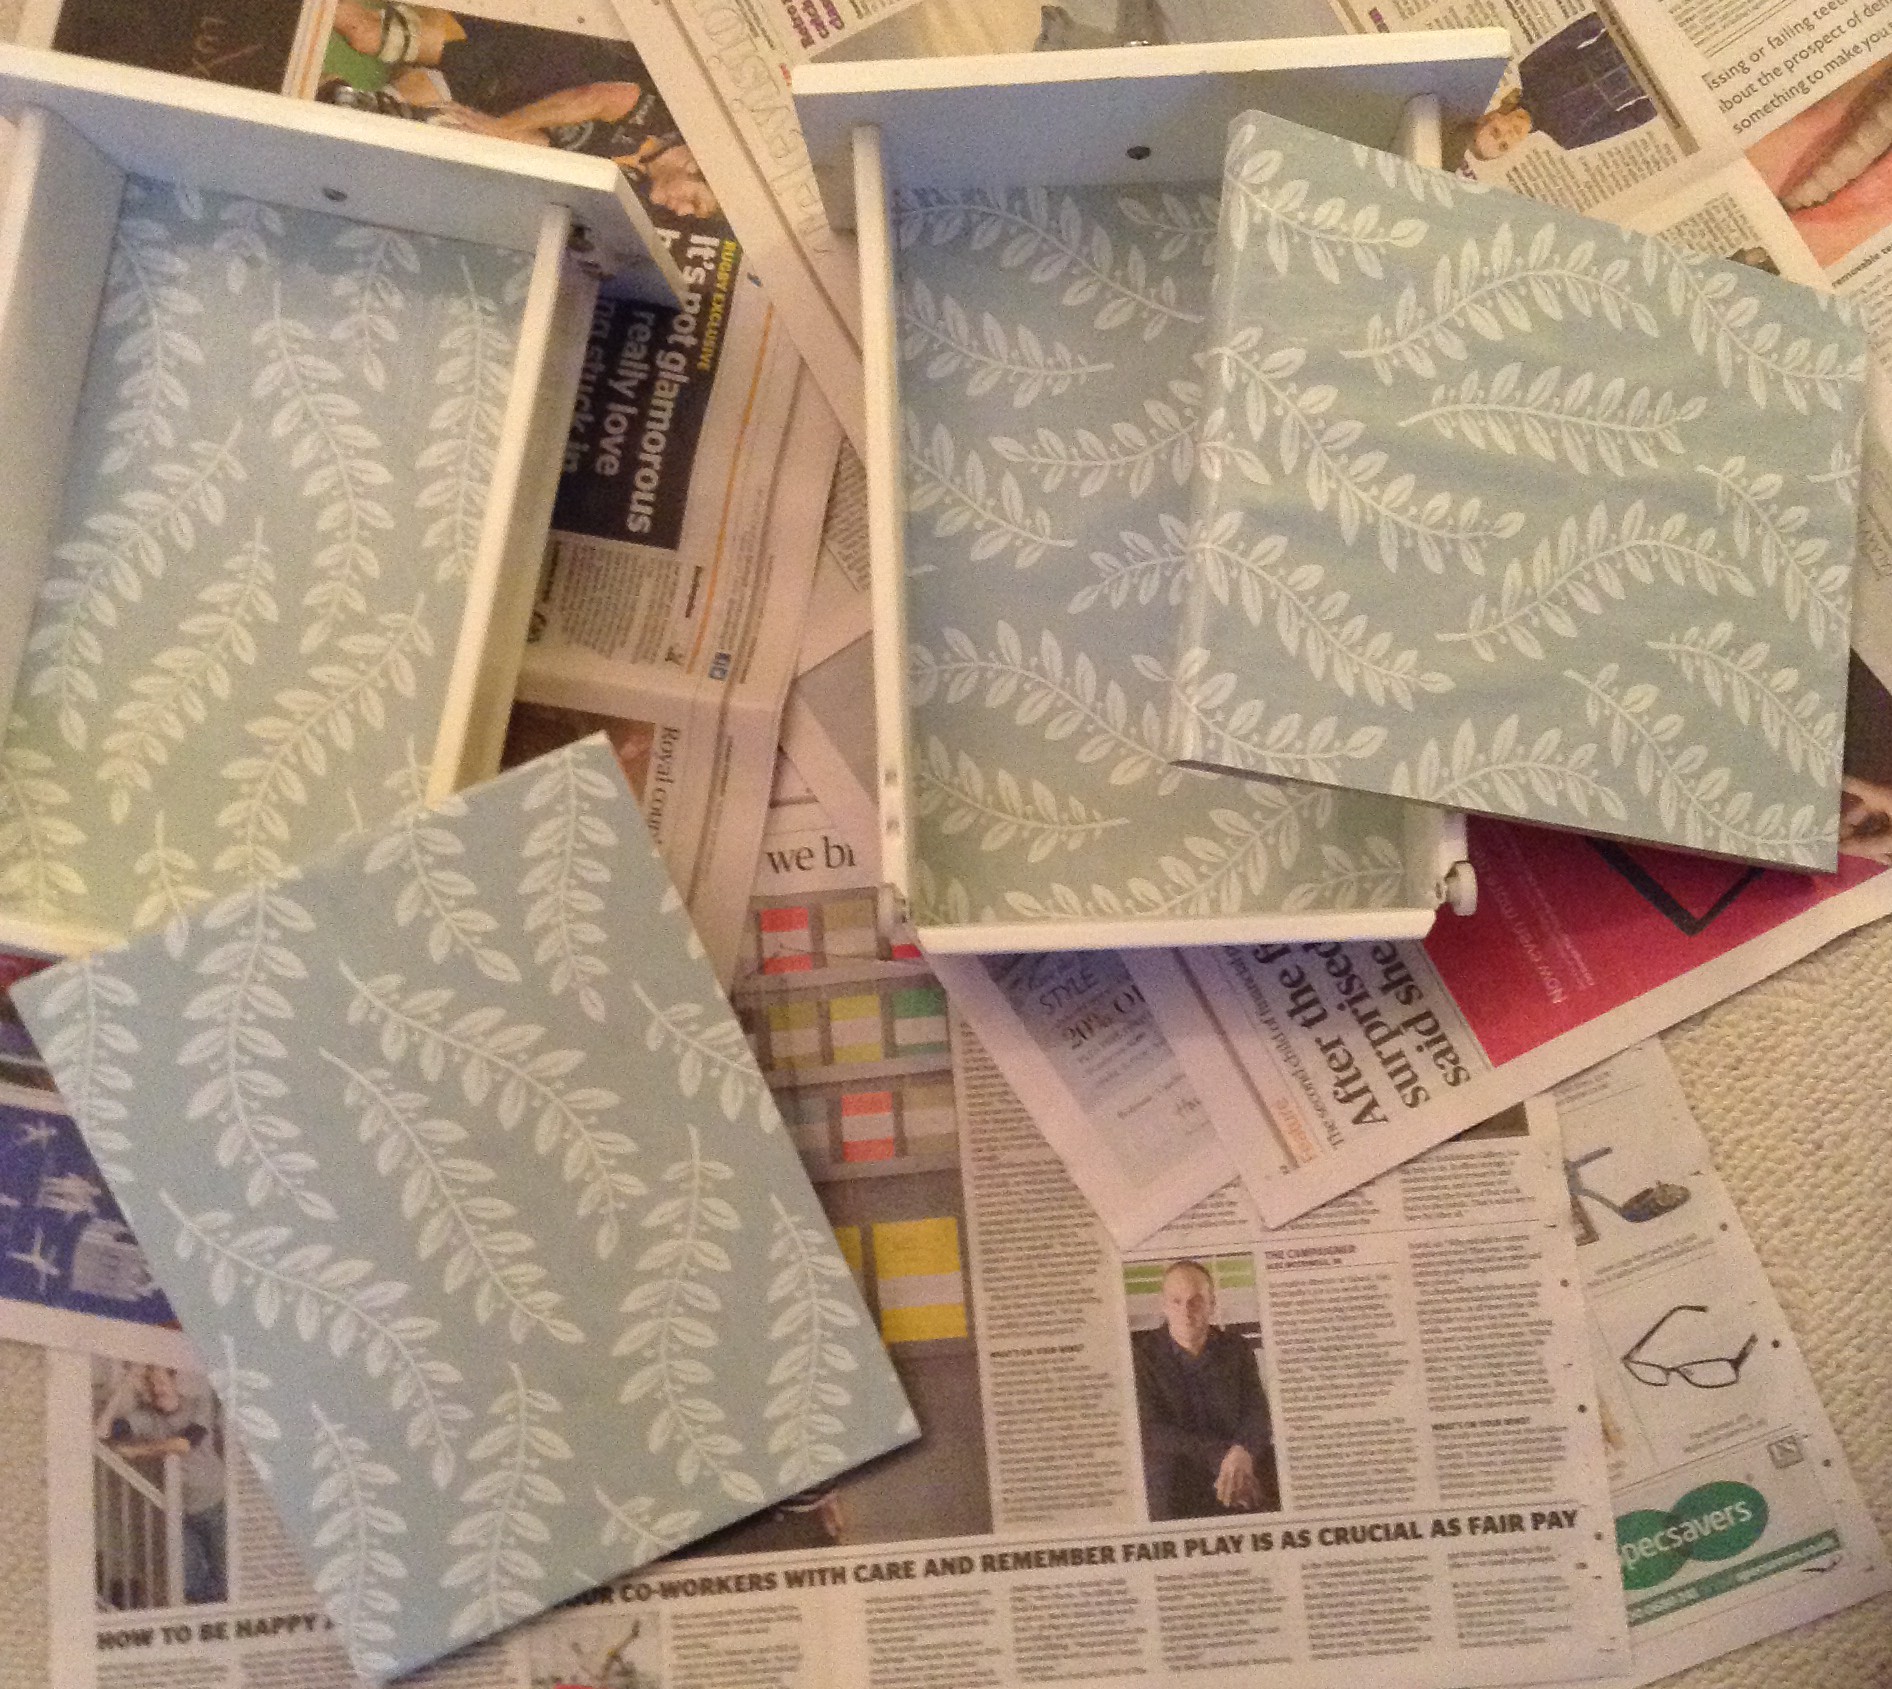
And then pour yourself a glass of wine, pop the kettle on and let your masterpiece dry. Or if you’re mad like me, you can get cracking with lining the bathroom shelves too…
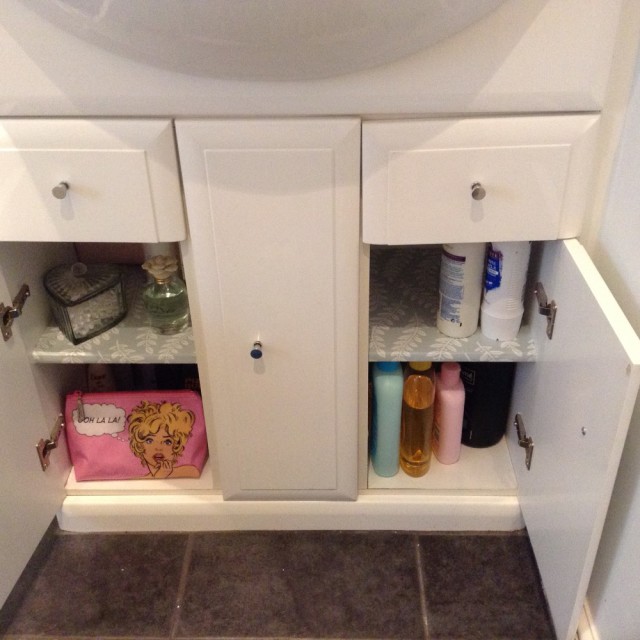
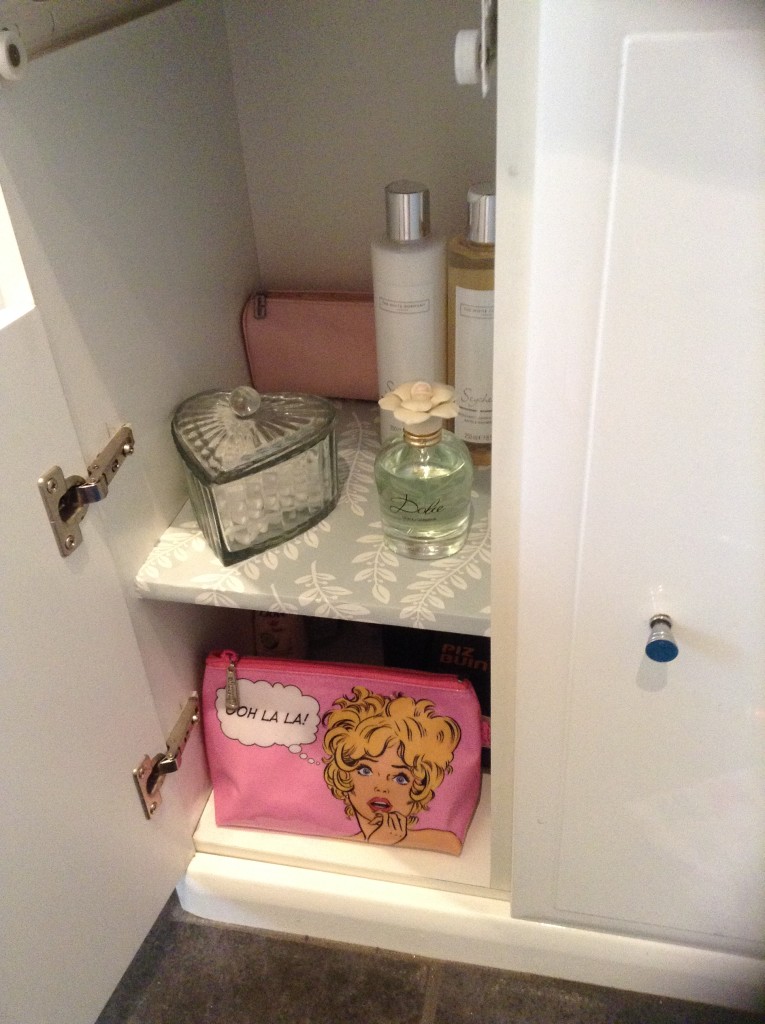
In my under-sink cabinet in the bathroom, I also have a couple of shelves that were starting to look quite tatty. I had enough wallpaper cut-off to cover those also and it’d tie in quite nicely with the overall look. Because the shelves are laminated, the PVA glue won’t stick very well and so I used some double-sided sticky tape to fix the wallpaper onto the shelves. Make sure when measuring out your wallpaper that you leave enough on the length to fold it over the edge to give a nice, clean finish.
Once again, use the PVA glue and water mixture to paste onto the wallpaper sealing it and leave to dry.
Et voila! My new and improved bathroom cabinet! What do you think of the finished project? It cost me absolutely nothing to do this upcycle project, I used things that were lying around the house. But if you were to buy some wallpaper and PVA glue it wouldn’t cost you much and the results on lining bathroom drawers are really great. Now I just have to keep those cupboards tidy!
I hope this has inspired you to personalise your bathroom drawers!
Natalia xo

