Transforming your kitchen on a budget isn’t an ideal scenario, and it certainly wasn’t ours! But the kitchen is the heart of the home and so often overlooked when you’re decorating the house. When it comes to functional spaces such as the kitchen or bathroom (take a look at my post: 5 ways to make your bathroom look like new) where we spend so much of our time and yet they’re often the last rooms to be updated. Often this is because of the costs involved. However, you can transform your kitchen on a budget and if you’re up for getting your hand dirty – you can do it for as little as £50 as we did…
These are the ‘before’ photos of our kitchen.
It was tired and dated and because it doesn’t get much natural light, it was quite dingy too. We had a small pot of money and were planning to rip out the entire kitchen from floor to ceiling and start again. With my partner being an architect, we had grand plans to rejig the layout and get some more natural light into the space. But we then booked our Wedding venue and so as it often happens with these things – the new kitchen has been put on hold indefinitely.
We had to do something though as I love cooking and I just didn’t enjoy being in this kitchen at all. Take a look at my vlog and find out how transforming your kitchen on a budget can be done:
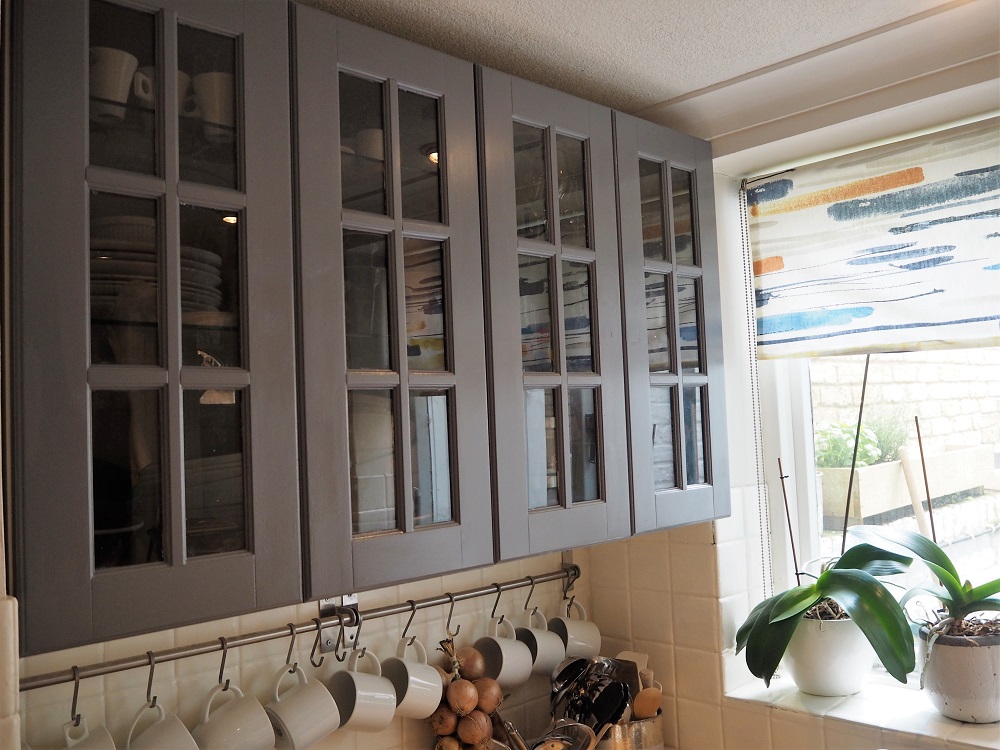
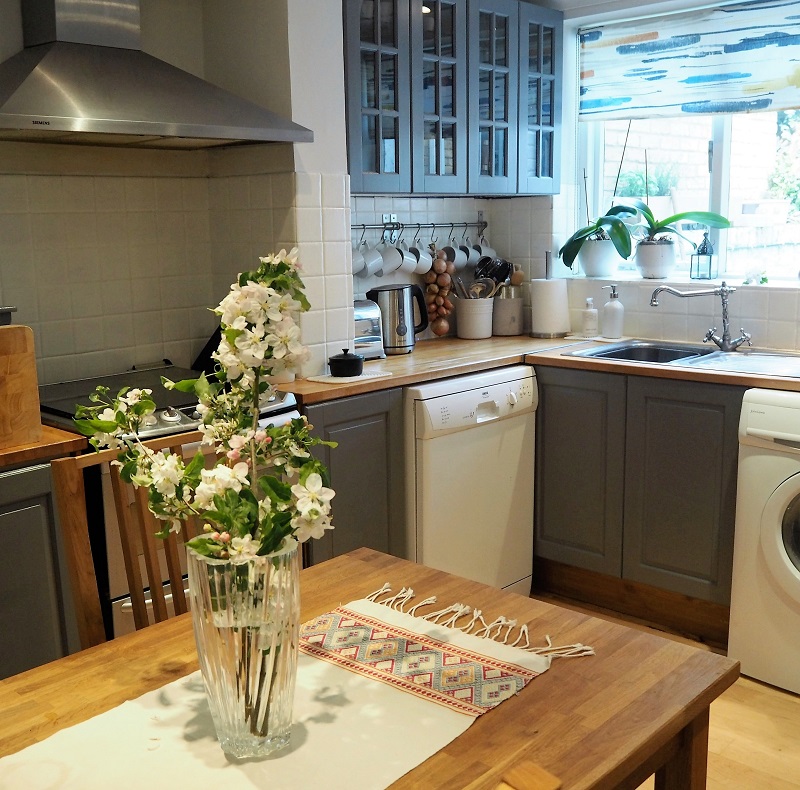
There’s still work to be done such as putting on the new cabinet handles (which are so nice and can’t wait to show you guys!). After the Wedding, we’ll get new worktops, a new range, kitchen sink etc. But it’s changed our mind about needing to rip everything out and start again. The cabinets have a new lease of life now and we’ll keep hold of them for a while longer! The paint we used is Ronseal granite grey satin and is available at Homebase, B&Q, Wicks and other DIY stores.
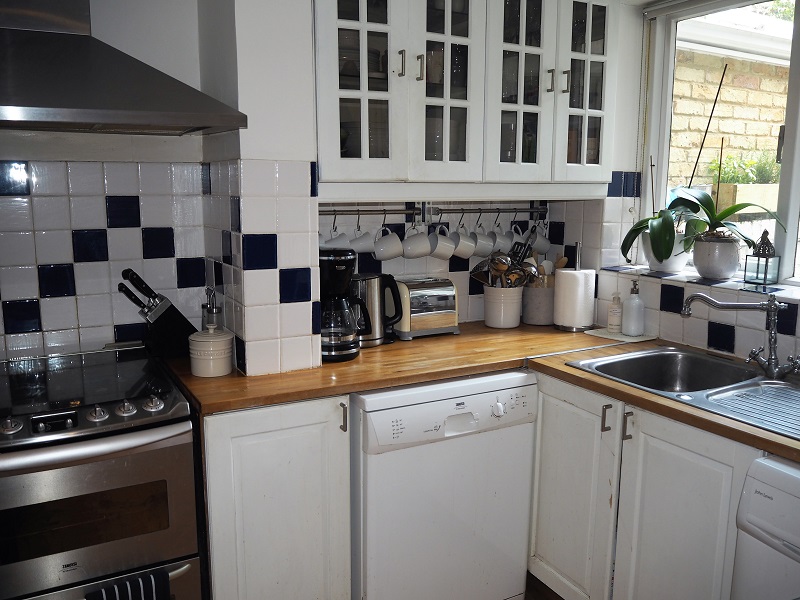
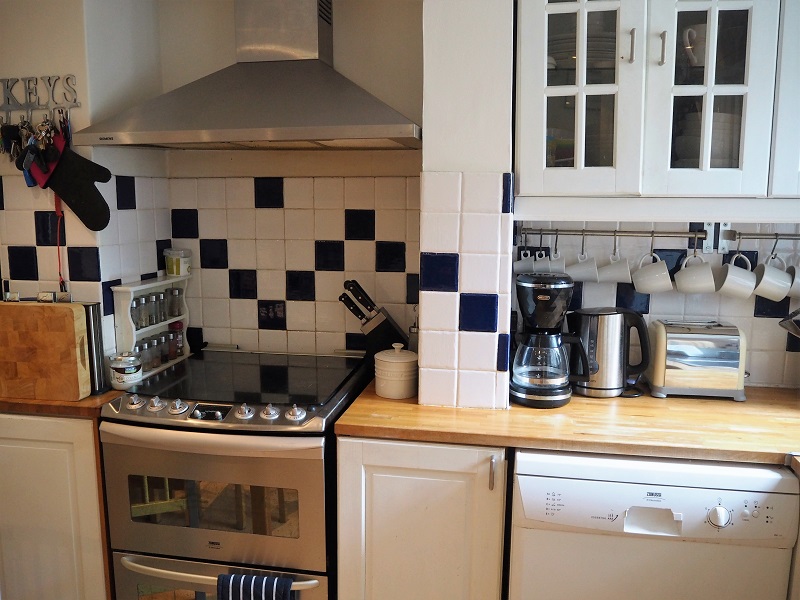
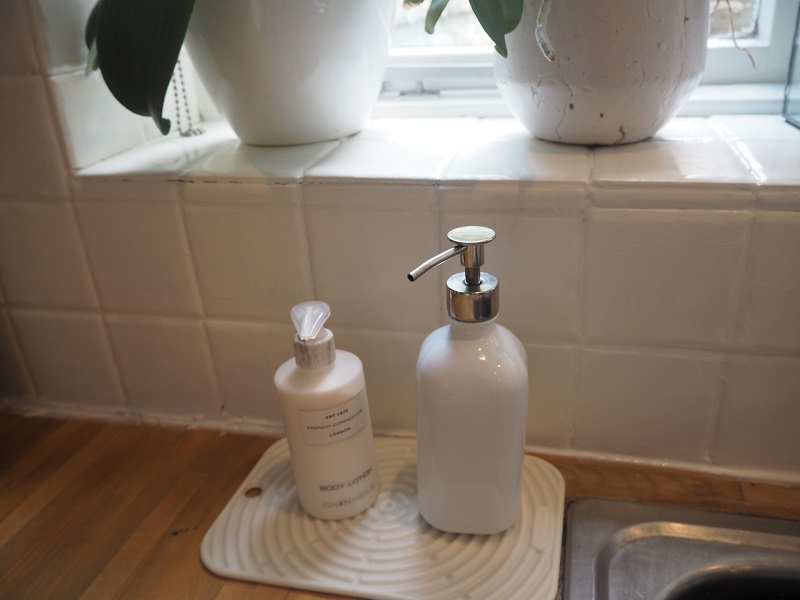
The kitchen tiles look fantastic with Ronseal’s White lace satin tile paint. I’ve seen so many kitchen tiles painted and they looked awful, but you can’t tell these tiles are painted at all! I took the chance as I thought that painting these tiles couldn’t possible look worse than they did originally. And it really paid off as the tiles look fresh, clean and brighten up the whole kitchen.
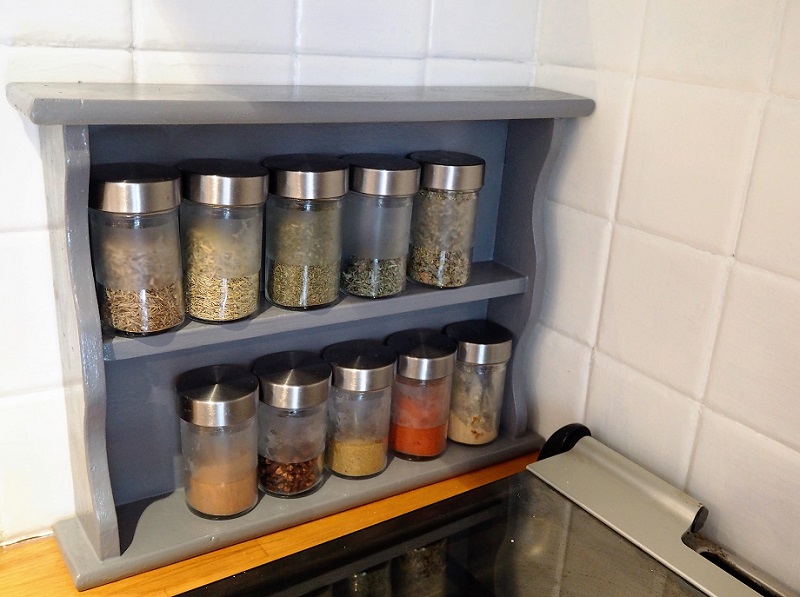
We only used 3/4 of the tile paint and only half of the cabinet paint leaving loads left to paint my spice rack too. The satin finish allows you to wipe the surface clean, and I always prefer eggshell/satin finishes to gloss.
I had some Prestigious Textiles fabric left over from a previous project and so I took apart the kitchen blind to remove the old fabric. It was just a simple blind that came with the house, but it was so old and dirty and not washable so it had to go. Using some fabric glue (I need to invest in a sowing machine!), I glued the new fabric to the roller and folded the seams on the edges. The new blind works a treat and adds a little colour to an otherwise quite monochrome kitchen. And although the fabric in the blind doesn’t match the ones I upholstered my chairs with (see prestigious textiles link), the colours are the same and so it works really well. I’m not into ‘matchy matchy’ and so this works for me!
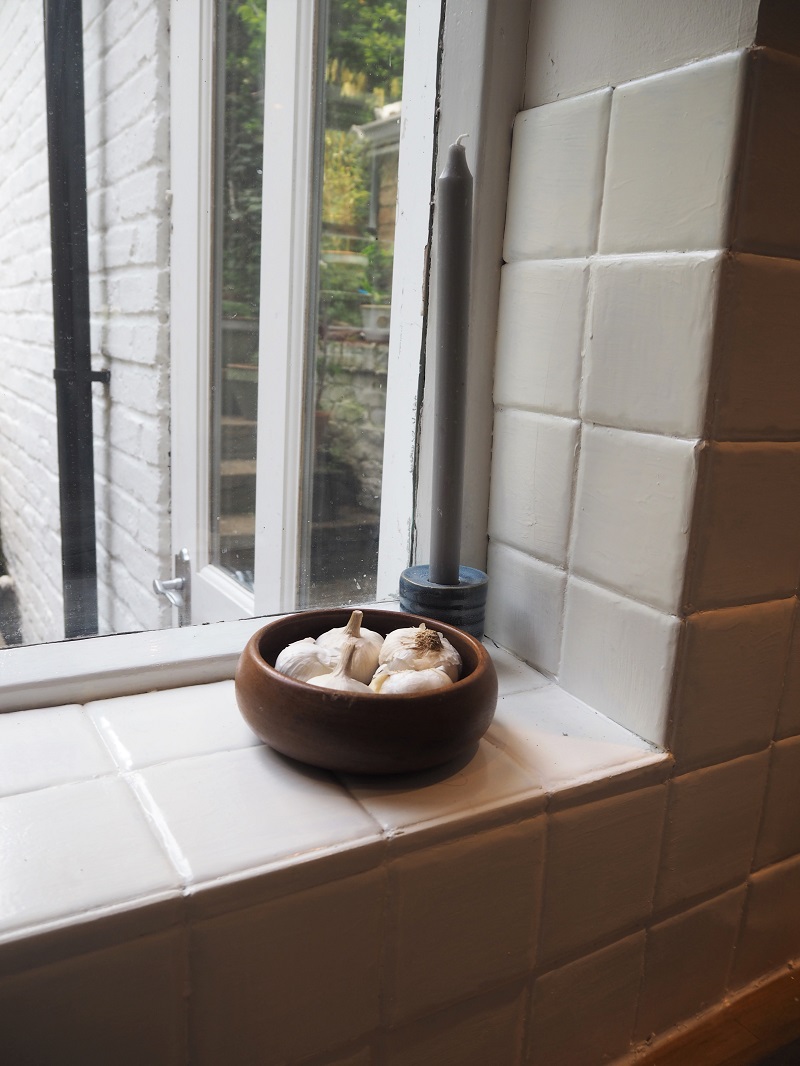
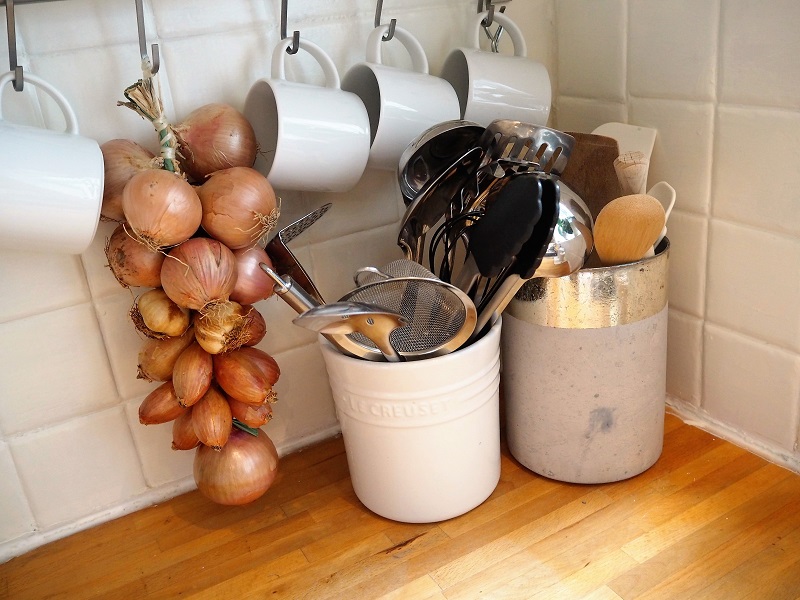
On the weekend that we were painting, there was a French market in our village. So we walked down there for a baguette and crepe at lunch time and I came back with some fantastic hand-tied onions, garlic and shallots.
So what do you think? Doesn’t the kitchen look awesome? I can’t wait to get the new leather cupboard pulls on and I’m planning a few other cheap and cheerful projects to add a bit of colour and creativity in this space. I hope I’ve inspired you on your ‘transforming your kitchen on a budget’ project – let me know via the comments below!
Natalia xo




Fab job. This is a great makeover. I really like that grey colour! The space looks ‘warmer’ #MakingHome
That roller blind is gorgeous! I’d love to know where it’s from; it’s so rare to find a roller blind with a pattern like that!