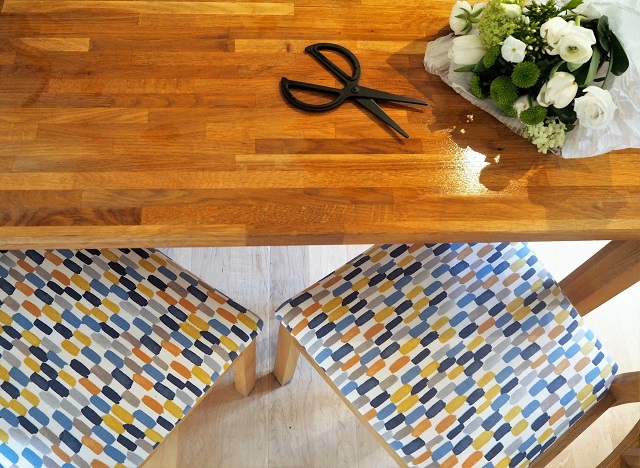
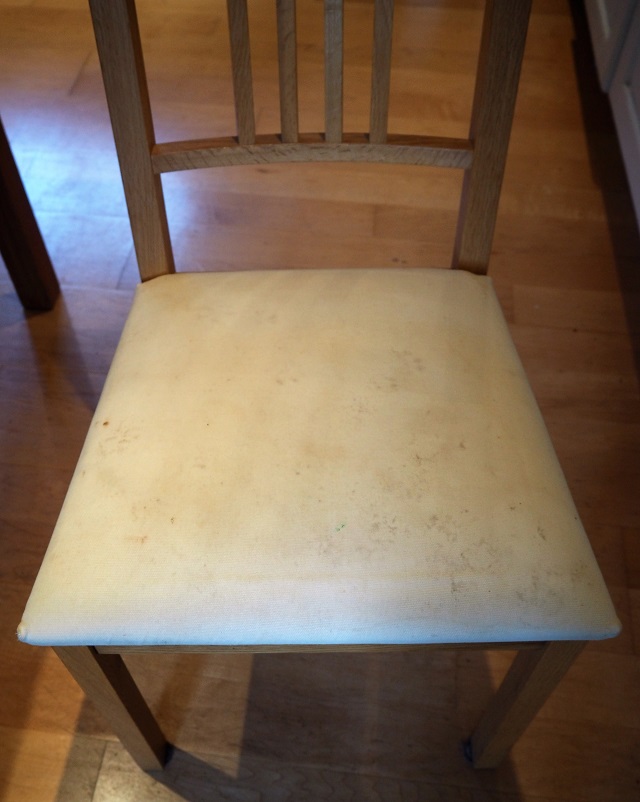
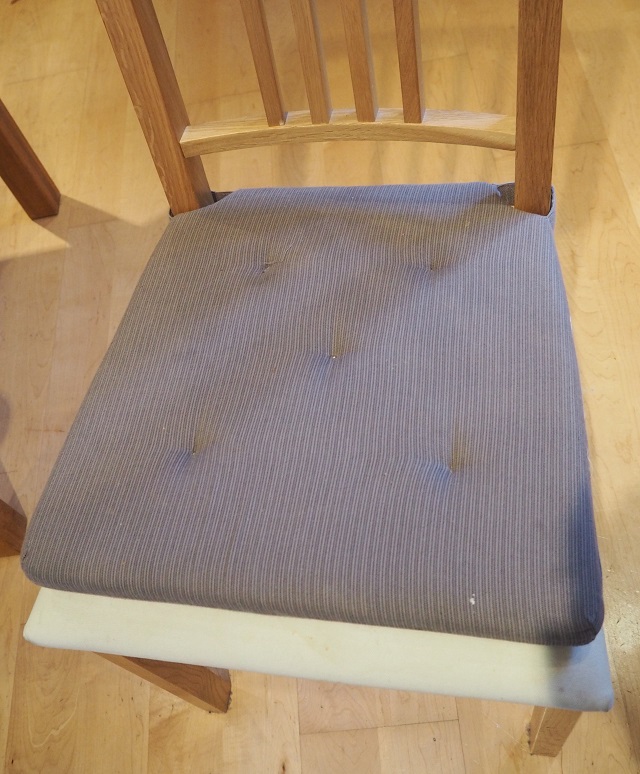
Upholstering a chair is a really easy way to give your dining area a new look. There are so many fantastic fabrics available – and you don’t need much when upholstering a chair seat so it’s an inexpensive way to get a fresh style. For me, the need to re-upholster my dining chairs was because the original fabric was really tired. I used to have a cat (RIP Merlin the British Blue) who loved snuggling down on my dining chairs and they were covered in tiny kitty paw prints! I tried washing the removable covers, but they never came out. So a quick and lazy fix was to pop some IKEA chair cushions on top…
I was nervous about upholstering a chair – it’s not something I’ve ever done before! It’s something I’ve wanted to learn to do for ages – I even got a staple gun for my birthday last year (my birthday wish-list is so random!). But after reading a book called The Maker by Tamara Maynes, I felt inspired to get Crafty with a capital C! Afterall, the worst that could happen would be that the chairs would look awful and I’d not feature the project on the blog… ; )
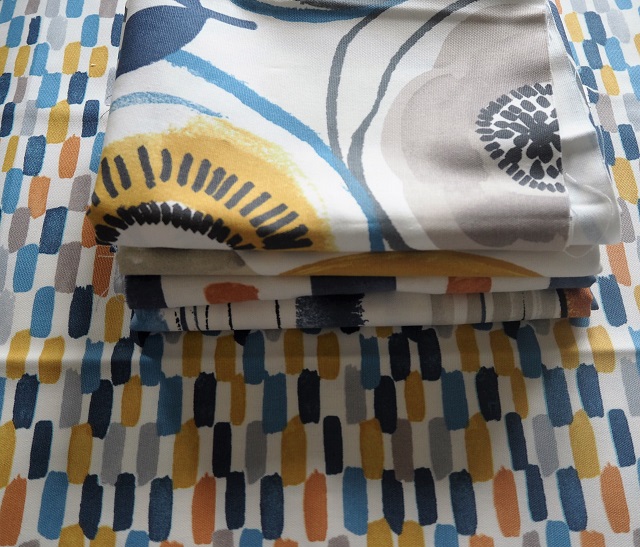
I’ve had these fabric samples from Prestigious Textiles for a few months now and so pleased I’ve finally got round to using one of them! The 100% cotton fabric is perfect for upholstery and I love the colours and patterns of these samples. I chose the Batik Indigo fabric (product code: 5747/705) to upholster my chairs.
Upholstering a chair – a DIY guide
Start by cutting an outline a couple of inches wider than the chair seat – you need enough material to fold over the edge of the seat.
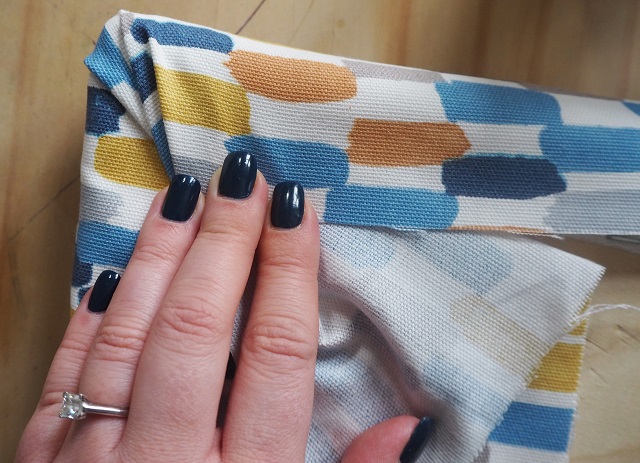
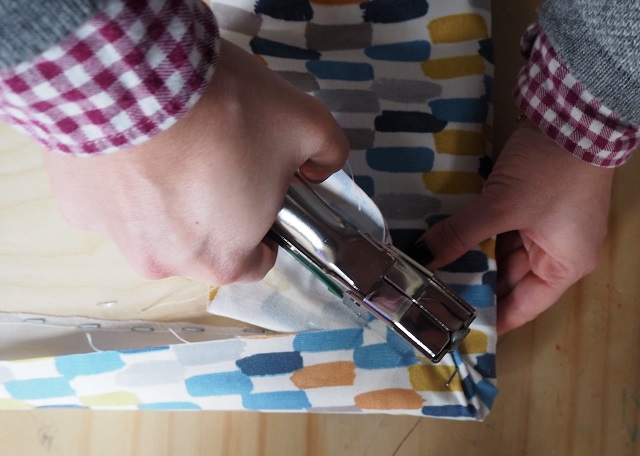
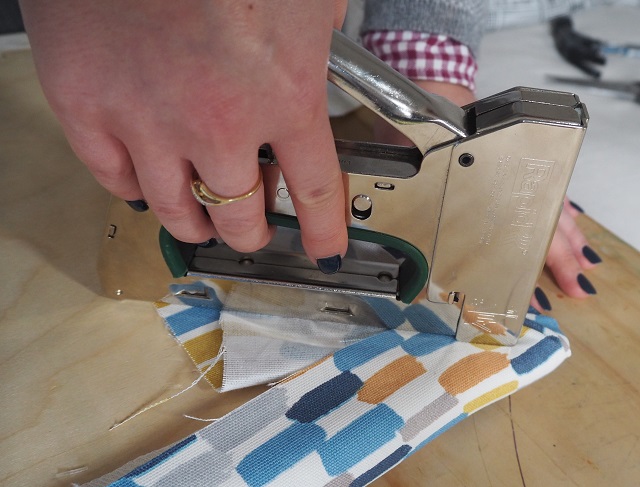
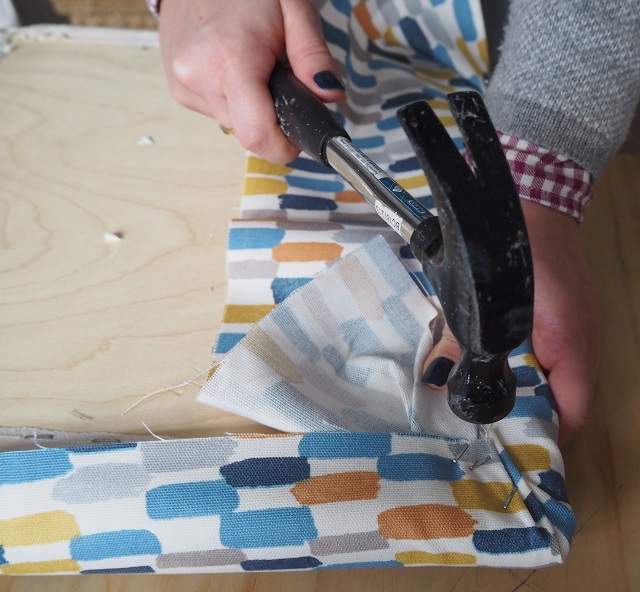
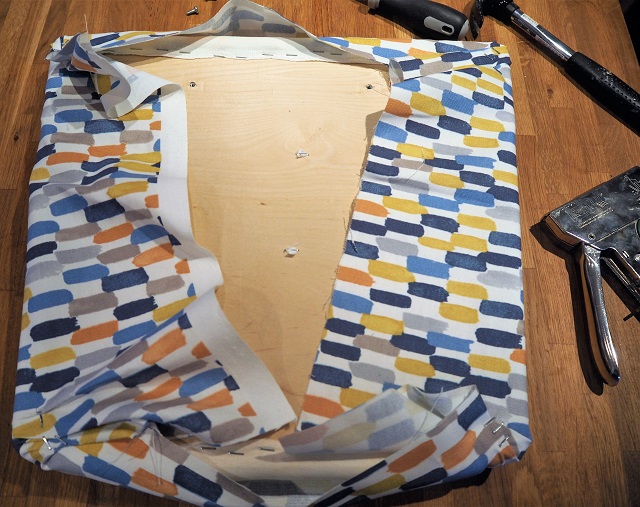
Make sure your fabric is lined up flush with the edge of the seat. Even if you’re using plain fabric – you don’t want the weave to be wonky (sorry I’m a perfectionist!). Grab one edge and gather it over the corner of the seat and try to not have any creases as it ends up looking rubbish. Hold it down tight and pop a few staples in using a staple gun.
Use a hammer to make sure the staples are in as far as they’ll go! Then the trick is to go for the opposite corner to the one you’ve just stapled. This is the best way to get a smooth and tight finish.
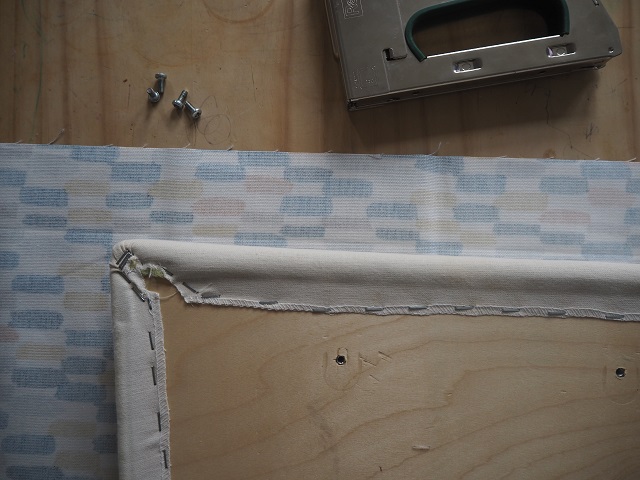
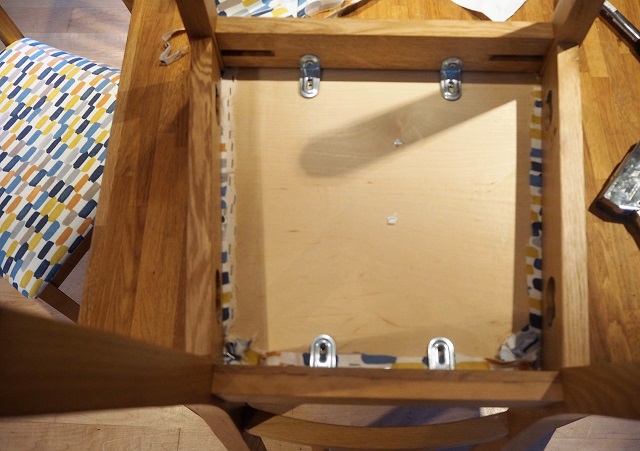
Once you’ve done all the corners, you can make a start of running some staples down the sides. Pull on the excess fabric to make sure it’s tight otherwise you’ll end up with a wrinkly finish. Once all your staples are in, just cut off the excess fabric and screw the seat back into place!
Upholstering a chair is such a quick and easy project – it only took me a few hours and this was my first time! I’m so happy with the finish, it actually makes my kitchen set look more expensive then it is too.
Natalia xo


I keep meaning to do this in my kitchen but never seem to have enough time.
It looks great. Well done
Having done this myself in the past, isn’t it awesome with you can do with staples and scrap fabric? :) Well done