
Welcome to the start of my house reno diary series with this empty house tour! You may have noticed that I’ve been somewhat absent from the blog recently. The reason is two-fold, and I’ll be making it up to you with a whole load of house reno/DIY/before and after deliciousness starting with this post. Over the past since six month I’ve mainly been using Instagram (@nataliapeelinteriors) to document our journey, but now brace yourselves… there are A LOT of rooms in this tour so go grab a cuppa and get comfortable!
On 27 March 2019, we were at the bank signing off the transfer for our new home. I was in full-on labour and had no choice but ‘pop in’ on the way to hospital as they needed my signature. 1 hour and 59 minutes later, our darling little baby girl was born!

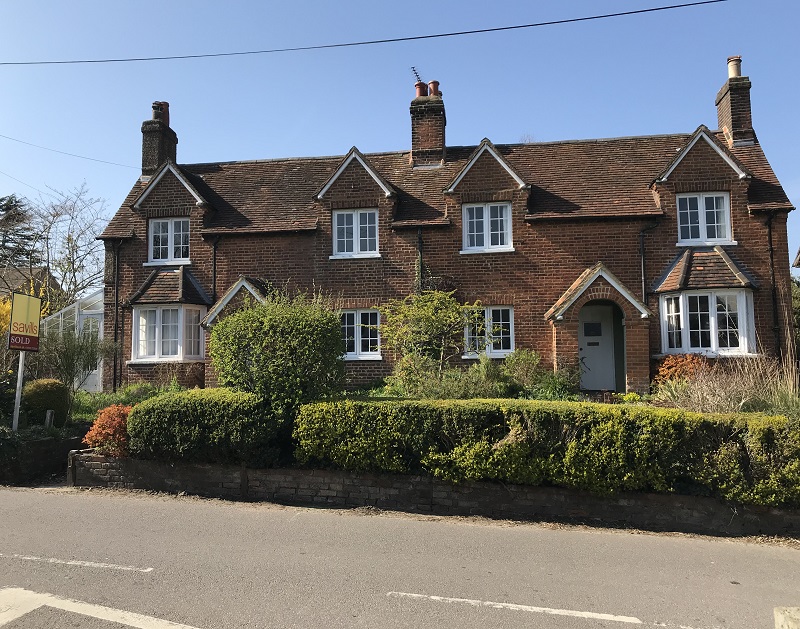
Just FOUR days later on 1 April (the date was not lost on us!), we got the keys for our forever home. Built pre 1860, this pair of Victorian houses have a really interesting history. More importantly they had such a lovely feeling about them – a real warmth! I kept finding excuses to drive past just to take a look at the house in the months leading up to completion! In my next posts I’ll tell you some more about these houses’ interesting history and how using some mortgage mastery, we managed to buy our forever home which was waaaay over our budget.
This move took us 18 months to achieve and we had two houses to sell as my Husband and I each had a house when we got together. Being an architect, he either wanted to go for a period property… or something ultra contemporary. But seeing as we live in a village with very little development land opportunities – the second option was a far fetch! We did have a few must-haves though…
- Close proximity to my eldest’s school and within catchment to the local secondary school
- A decent sized self-contained garden for the kids to run about in – I’d love to be able to leave the garden doors open in summer and not worry about the kids falling up/down steep steps!
- Off-street parking
- 3-4 good sized bedrooms
- Extension or development potential for the future
- A good sized entrance to wheel in a double buggy
- Garage or outbuildings (the husband likes to hoard stuff!)
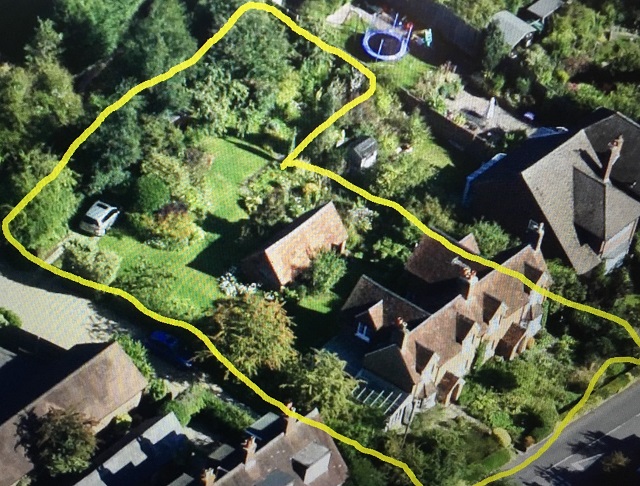
Apologies for the poor quality Google maps image, but without a drone on hand – this is the best I can do to show the whole plot. Already you can see that we’ve ticked off quite a bit on our list. But of course – there are always some compromises too.
With this empty house tour, I wanted to show the house as we bought it. But with the chaos of moving and having a newborn – I didn’t quite get the chance to shoot all the rooms before we started the rip-out. So there are some agent shots in here as well as some photos taken during the house reno. Let’s start with the floorplan to get an idea of the layout…
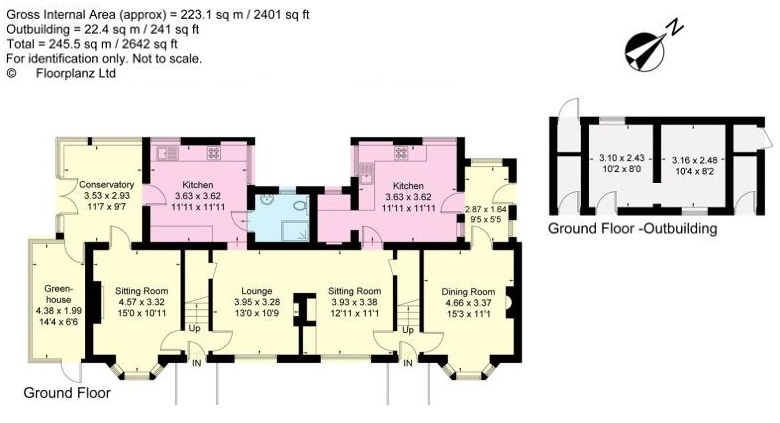
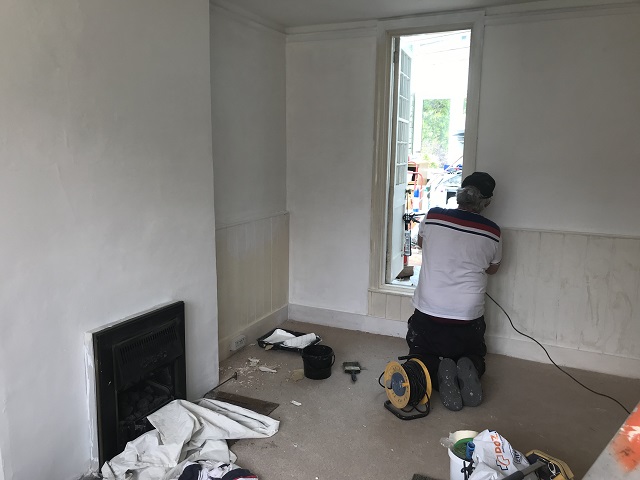
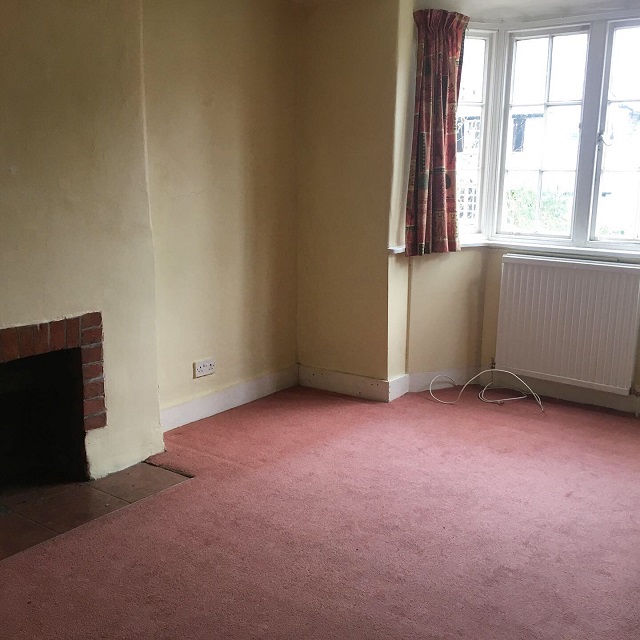
Although there are two front doors, the front gate and path lead up to the one on the left-hand side. So we’ll start our tour here! As you walk through the front door, you can either turn left into the sitting room, right into the lounge or go straight up the stairs. The sitting room is a good size with a beautiful bay window to the front (80% of the windows are original timber casement single glazed). There’s a gas fire and a narrow door leading into the conservatory. This room gets the most glorious morning and midday sunshine. In the afternoon the sun beams in through the door to the conservatory so it’s a lovely bright room all day long. We instantly saw the potential! Off the conservatory is a greenhouse – currently being used as a dumping ground but hopefully filled with tomatoes again soon. As you can see the front entrance is not at all suitable for a buggy – but the conservatory has double doors and easy access to the front and back entrances!
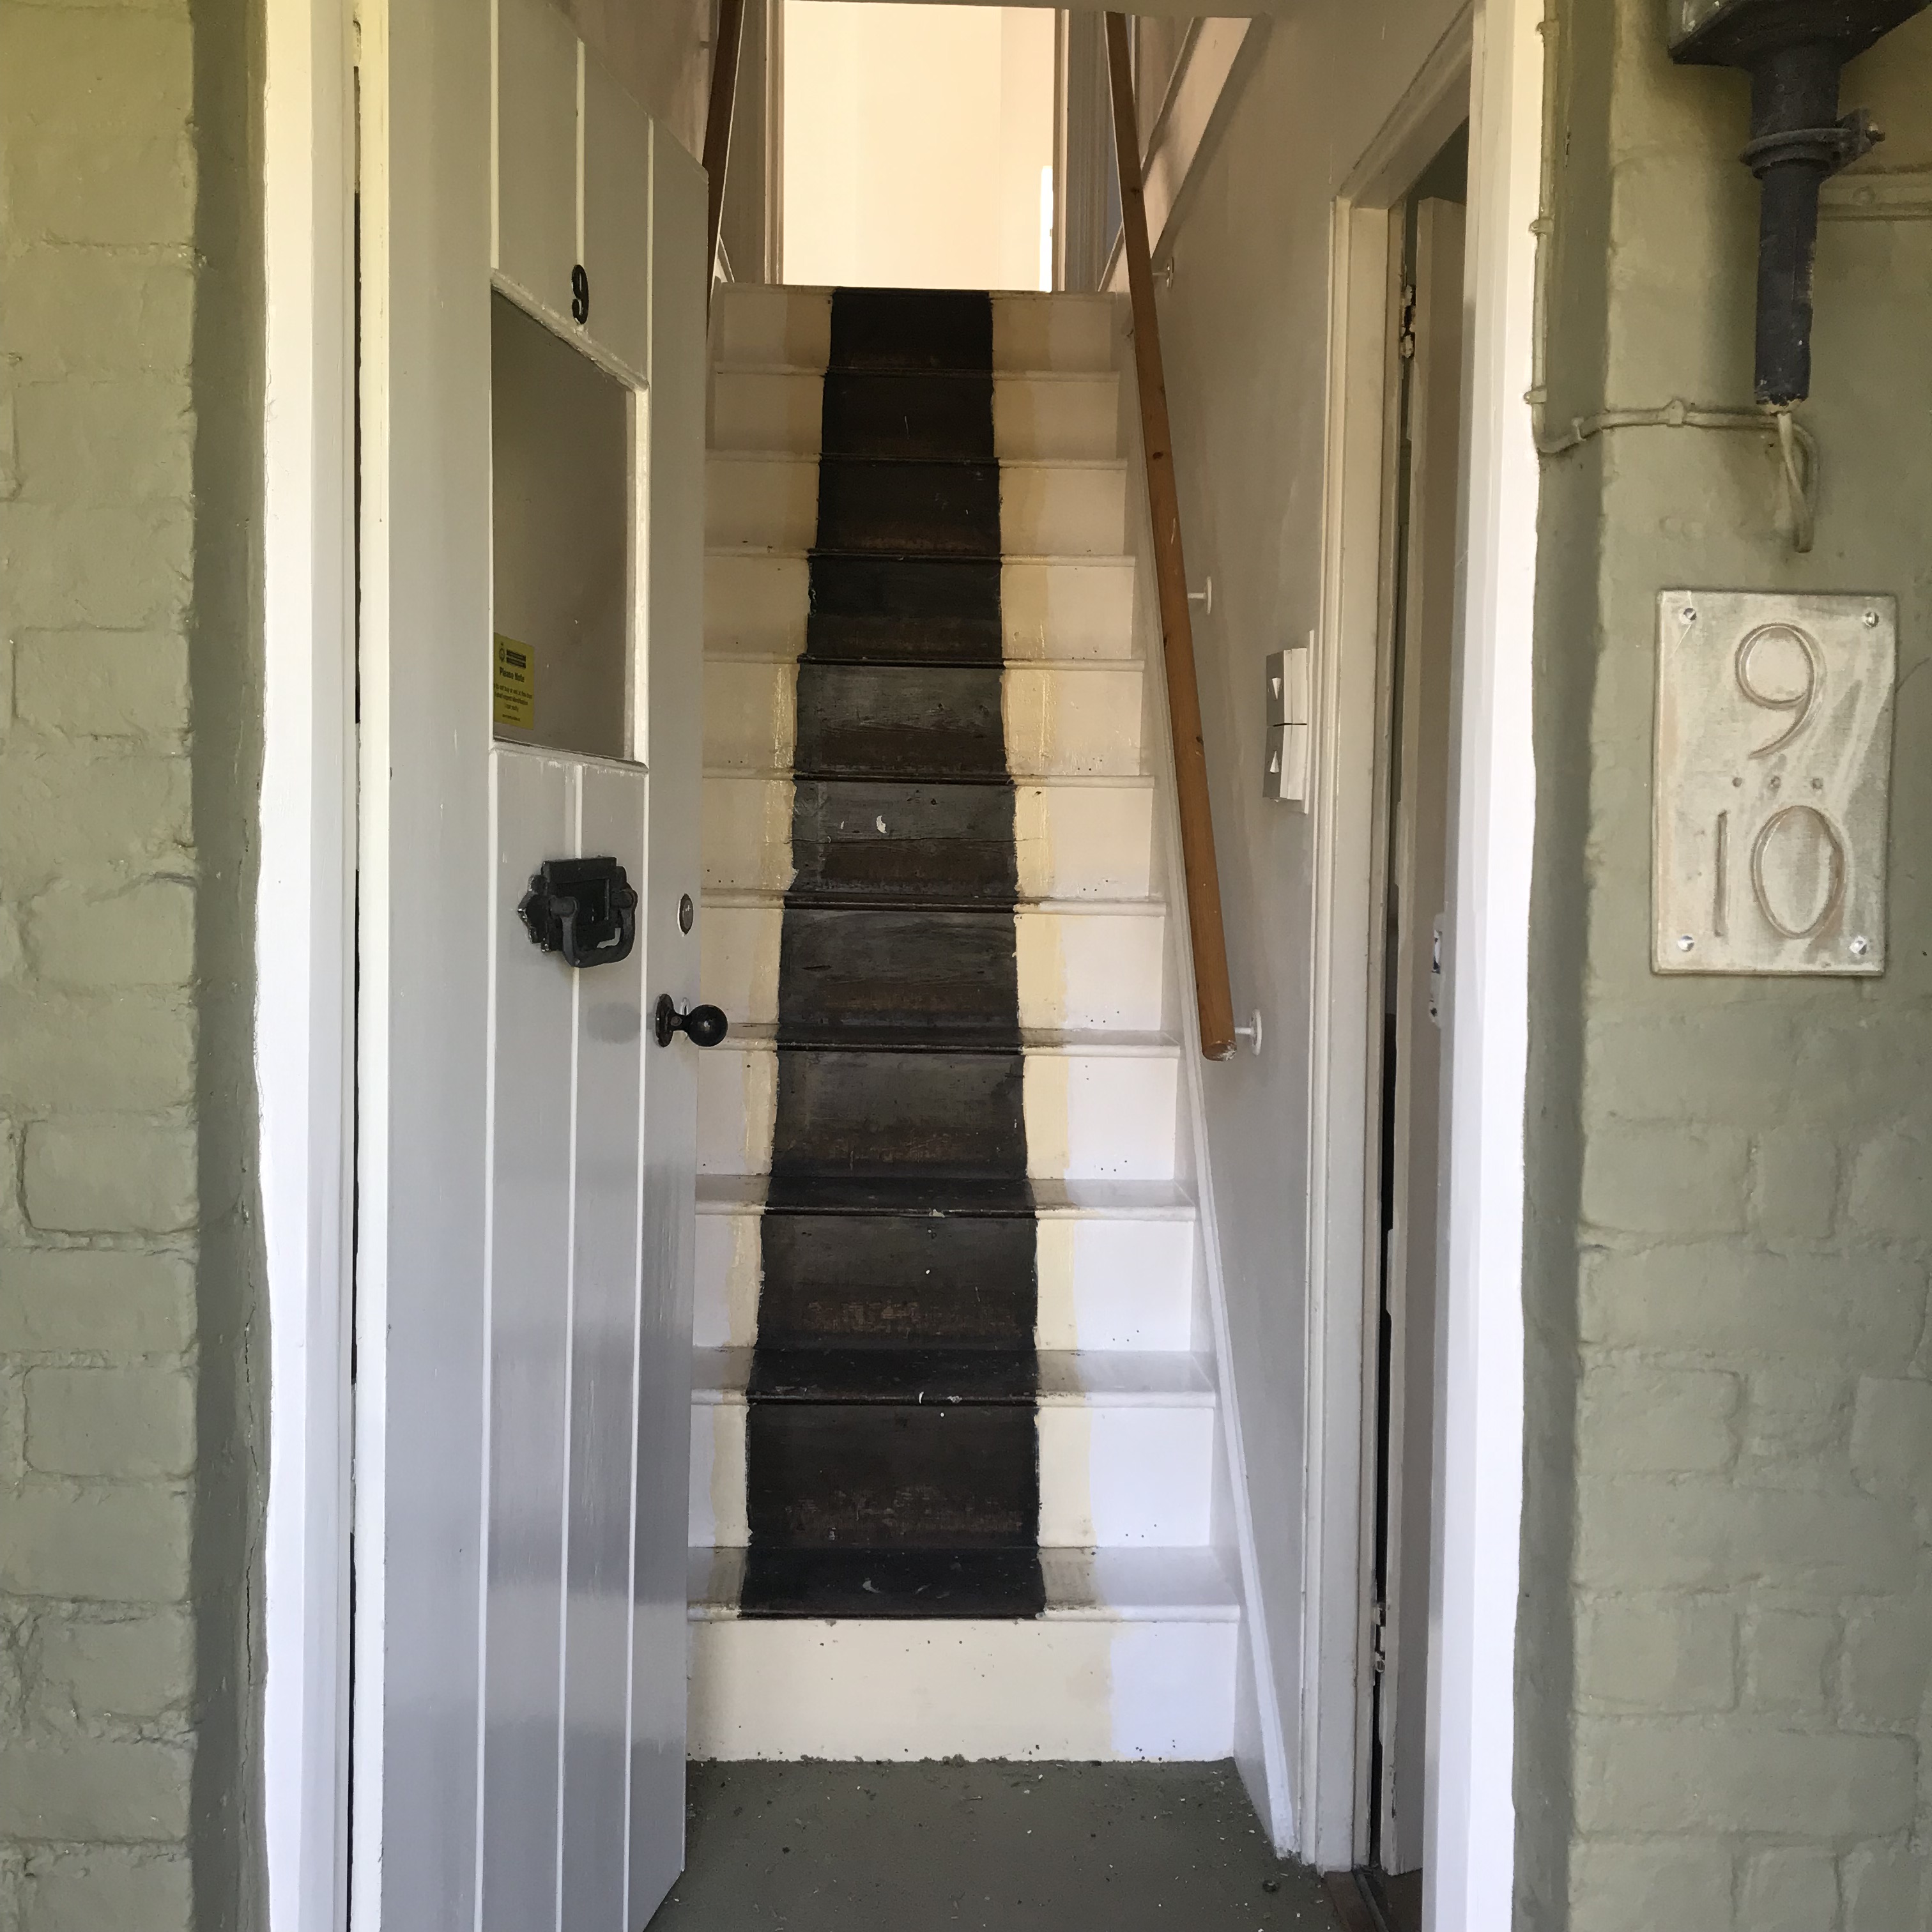
Front entrance and stairs after the carpet was ripped out.

Sitting room after the new radiators were fitted
Sitting room view to the conservatory
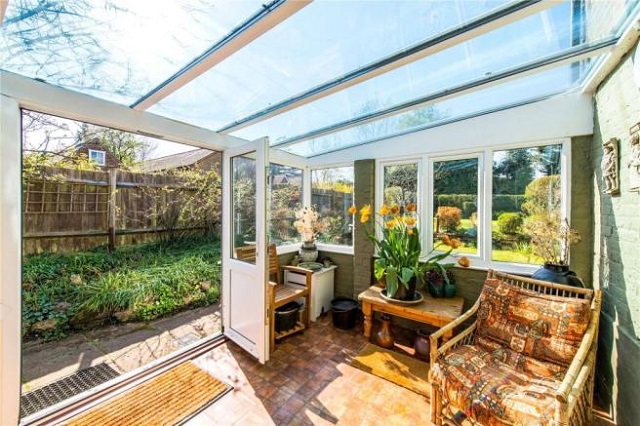
Conservatory – agent image
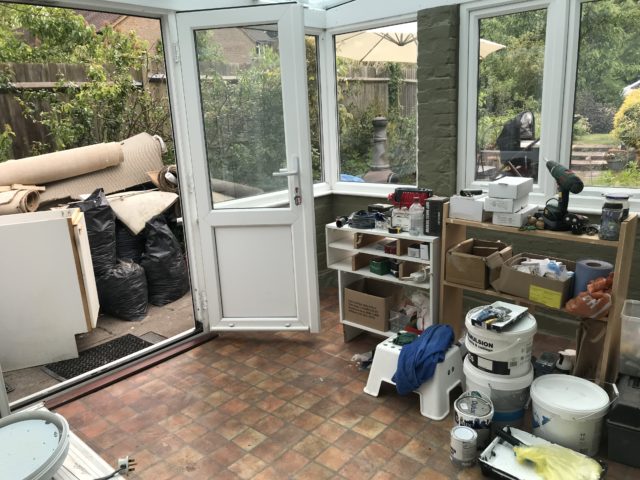
Conservatory being used as the workshop
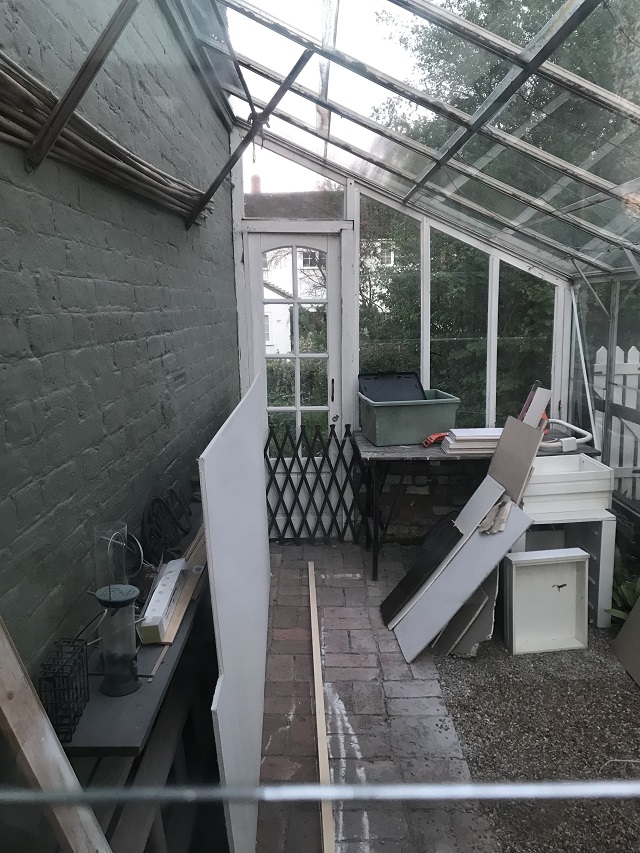
The greenhouse
With such a glorious garden, the conservatory has a perfect vantage point. At this point we weren’t sure what we would do with this space – we just wanted to get the house to the point where we could move in comfortably with the three little ones. In fact, the plumber was scheduled to start the day after we got the keys!
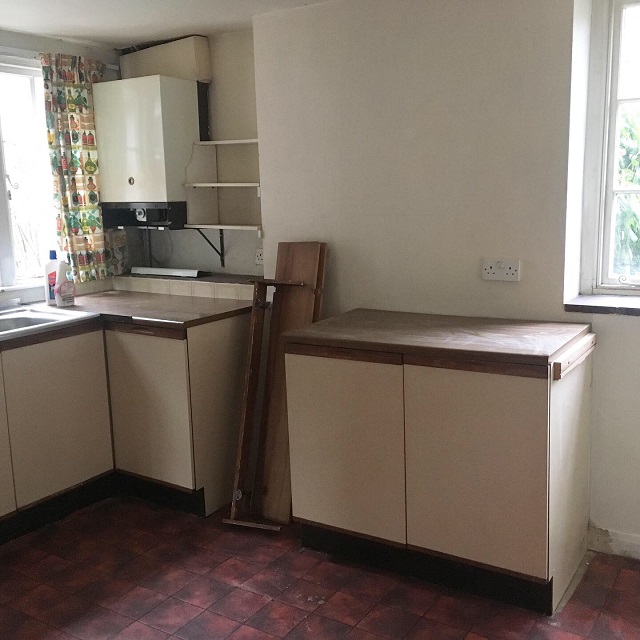
Next to the conservatory, you’ll find kitchen no. 1 (yep – you read that right!) and a bathroom leading off from there. Also leading on from the kitchen is the lounge which is also the route back to the front door and stair case. So you can pretty much walk around the house in a giant circle – the kids LOVE this! We initially thought we’d want a large open plan living/cooking/dining space. But actually this more traditional layout works better for us. Being a family of 5 all with different needs from a space at a particular time, it’s nice to be able to go into a different room to do so. When the 5,456,765th episode of Peppa Pig comes on the TV… it’s bloomin’ awesome to just walk out of the room again!
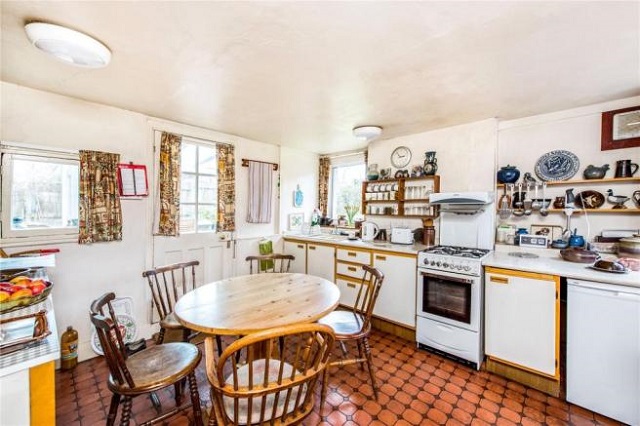
Kitchen no. one – agent image
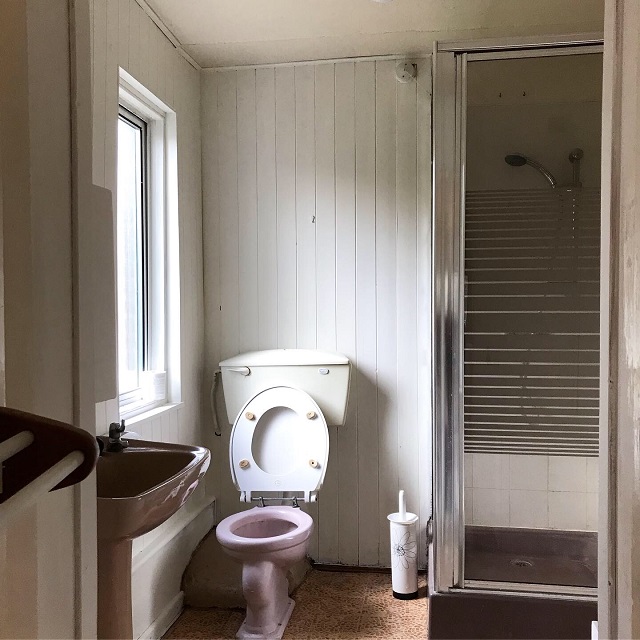
Downstairs bathroom
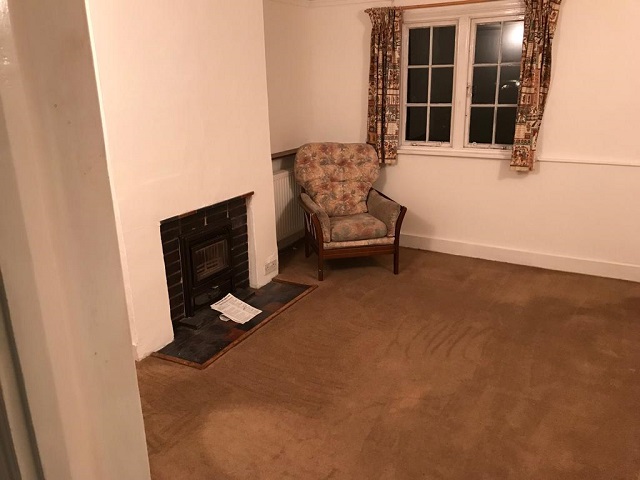
In the lounge, the previous owner knocked through to have access to the second house. The adjoining room is labelled ‘sitting room’ on the floorplan which has a huge ‘blocked up’ fireplace. From there you can go through to the second kitchen or to the dining room and second staircase. The second kitchen has a utility room to one side and a mud room to the other leading out into the garden.
The lounge with Rayburn fuel burner
Second sitting room
The ‘dining room’ with open fireplace and bay window.
Kitchen no. two
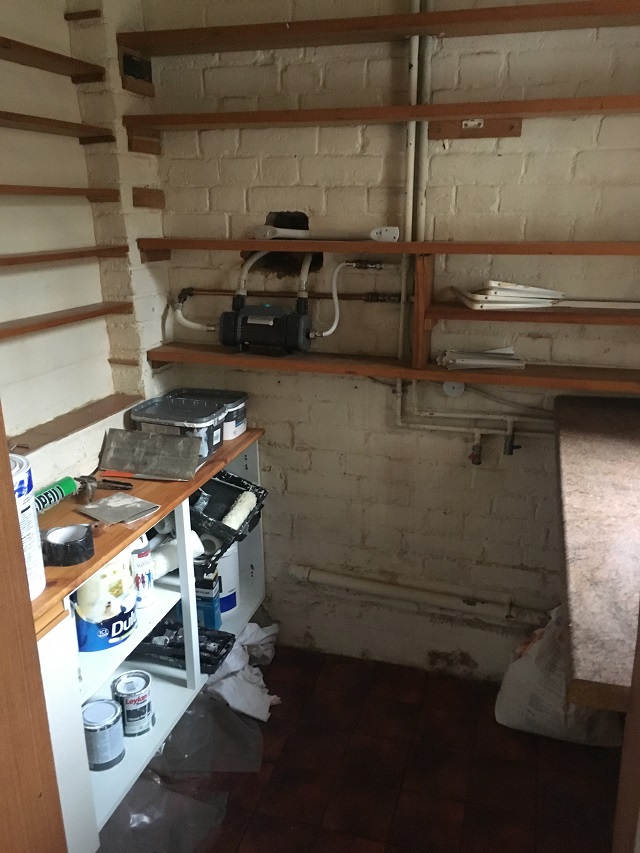
The utility room with shower pump for the next-door bathroom.
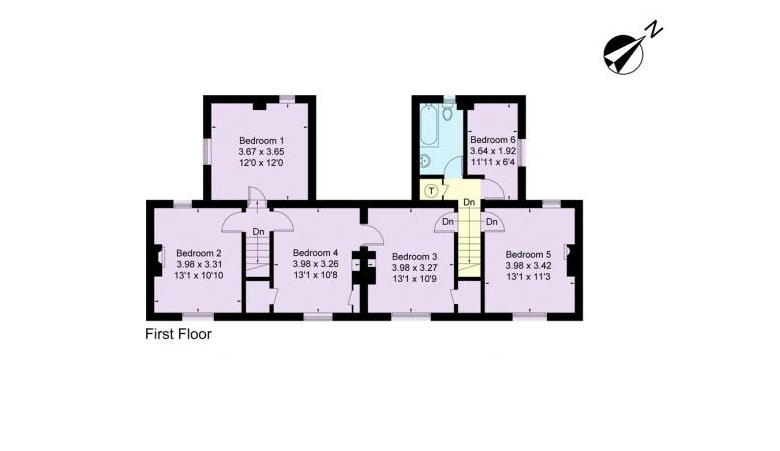
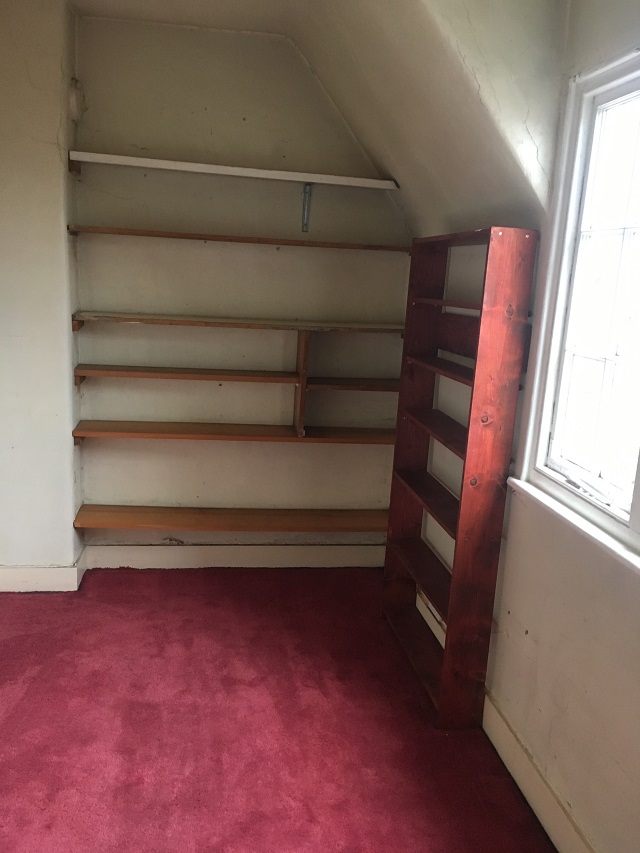
Confused yet? My son got lost on his first visit too! Let’s head upstairs to carry on our tour… Bedrooms 1-6 are shown left to right, but I don’t have any empty room photos of bedrooms 1 and 2 so we’ll get straight onto bedroom 3. Here you may get an inkling of our plans for the houses… but I’ll tell you more about that in my next post! Behind this stud wall is a door leading to bedroom 4…
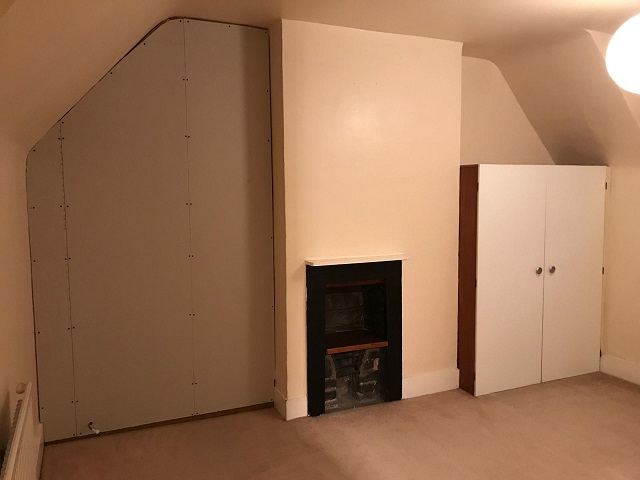
Bedroom 3
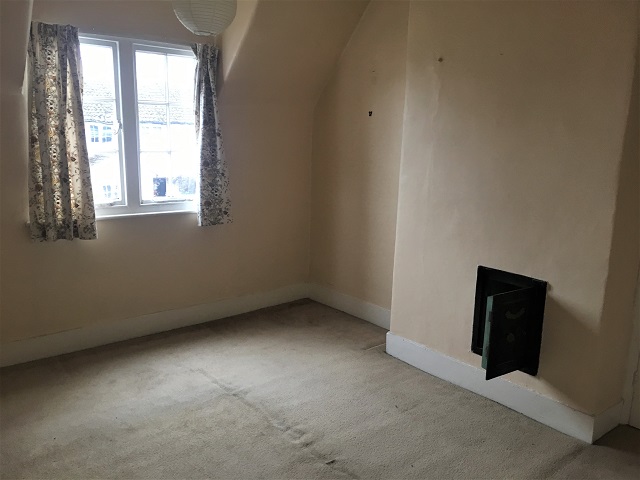
Bedroom 4
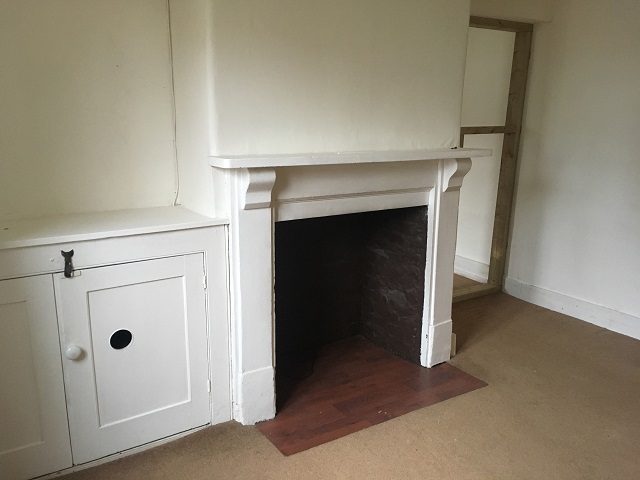
Every room in the front of the house has a fireplace – that’s 7 in total! But bedroom number 4 has one of my favourite features… an original firesafe complete with working key. Such a fantastic feature! My son promptly put his favourite Lego characters inside away from his little sisters.
Across the corridor are bedrooms 5 and 6 and an upstairs bathroom. One of our compromises was the ratio of bedrooms to bathrooms, especially since one of them was downstairs. But our long-term plans will fix that!
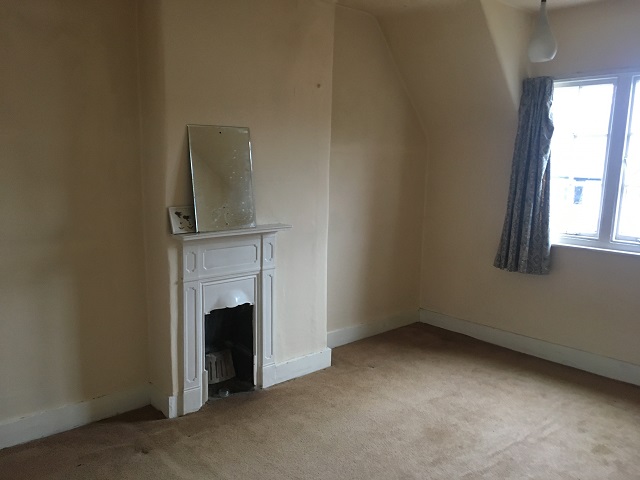
Bedroom 5
Bedroom 6
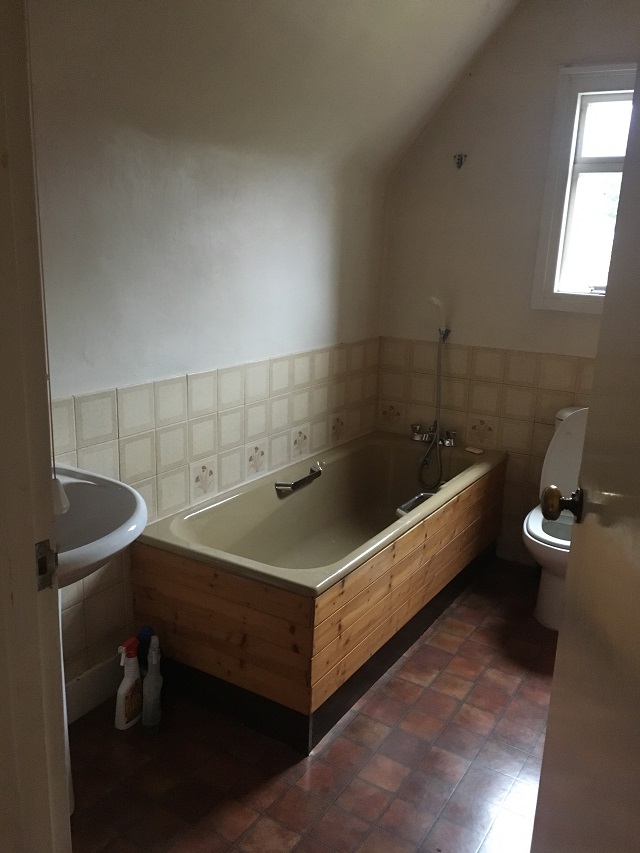
Upstairs bathroom
So that wraps up my empty house tour! You’re probably reading this thinking we’re nuts to take on such a massive project with three little ‘uns just after giving birth… and you’d be totally right! But we’ve been living here for six months now and it was the best decision we ever made. Please do keep checking back to find out what we did next and drop me a comment below and let me know what you think!
Natalia xo

You’ve achieved so much with hard work and skill. Thank you for sharing with us . You’re an inspiration !
Author
Thank you so much for the kind comment – still lots of work ahead but at a much slower pace I hope!