
We decided quite early on to put in a temporary kitchen as our budget wouldn’t stretch to a completed kitchen on top of all our other works. It was a tough one as the kitchen is always the central hub of any home – and I really love to cook! But when we did our 3 month reno plan, it became clear that our budget was maxed out and we could only do so much when it came to the kitchen refurb.
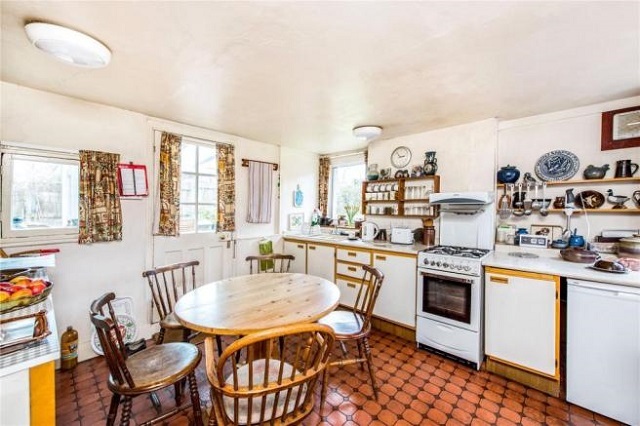
With the kitchen, it wasn’t just a case of replacing the units and worktops – it needed complete gutting. And because we’d already done the family bathroom reno, we knew that it was going to be a big and dirty job! Anyone who’s ever done a house reno or extension will know that once you’ve ‘finished’, you certainly doing want to be starting it all up again several months later! So we decided that we’ll get all the ‘dirty’ work done before we moved in and just fit a temporary kitchen. Fitting the proper kitchen units later on would be relatively straightforward with limited disruption.
The other reason for staggering the works, was because we knew it’d end up costing less in the long-run. If we got the trades in just to do the kitchen, it would have been more expensive than combining it with other rooms in the house. And although the ‘new’ kitchen would only be temporary, it would still be far more useable than the original kitchen.
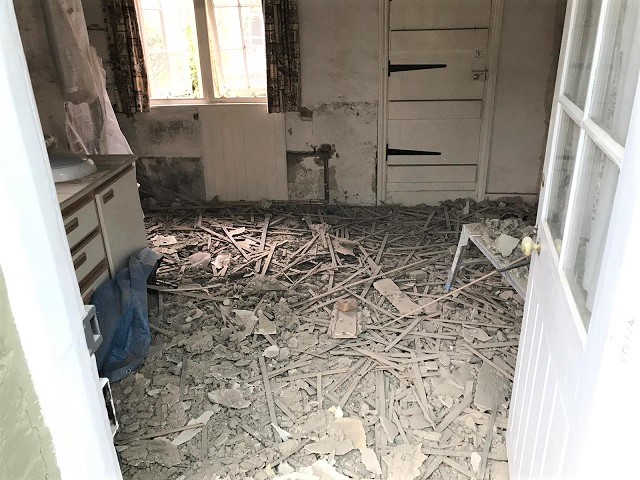
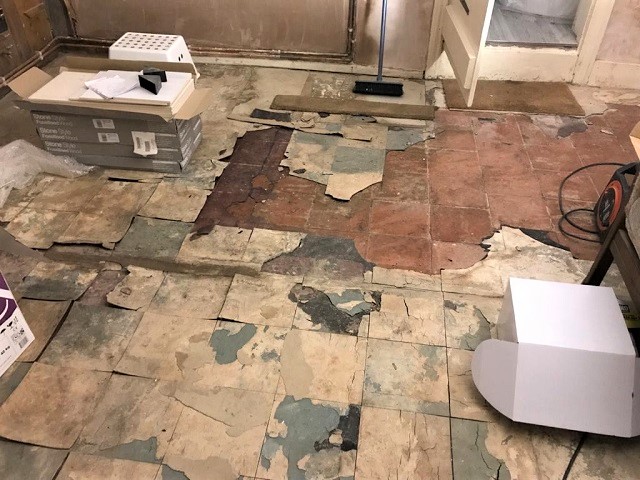
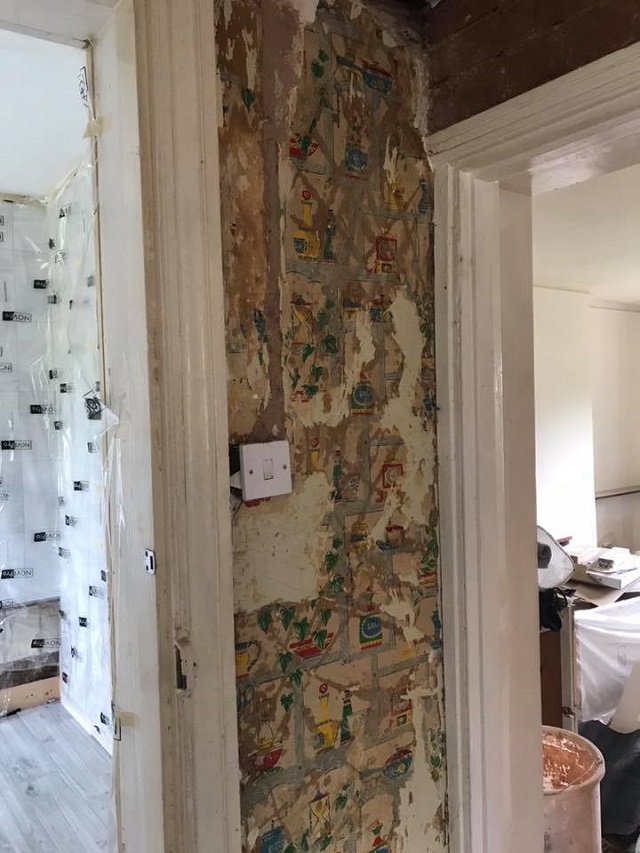
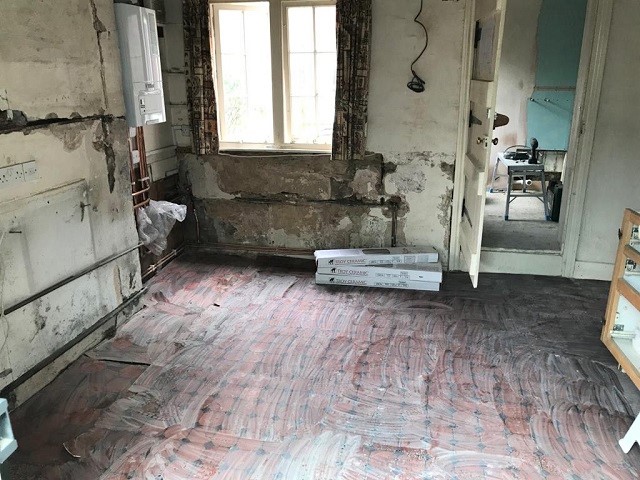
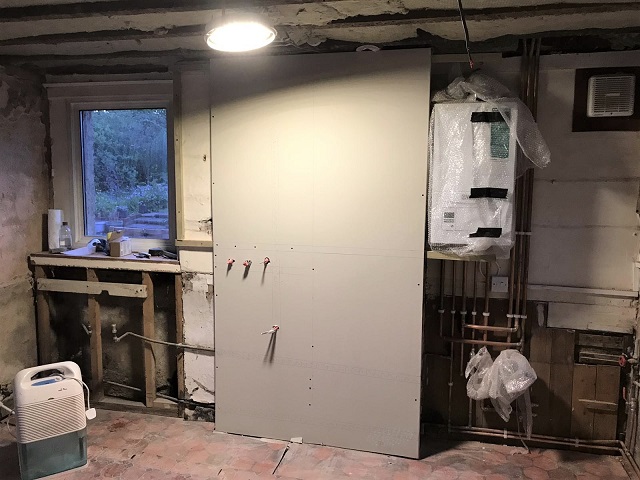
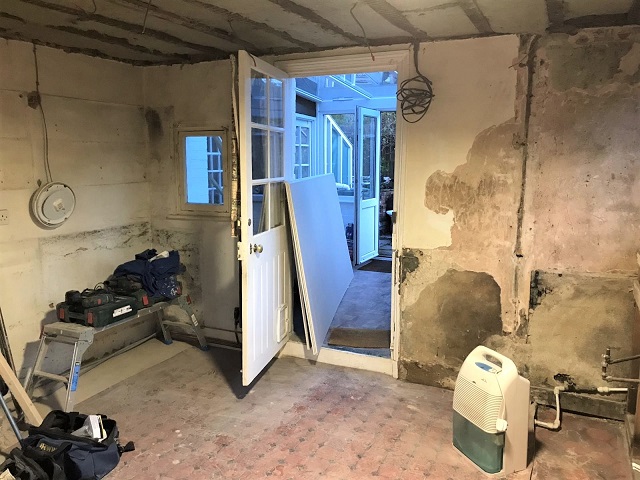
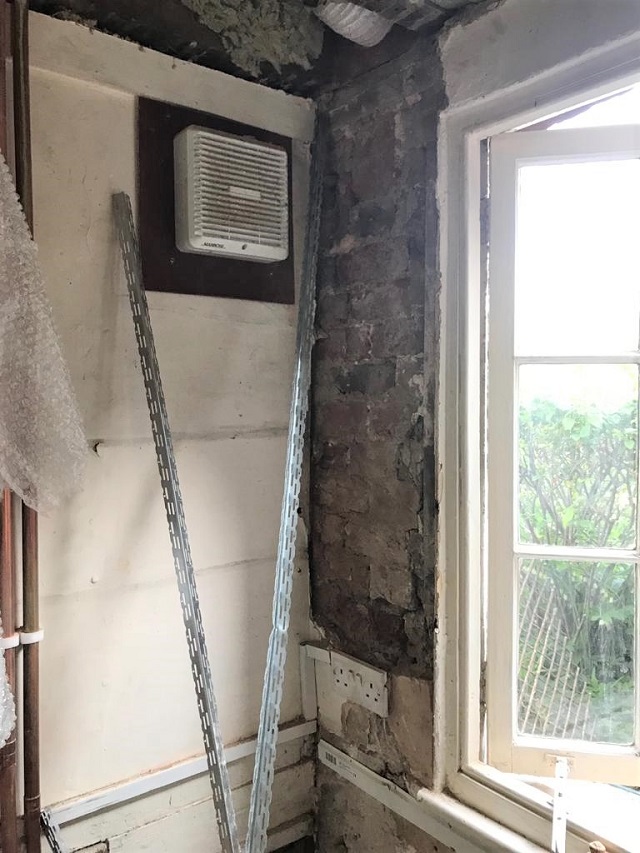
As with the rest of the house, we did much of the work ourselves. The only people we got in to help for the kitchen were for the boiler work and plasterers! The old lathe and plaster ceiling needed ripping out – so we decided to put in sound-proof insulation in. Our pipe dream of throwing a party whilst the kids sleep soundly upstairs still hasn’t happened! The walls needed stripping and skimming. The old plumbing needed ripping out and replacing and new wiring for lighting, plug points and the (future) cooker. The floor needed several layers taken up and then levelling out as you could roll a coin from one side to the other. We did find the original quarry floor tiles, but they weren’t in great condition and there was a large patch of concrete where a larder used to be. So we decided just to level the floor and put down a cheap and cheerful herringbone vinyl floor.
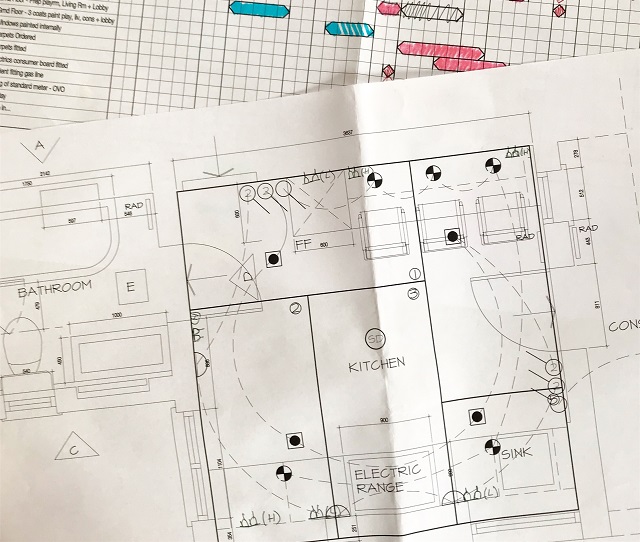
One of the main challenges with all this was that I had to very quickly design the future kitchen. We needed to know where everything was going to go in order to get the plumbing and wiring in the right place. The trouble was, I’d just given birth the week before and still trying to sort out our temporary accommodation when we made this decision! I ended up using the IKEA kitchen planner as I’d used it before to design an IKEA kitchen and even though it was limited compared to ‘proper’ design tools, it was quick and easy to get a basic floorplan. I then marked where I wanted the lights and plug points to go and the husband marked it all up on AutoCAD. No doubt that the kitchen design will change by the time we get around to completing it, but as long as I keep the sink and cooker in the same place – I should be able to play around with the space!
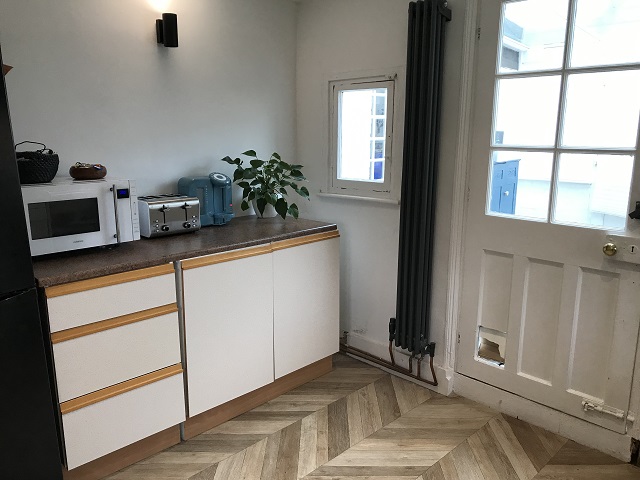
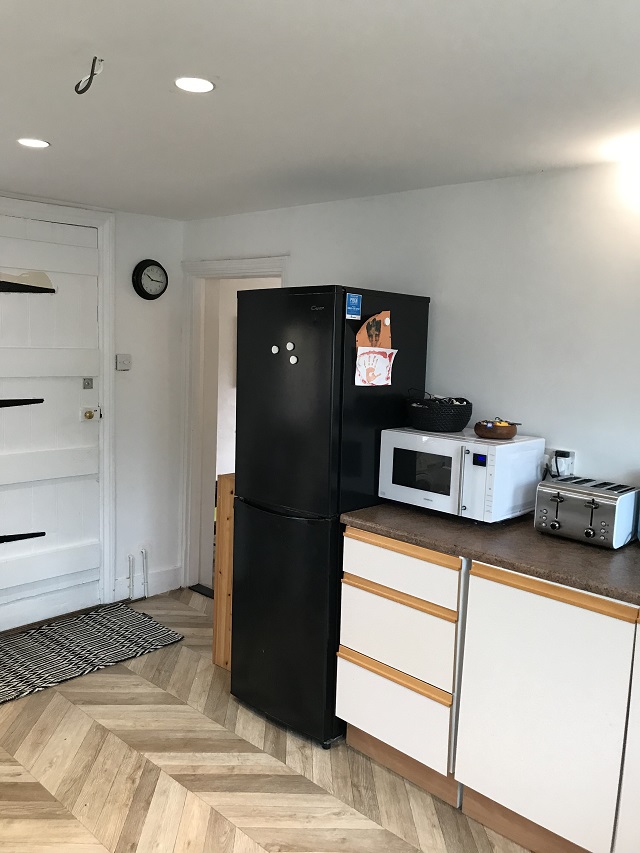
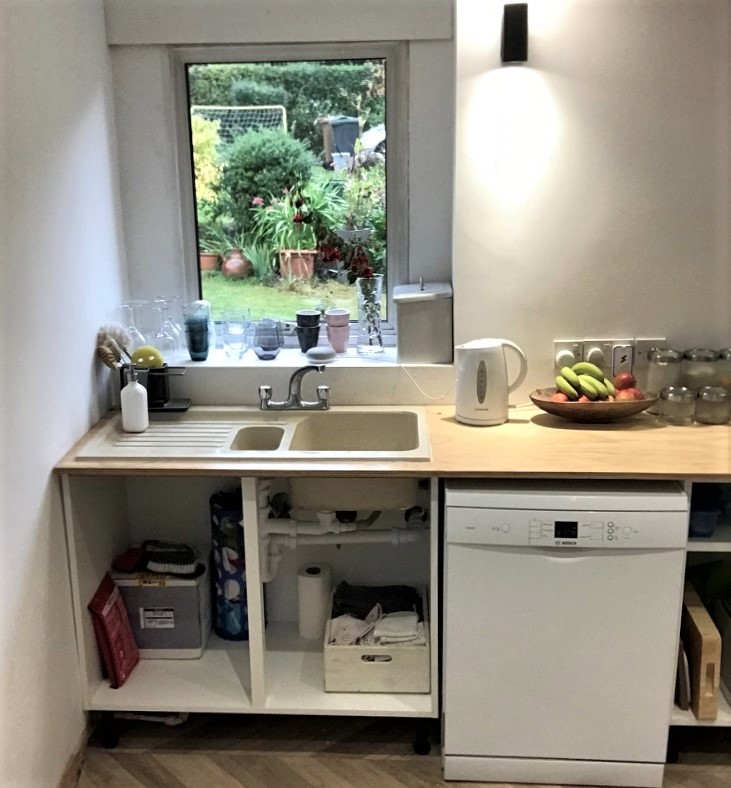
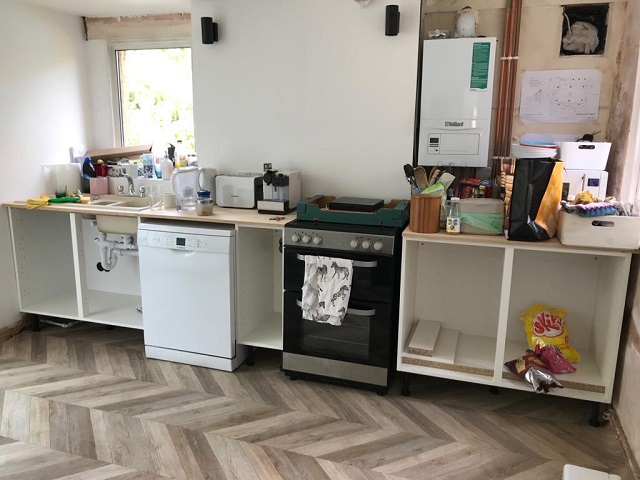
Once the fresh walls were painted and the floor went down, we could fit our temporary kitchen. On one side, we re-used some of the units from the 2nd kitchen (take a look at the empty house tour for more!). The 2nd kitchen was very dated, but was barely used and so in great condition! We picked up a second-hand fridge and cooker off eBay and cleaned up the existing sink to re-use. We then bought the cheapest kitchen units we could find and used plywood as a worktop.
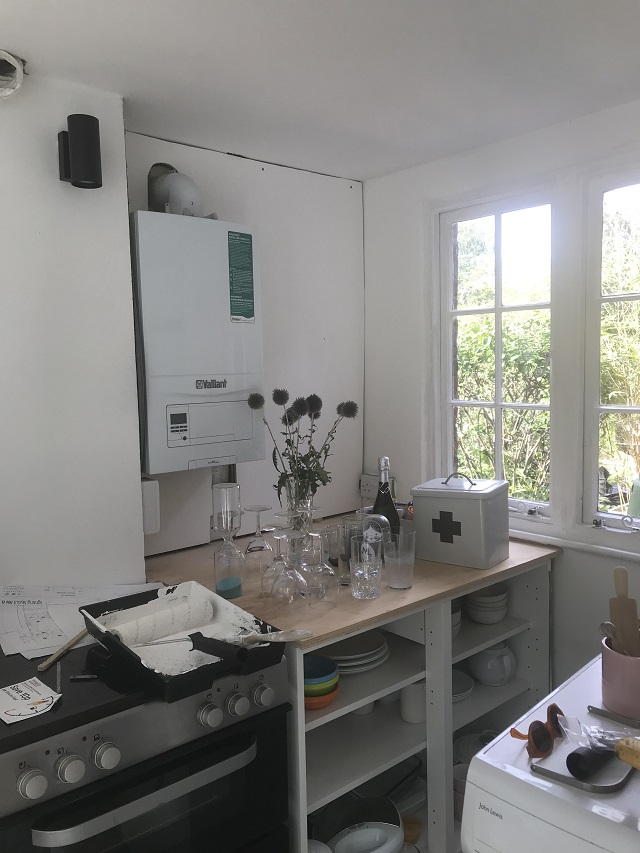
We’ve been using the temporary kitchen for about 6 month now and it’s wearing really well. We used a clear wood varnish for the tops which makes it less likely to stain. We’re hoping to get the permanent kitchen by the end of the year – but it may be another plan on hold due to the coronavirus outbreak. But I’m really relieved that we made the decision to do most of the renovation works when we did!
Natalia xo
